LED Bulbs Not Dimming Properly? 5 Checks to Try First
If your LED bulbs are not dimming properly, the problem is usually an incompatible dimmer, a non-dimmable bulb, a low-load circuit, a weak bulb driver, or a wiring issue. The most common signs are flickering, buzzing, dead spots in the dimming range, or lights that shut off before the slider reaches the bottom.
Before replacing every bulb or switch, start with five checks: confirm the bulb is dimmable, check the dimmer’s LED rating, compare the load range, test one known-compatible bulb, and treat wiring symptoms seriously if flickering, buzzing, heat, or breaker trips continue.
Quick Answer
Most LED dimming issues come from a mismatch between the bulb, dimmer switch, and circuit load. Start by checking whether the bulb is dimmable and whether the dimmer is rated for low-wattage LEDs. If the lights flicker, buzz, have dead zones, or turn off too early, test one compatible bulb before replacing the whole setup.
- Confirm that every bulb on the circuit is labeled dimmable.
- Check whether the wall dimmer specifically supports LED loads.
- Add up the bulb wattage and compare it with the dimmer’s minimum and maximum load range.
- Test one known-compatible dimmable LED bulb before replacing a full room of bulbs.
- Stop troubleshooting and call an electrician if you notice heat, burning smells, crackling, or repeated breaker trips.
In many homes, replacing an old incandescent-era control with an LED-rated wall dimmer for low-wattage LED bulbs is the most practical first upgrade, especially when the bulbs flicker or shut off at low settings.
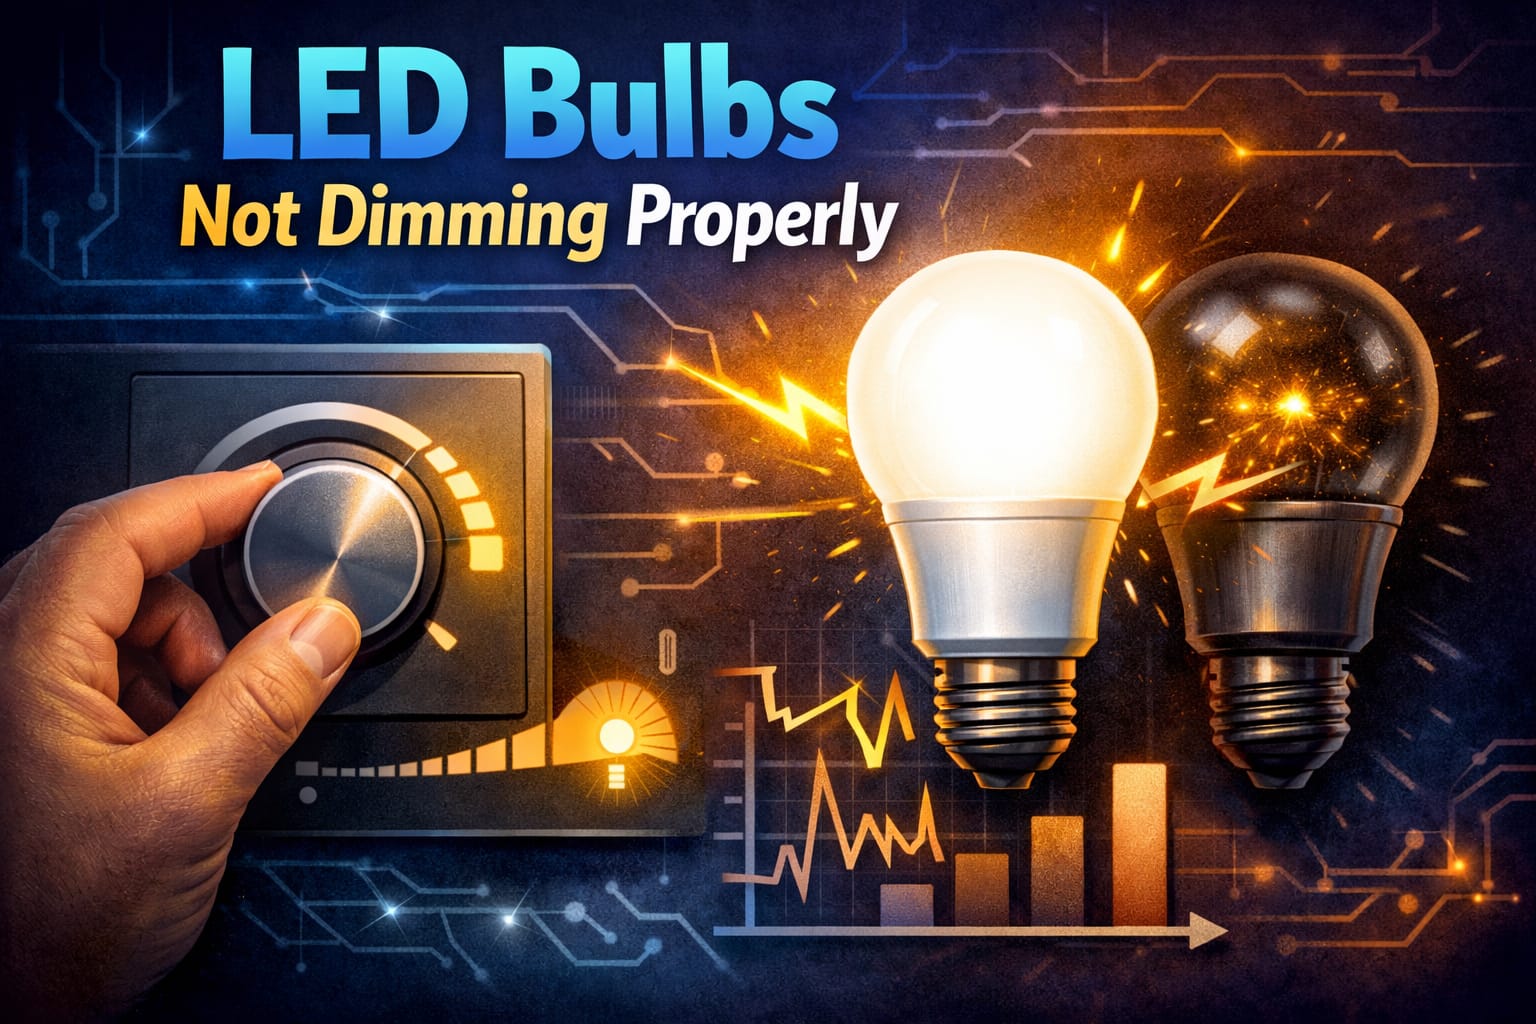
Table of Contents:
- Quick Answer
- Why LED Bulbs Flicker, Buzz, or Shut Off on a Dimmer
- 5 Checks Before Replacing Anything
- Leading-Edge vs Trailing-Edge Dimmers
- Minimum Load: Why LEDs Shut Off Before Fully Dimming
- Bulb Driver Quality and Dimming Range
- Wiring Issues and Safety Warning Signs
- What to Replace First: Bulb, Dimmer, or Load Resistor?
- Common Mistakes to Avoid
- Key Takeaways
- Sharing This Guide
Why LED Bulbs Flicker, Buzz, or Shut Off on a Dimmer
LED bulbs do not dim like older incandescent bulbs. Incandescent bulbs behaved like simple resistive loads, so reducing power usually reduced brightness in a predictable way. LED bulbs use internal electronic drivers, and those drivers must interpret the signal coming from the dimmer switch.
When the dimmer, bulb, and circuit load are not compatible, the result can be flicker, buzzing, humming, poor low-end dimming, sudden shutoff, or a small usable dimming range. That is why LED dimming issues are usually system compatibility problems, not simply “bad bulb” problems.
If your lights are too dim even at full brightness, that is a different issue covered in the guide on why LED lights appear dim indoors. If the main problem is unstable light output, flickering, or pulsing, the guide on LED flickering problems can help you compare related symptoms.
5 Checks Before Replacing Anything
Before buying new parts, work through the problem in the right order. A controlled check is usually cheaper and more reliable than replacing every bulb, then replacing the dimmer, then discovering that the issue was load range or wiring.
- Check the bulb label. If the bulb is not labeled “dimmable,” it is not designed to work with a dimmer, even if it turns on at full brightness.
- Check the dimmer rating. Many older wall dimmers were made for incandescent loads and may not control one or two low-wattage LED bulbs smoothly.
- Compare the total load. Add up the wattage of all bulbs on the circuit and compare that number with the dimmer’s stated operating range.
- Test one known-compatible bulb. Try one reputable dimmable LED bulb before replacing every bulb in the fixture.
- Watch for electrical warning signs. Flicker alone can be compatibility, but flicker with heat, smell, crackling, or breaker trips needs professional attention.
Even among products labeled as dimmable LED bulbs, performance varies. Better bulbs usually have stronger drivers, smoother low-end dimming, and broader compatibility with common wall controls. Budget bulbs may technically dim, but only across a narrow range and with visible flicker or noise.
Dimmer ratings matter just as much. A dimmer that worked perfectly with older incandescent bulbs may behave badly with modern LEDs because the wattage is much lower. If the dimmer does not support LED loads, symptoms often appear at the bottom of the dimming range: the lights jump, flicker, buzz, or turn off too early.
When troubleshooting a single fixture, test one replacement bulb from a reputable brand before replacing the entire set. If one known-compatible bulb dims smoothly, the original bulbs are likely the weak point. If it still flickers or shuts off early, the dimmer or circuit is more likely to blame.
If the dimming issue appears together with unusual breaker behavior, review the guide on LED lights tripping a breaker before continuing. A dimmer compatibility issue is common, but repeated tripping can point to a wider electrical problem.
Leading-Edge vs Trailing-Edge Dimmers
The type of dimmer matters as much as the type of bulb. Two switches can look almost identical on the wall while handling LED loads very differently behind the scenes.
Leading-edge dimmers, also called forward-phase or TRIAC dimmers, are the traditional models found in many homes. They cut the front part of the AC waveform before power reaches the bulb. This worked well with incandescent lamps, but it can be harsh on electronic LED drivers, especially at low brightness levels.
Trailing-edge dimmers, also called reverse-phase or ELV dimmers, cut the end of the waveform. This usually creates a smoother signal for electronic loads and often improves low-end dimming, reduces audible noise, and gives better overall LED dimmer compatibility.
If you want to understand why different dimming methods affect flicker, smoothness, and low-end control, the guide on PWM vs analog dimming explains the difference in more detail.
If your current dimmer is old, not LED-rated, or inconsistent with low-wattage bulbs, upgrading the control is often more effective than replacing the same bulbs again. For many residential setups, an LED-plus dimmer with wider bulb compatibility is a stronger option than a generic older wall dimmer.

Minimum Load: Why LEDs Shut Off Before Fully Dimming
Older dimmers often need a minimum amount of current to operate correctly. This was rarely a problem with incandescent bulbs because they used far more power. With LEDs, a circuit with only one or two efficient bulbs may not provide enough load for the dimmer to behave smoothly.
When the total load falls below the dimmer’s minimum threshold, you may see flicker, dead zones in the slider range, sudden bulb shutdown, or inconsistent brightness at lower settings. This is why people often think the bulbs are defective when the real issue is the dimmer’s load requirement.
The cleanest fix is usually an LED-rated dimmer designed for low loads. In stubborn low-load circuits where changing the dimmer or rewiring is not practical, a load resistor kit for low-load LED dimmer circuits may help stabilize dimmer behavior. This kind of solution should be used carefully and only when it fits the wiring setup.
Also consider heat. If the fixture traps heat around the bulb or dimmer, performance can become less stable over time. For related problems, read the guide on LED overheating and thermal management.
Bulb Driver Quality and Dimming Range
The driver inside the bulb controls how the LED responds to incoming power. Two bulbs may look similar on the shelf but behave very differently on the same dimmer. A stronger driver can usually handle dimming signals more smoothly, especially at low brightness levels.
Some bulbs only dim smoothly from about 70% to full brightness, then flicker or shut off below that point. Others fade down more evenly and stay stable at lower levels. This is why testing one better-quality dimmable LED bulb can quickly show whether the original bulb driver is the bottleneck.
Bulb quality matters more on dimmed circuits than many people expect. The comparison of cheap vs premium LED bulbs can help explain why two dimmable bulbs with similar packaging may perform very differently.
Reputable manufacturers sometimes publish compatibility lists showing which dimmer models they have tested. These lists are not perfect, but they are more useful than guessing. Certification marks such as Energy Star or Underwriters Laboratories do not guarantee perfect dimming in every installation, but they are a helpful sign that the product has passed baseline safety and performance checks.
Wiring Issues and Safety Warning Signs
Sometimes the bulb and dimmer are acceptable, but the circuit itself is not. Older homes, long wire runs, loose connections, poor terminations, three-way dimming circuits, and smart-home integrations can all create unstable dimming behavior.
Loose wiring at the switch, fixture, or junction box can introduce resistance that changes with heat and vibration. This can cause symptoms that seem random, such as flickering only at certain brightness levels or dimming behavior that changes from one day to the next.
The National Electrical Code establishes core rules for safe wiring practices, including conductor sizing and proper connections. The National Fire Protection Association’s electrical guidelines are a useful authority for understanding why correct wiring standards matter.
If dimming problems come with burning smells, hot switches, crackling sounds, sparks, repeated breaker trips, or lights that behave unpredictably after switch changes, stop troubleshooting live wiring and call a licensed electrician.
If you are not comfortable working around energized wiring, skip voltage testing and get help. Safety matters more than saving one service call.
What to Replace First: Bulb, Dimmer, or Load Resistor?
The best replacement depends on the symptom. Do not start with the most expensive fix. Use the pattern below to decide what makes sense first.
Bulbs flicker only when dimmed low: the most likely cause is dimmer compatibility or a minimum-load issue. Try checking the dimmer’s LED rating and load range first.
Bulbs buzz or hum: the most likely cause is an old dimmer, harsh phase-cut signal, or weak bulb driver. Try testing one better-quality dimmable bulb, then consider an LED-rated dimmer.
Lights shut off before the slider reaches the bottom: the most likely cause is a minimum-load problem or poor low-end adjustment. Try checking total wattage and using a low-load LED dimmer.
Only one bulb behaves badly: the most likely cause is bulb quality, driver variation, or mixed bulb types. Try replacing that bulb with a matching dimmable model.
Flicker comes with heat, smell, or breaker trips: the most likely cause is a possible wiring or circuit fault. Stop testing and call a licensed electrician.
For a broader diagnostic process, use the LED lighting troubleshooting guide to compare dimming problems with other LED failure points.
For more help with LED controls, bulb compatibility, dimmers, and troubleshooting, visit the LED Knowledge Center.
Common Mistakes to Avoid
Many LED dimming problems become harder to diagnose because of a few avoidable mistakes. Fixing these can sometimes solve the issue without advanced troubleshooting.
Do not mix bulb brands or models on the same dimmer. Different bulbs can react differently to the same dimming signal. One may dim smoothly while another flickers, buzzes, or turns off early.
Do not ignore the minimum load. Many people only check the maximum wattage, but the minimum load is just as important with LEDs. A circuit with too little wattage can be unstable even when it is far below the maximum rating.
Do not assume “dimmable” means compatible with every dimmer. A dimmable LED bulb still needs a compatible wall control. If the bulb and dimmer were never designed to work together, the dimming range may be poor.
Do not replace every part at once. Change one variable at a time. Test one bulb, then check the dimmer, then consider load correction or wiring inspection if the symptoms continue.
Key Takeaways
Most LED dimming problems come from compatibility issues between the bulb, dimmer, and circuit load. Older incandescent-era dimmers often struggle with modern low-wattage LEDs.
Start with the simplest checks: confirm the bulbs are dimmable, check the dimmer’s LED support, compare the load range, and test one known-compatible bulb before replacing everything.
If the lights flicker, buzz, shut off too early, or refuse to dim smoothly after those checks, treat the setup as a system problem. The right fix may be a better dimmer, better bulbs, load correction, or a professional wiring inspection.
Sharing This Guide
If you found this guide helpful, save it for later or share it with someone dealing with flicker, buzzing, shutoff, or poor dimming performance at home.
Use the links below:
Interested in learning more? Browse all related articles in our category section.