LED Driver Troubleshooting: Symptoms, Tests & Fixes
If your LED lights flicker, dim, shut off, or restart on their own, the driver is often the first component to check. A failing LED driver can look like a wiring issue, a bad dimmer, or a faulty LED strip, which makes it easy to misdiagnose.
This guide shows the most common symptoms of LED driver failure, what usually causes them, how to test a bad driver, and when replacement is the smarter fix. Whether you are troubleshooting a home installation or a larger lighting setup, identifying the problem early can save time, money, and unnecessary rewiring.
Quick Answer
A bad LED driver usually causes flickering, random shutoffs, buzzing, overheating, or unstable brightness. In many cases, you can confirm the problem with a quick visual inspection, output-voltage testing, and load isolation before deciding whether to replace the driver.
- Watch for flickering, dimming, cycling, or complete shutdowns.
- Common causes include heat, overload, poor ventilation, and voltage mismatch.
- Check the driver before blaming the strip, module, or dimmer.
- Testing is easier when you isolate the driver from the lighting load.
- Replacement is often more practical than repair for residential setups.
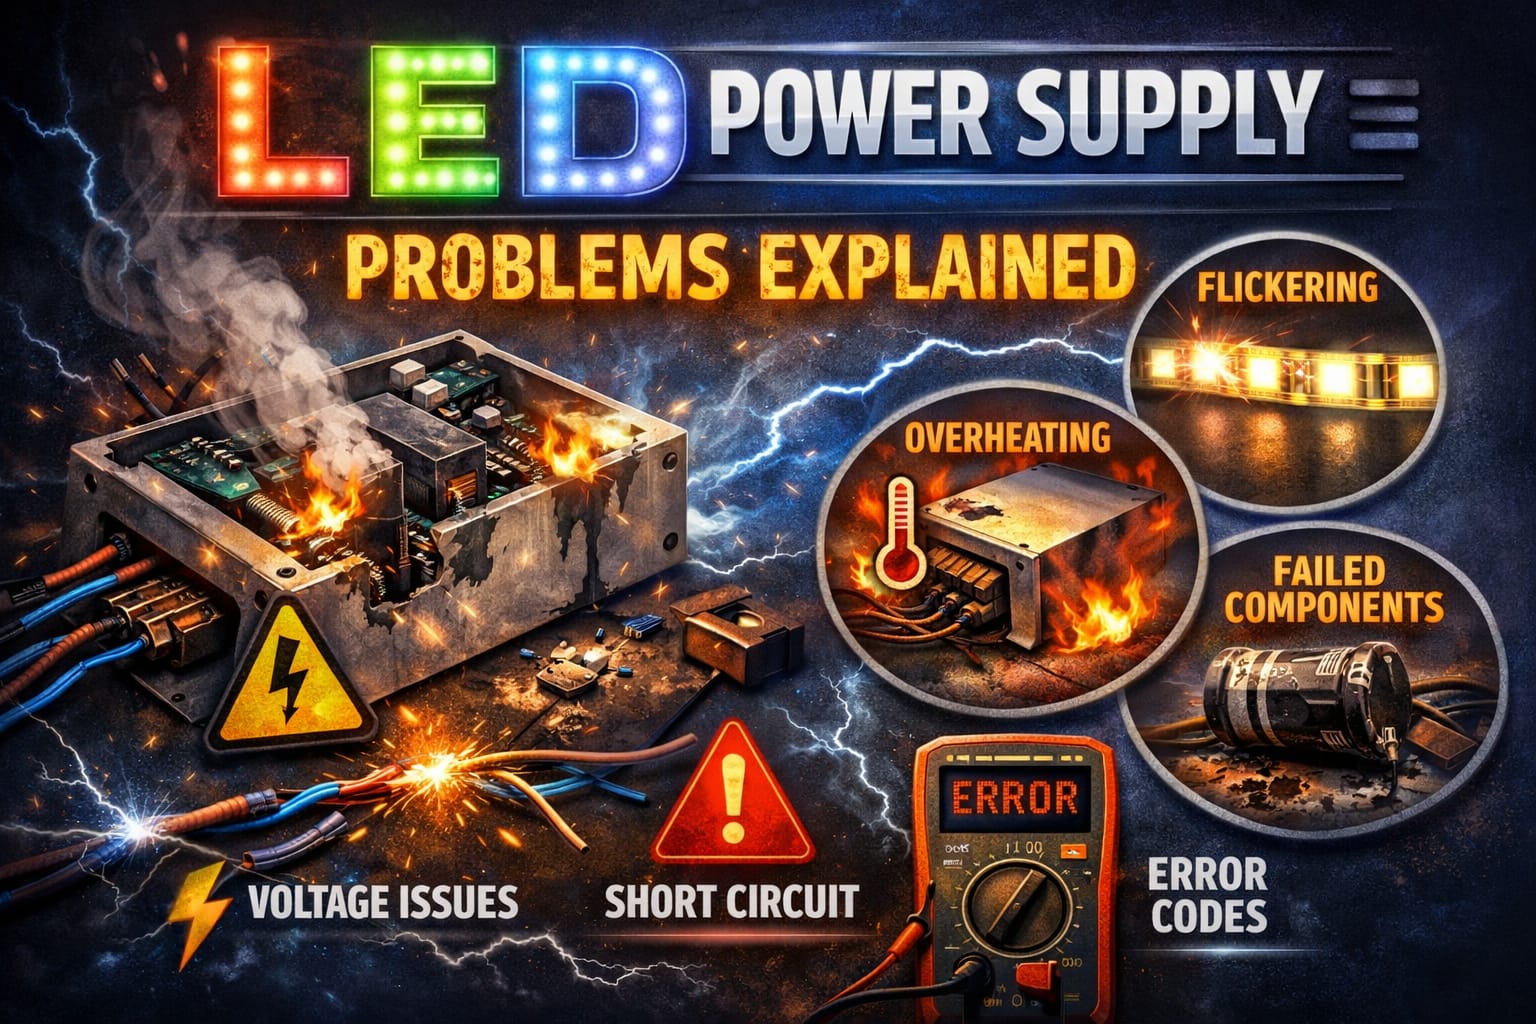
Table of Contents:
Signs of LED Driver Failure
The most common sign of LED driver failure is inconsistent light output. Instead of a steady beam, the fixture may flicker, pulse, fade, or shut off suddenly. In some setups, the lights may turn on normally but then shut off once the driver warms up. This pattern often indicates internal thermal stress rather than a loose connection.
Another strong clue is random restarting. If the driver powers the lights for a short time, shuts off, cools down, and then turns on again, the unit may be reaching its built-in protection limits. This is particularly common in overloaded drivers, poorly ventilated enclosures, and older units with worn capacitors.
Buzzing, whining, or a high-pitched noise coming from the driver housing usually means that the internal components are under stress. This does not always mean instant failure, but it is a warning sign that should not be ignored. If heat is part of the pattern, our guide on the dangers of LED overheating explains how prolonged thermal stress can quickly turn a small problem into the need for a full replacement.
Flicker, Dimming, and Shutdown Patterns
Flickering often indicates ripple or regulation issues within the driver. When internal filtering weakens, the output becomes less stable, causing the LEDs to respond with visible brightness fluctuations. Gradual dimming, on the other hand, can suggest output decay or a driver that can no longer handle the full load it once did.
Complete shutdowns followed by recovery usually indicate protective behavior. A driver that overheats or sees too much current will often cut output to protect itself and then restart later. In a strip-light setup, it is also worth reviewing common LED wiring mistakes because bad routing, poor connections, or overloaded runs can cause a healthy driver to malfunction.
Visible overheating is another major sign. The housing may feel unusually hot, the labels may discolor, and the ventilation areas may show yellowing or heat marks. In more severe cases, you may find bulging capacitors, darkened areas of the board, or a burnt smell. These are all strong indicators that the driver is no longer trustworthy.
What Causes Driver Failure?
Most driver failures stem from a few common causes: excessive heat, heavy loads, poor power quality, and harsh environmental exposure. Budget drivers tend to fail earlier because they often use lower-grade components that have less margin for heat and voltage stress. Even a decent unit can wear out quickly if it runs too close to its limit for years.
Overloading is one of the biggest mistakes. For example, if a 60-watt driver is asked to power 80 watts of lighting, it may work for a while, but it will almost always run hotter, regulate poorly, and age faster. The same thing can happen when a driver is sized correctly on paper but installed in a hot, sealed location with poor airflow.
Voltage mismatch also matters. A driver built for one load type may malfunction with another, and a dimmer-compatible setup may fail or flicker if the driver and dimmer are not matched properly. On the input side, repeated surges and unstable mains power can slowly weaken components over time. According to the U.S. Department of Energy, power quality and proper system matching play a major role in lighting reliability and lifespan.
The environment finishes the job. Moisture, dust, vibration, and corrosive air all shorten driver life. This is why outdoor, kitchen, bathroom, marine, and industrial installations require more robust protection and placement than simple indoor shelf or ceiling cove installations.
A driver can fail even when the LEDs still appear to be working properly. If you only replace strips or modules without checking the power side, the new lights may develop the same problem.
How to Test an LED Driver
The goal of testing is to distinguish between driver and fixture failure. Begin with the simple checks: inspect for loose terminals, discolored wire insulation, damaged housings, and obvious burn marks. Then, if possible, isolate the driver from the lighting load. A driver that shows unstable output with little or no load is much more suspicious than one that only struggles when the full system is connected.
Voltage testing is usually the most useful initial measurement. Compare the output reading to the nameplate value, and check that the output stays stable during operation. If you need a tool for this, consider the Klein Tools digital multimeter, which covers the basic voltage, continuity, and resistance checks required for most driver diagnostics.
Temperature is the next clue. If the housing runs much hotter than expected, the driver may be overloaded or degraded internally. A broader troubleshooting approach can be helpful here, especially if you are unsure whether the problem lies in the driver, the wiring, or the fixture. Our complete LED troubleshooting guide is useful for working through that process step by step.
Visual Checks and Meter Testing
Visual inspection matters more than people think. Bulging capacitors, cracked solder joints, blackened areas of the board, and heat damage around power components often reveal the problem before a meter reading does. If the driver has reached that point, replacement is usually the best option.
When using a meter, check the output voltage with the correct settings and compare it to the driver’s specifications. If the driver powers on but the voltage fluctuates, sags significantly under load, or disappears once the unit warms up, the issue is likely a faulty driver rather than a simple connection problem. If the installation never worked properly from the start, it is also worth checking for common installation mistakes that can cause “driver problems.”
Exercise caution when opening any driver housing. Capacitors can retain a residual charge even after the power is disconnected. If you are not comfortable working around energized or recently energized power components, it is safer to replace the driver than to perform exploratory repairs.
When to Replace the Driver
In most residential and light commercial installations, replacement is the smarter move once you have confirmed real driver instability. If the housing shows heat damage, the output is inconsistent, or the unit repeatedly trips protection under a normal load, it is usually not worth trying to squeeze a few more months out of it.
The replacement must match the load correctly. The output voltage must fit the fixture or strip; the total wattage should include sensible headroom; and dimming compatibility matters if the original setup used a wall dimmer or smart control. When a dimmable 12V replacement is the right fit, this Armacost 60W dimmable 12V TRIAC driver is an excellent example of a properly matched replacement that can solve flicker caused by an aging or incompatible driver.
After replacing the driver, check the operating temperature to ensure everything is functioning properly. An infrared thermometer makes that easy. The Klein Tools IR1 is useful for checking driver housings and nearby LED components without touching live hardware. If the new driver still runs too hot, the deeper issue may be overload, poor ventilation, or bad installation conditions rather than a problem with the driver itself.
If a replacement driver only works when lightly loaded, do not assume the new unit is defective. Recheck the total wattage, voltage type, dimmer compatibility, and ventilation before sending it back.
How to Prevent Future Failures
The best strategy for preventing future failures is to avoid pushing the driver too hard in the first place. Leave wattage headroom, mount the unit in a place where air can circulate around it, and keep it away from sources of unnecessary heat and moisture. Good placement can add years to the unit’s life.
Routine inspections also help. Dust buildup, loose terminals, and rising operating temperatures tend to appear before total failure. In commercial setups, scheduled checks are sensible. In residential setups, a quick annual inspection can reveal a driver that is beginning to overheat or corrode.
Finally, do not ignore installation basics. Wrong polarity, overloaded runs, poor dimmer matching, and cramped mounting locations all shorten driver life. If you want a broader refresher on specifications, wiring, and selection before replacing anything, the LED Knowledge Center is a useful resource.
Key Takeaways
LED driver failure typically manifests as flickering, dimming, random shutdowns, buzzing, or overheating rather than instant total failure. The most useful clue is often a pattern of unstable behavior, especially when the lights briefly turn on and then turn off as the driver warms up.
In most cases, the main causes are overload, poor ventilation, voltage mismatch, and long-term thermal stress. A simple combination of visual inspection, voltage testing, and load isolation is often enough to determine if the driver is the actual problem.
If the driver is clearly unstable or heat-damaged, replacing it is usually the best solution. Properly matching the new unit and ensuring adequate airflow will contribute more to long-term reliability than simply replacing the unit and reinstalling it under the same poor conditions.
Sharing This Guide
If this guide helped you determine whether the driver is the problem, feel free to save or share it with someone troubleshooting flickering, shutdowns, or unstable LED power.
Interested in learning more? Browse all related articles in our categories section.