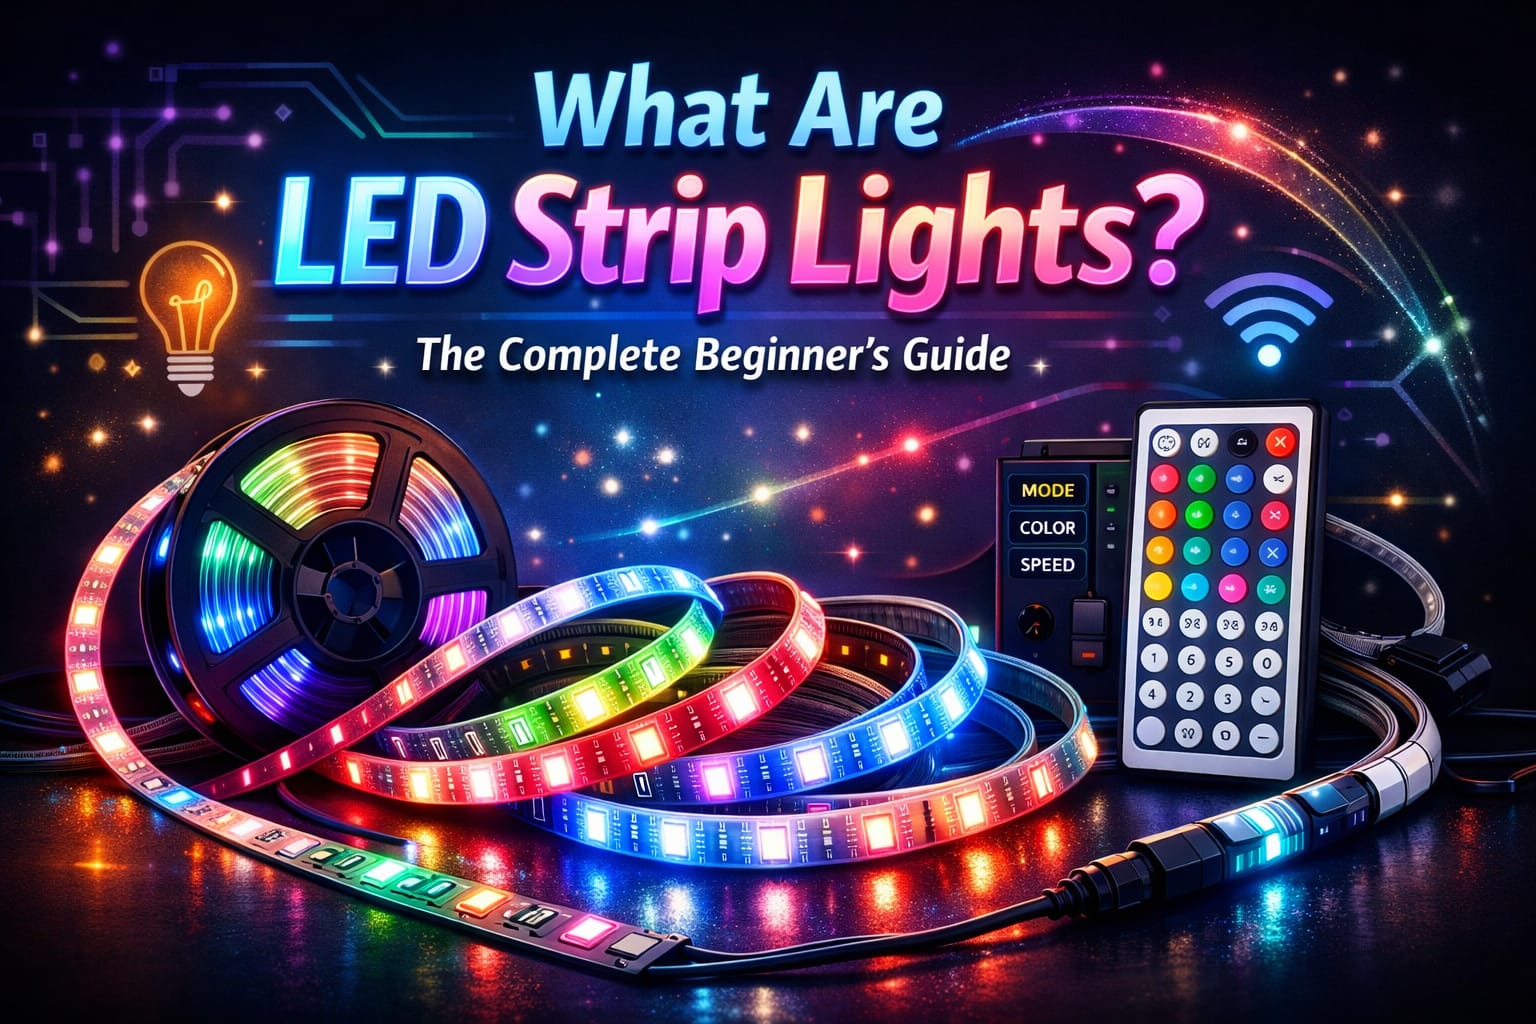
What Are LED Strip Lights? Types, Uses, and Setup Guide
LED strip lights are an easy way to add modern lighting without installing bulky fixtures. They can brighten work areas, provide soft ambient lighting, and create decorative accents in spaces where standard bulbs or lamps are not suitable.
Once you understand the basics, it becomes much easier to choose the right type, avoid common mistakes, and build a setup that looks clean, works reliably, and is worth the money.
Quick Answer
LED strip lights are flexible, low-voltage lighting strips used for accent, task, and decorative lighting. To achieve the best results, match the brightness, voltage, IP rating, and controls to the space where you plan to install them.
- They are easy to cut, customize, and fit into tight spaces.
- They are available in white, tunable white, and color-changing versions.
- They are useful for cabinets, TVs, stairs, shelves, and ceiling accents.
- They require the right power supply, mounting surface, and controller.
What are LED strip lights?
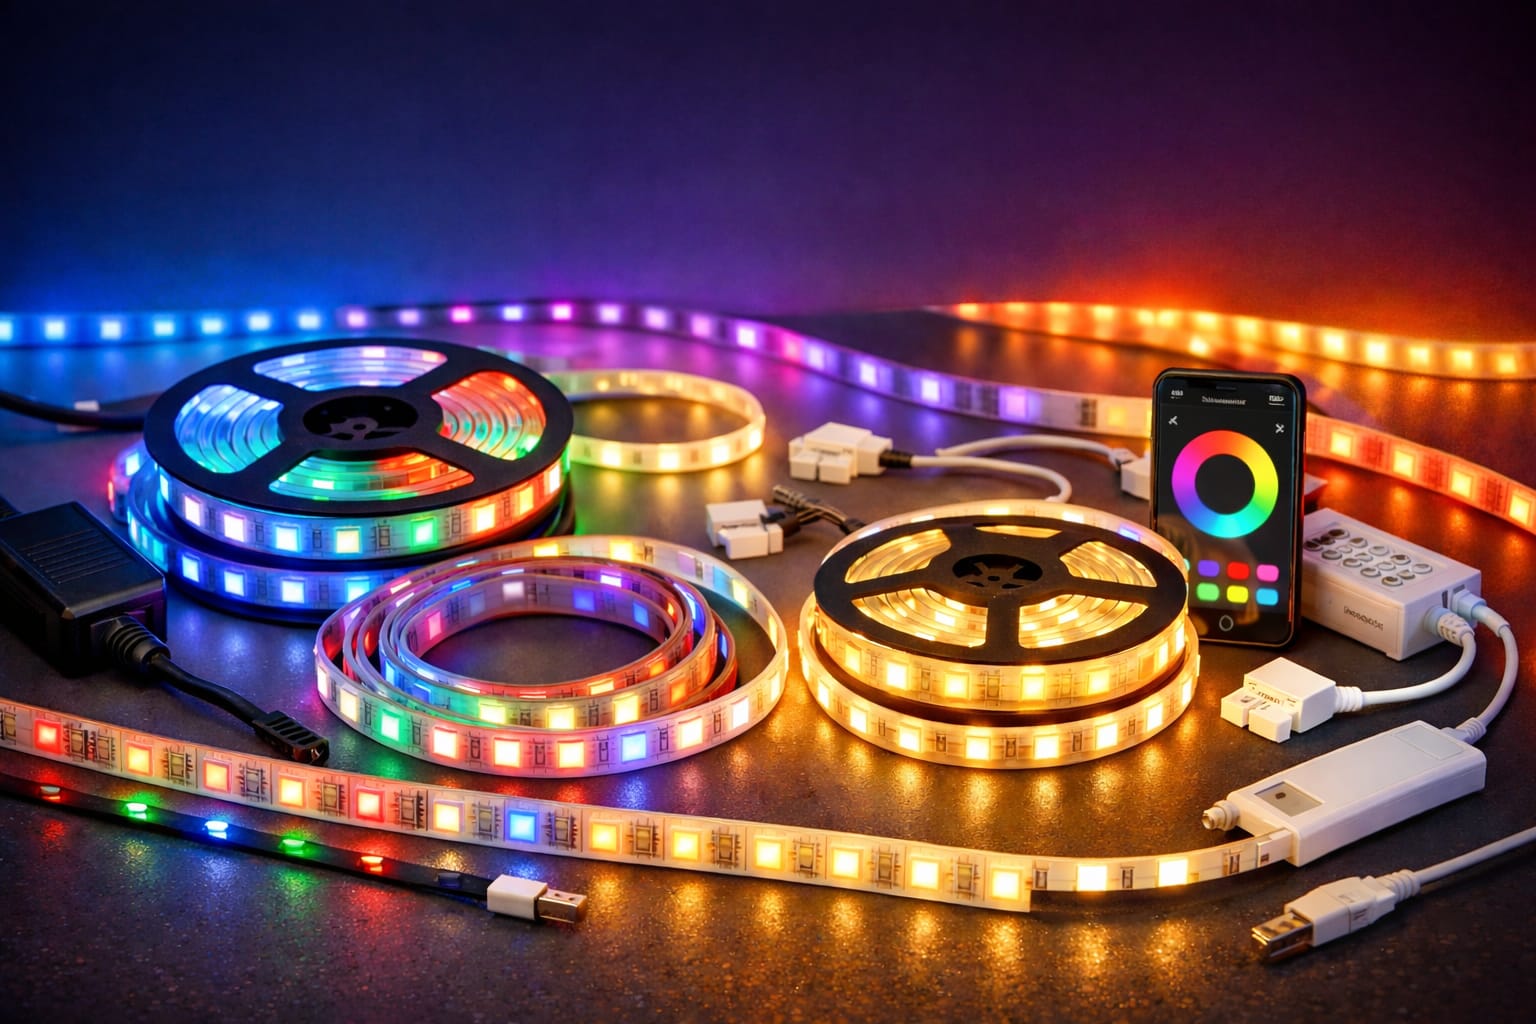
LED strip lights, also called LED tape lights or flexible LED strips, are narrow circuit boards lined with small light-emitting diodes. Most versions have an adhesive backing, allowing them to be mounted on many smooth indoor surfaces without the bulk of a traditional fixture. This simple design is one reason they have become so popular for use in homes, gaming setups, shelving, cabinetry, and accent lighting projects.
The strip is built on a flexible printed circuit board that holds LED chips, resistors, and connection points. Its flexibility allows it to bend easily, making it ideal for use around corners, under cabinets, behind TVs, along shelves, and in other places where a standard light fixture would look out of place or be too large. Most strips are sold on reels, making them easy to measure, cut, and adapt to a specific layout.
Most LED strip lights run on low-voltage DC power, typically 12V or 24V, making them a better option for DIY lighting than mains-powered products. They are commonly sold in 5-meter (16.4-foot) reels and have marked cutting points every few inches so you can trim them to fit the space. If you want an easy starting point, a smart LED strip starter kit with a built-in controller can simplify the process.
LED density also matters more than many beginners expect. You will often see 30, 60, or 120 LEDs per meter, and this number affects brightness and the smoothness of the light. A higher density usually creates a cleaner, more continuous line of light with less visible spotting, which matters most in exposed installations where the strip itself can be seen.
How LED Strip Lights Work
Understanding how they work helps you choose the right kit and avoid installation mistakes. At the most basic level, these strips convert electrical energy into light through electroluminescence. Direct current (DC) power moves through the strip; then, current passes through each LED package, and the semiconductor material inside the chip emits visible light.
The strip also includes resistors and copper pathways at regular intervals, which is why the cutting points are important. If you want the remaining strip to keep working properly, you should only cut at the marked sections. For a deeper technical explanation, our LED Knowledge Center covers the engineering side in more detail. This guide explains the strip-specific details step by step.
White strips use LEDs designed for a specific color temperature. In contrast, RGB and RGBW strip lighting use separate color channels that the controller can mix. RGB strips use red, green, and blue LEDs to create different colors. RGBW models have an additional white channel, which usually produces better white light for everyday use than mixing white from color channels alone.
Always match the strip voltage to the power supply voltage. Using a 24V power supply with a 12V strip can damage it, while using a 12V supply with a 24V strip can leave it dim, unstable, or unusable.
Brightness and color are typically controlled using dimmers or controllers that employ pulse width modulation (PWM). This involves the LEDs switching on and off extremely quickly to regulate light output without making the change obvious to the eye. For most buyers, what matters is simple: the strip, power supply, and controller must match for stable brightness, reliable color control, and a long-lasting setup.
Types of LED Strip Lights and Where They Work Best
There are several main types of LED strip lights. The right type depends on whether you want practical lighting, decorative color, or a mix of both. For a broader comparison, this guide explains the differences in more detail. For most homes, the easiest place to start is deciding if you want a white strip for functionality or a color-changing strip for mood and visual effects.
Single-color strips are the most straightforward option. They produce one fixed color — usually warm white, neutral white, or cool white — and are ideal for under-cabinet lighting, shelving, closets, and work areas where consistency matters more than effects. Tunable white strips take it a step further, letting you adjust the color temperature from warm to cool. This makes them especially useful in bedrooms, offices, and multiuse spaces where the ideal lighting tone changes throughout the day.
RGB strip lighting is designed for flexible color output. RGBW and RGBWW strips have an additional white channel, which provides cleaner white light in addition to color effects. This makes RGBW-style products a better fit for installations that cover both everyday lighting and decorative scenes. In places like bedrooms or media rooms, this versatility is more useful than a basic color-only strip, especially if you want a setup that is more balanced than pure entertainment lighting. For more details on room-specific inspiration, check out our guide to the best LED strip lights for bedroom use.
You also need to consider protection levels. Non-waterproof strips, such as IP20, are intended for dry indoor spaces. IP65 offers splash resistance, and IP67 or IP68 provides stronger protection for wet locations or outdoor use. This distinction is as important as color or brightness because the wrong IP rating can quickly shorten the strip’s life. If you are installing strips outdoors or near sinks, showers, or patios, our IP rating guide for LED strips will help you make a more informed decision.
Why LED Strip Lights Are So Popular
LED strip lights remain popular because they solve several problems at once. They save space, use relatively little power, and can handle practical and decorative roles without bulky housings or complex installation. Compared with older lighting approaches, they also make it much easier to add light exactly where you need it—whether under cabinets, along shelves, behind a headboard, or inside a recessed ceiling detail.
Their flexibility makes them useful in a wide range of rooms. In kitchens, they are ideal for task lighting under upper cabinets because they minimize shadows on countertops and enhance visibility during food preparation. In living rooms and bedrooms, they are often used for cove lighting, accenting furniture, or providing a soft ambient glow that adds depth without creating harsh glare. If you want to refine the placement of lighting in sleeping spaces, our bedroom lighting design guide is a helpful next read.
They are also ideal for entertainment and pathway lighting. RGB strips behind TVs or monitors create more comfortable bias lighting, and low-level strips along stairs and hallways improve safety without flooding the area with harsh light. In these setups, stable power is important because flicker and uneven brightness are easily noticed, which is why using a dedicated LED strip power supply is often better than reusing a random adapter.
People also choose LED strip lights because they are efficient, long-lasting, and safer for DIY projects than mains-voltage lighting. Most run on 12V or 24V DC; they reach full brightness immediately, and quality strips can last for years before their brightness noticeably declines. This combination of flexibility, efficiency, and low-voltage convenience makes them useful not only for homes but also for retail displays, commercial shelving, outdoor accents, and other spaces where lighting must be practical and visually appealing.
How to Choose the Right LED Strip Lights
Choosing the right LED strip lights comes down to a few practical decisions. Make the right choices, and the strip will look better, last longer, and be much easier to live with. This LED strip selection guide provides a more detailed walkthrough, but the most important factors are brightness, LED density, color temperature, voltage, IP rating, and control options.
Brightness is typically measured in lumens per meter or foot. LED density affects both the overall output and the smoothness of the light. Ambient lighting often works with lower output, but task lighting usually requires more brightness and uniformity. If you’re still feeling confused, this LED strip brightness guide explains what to consider before buying, and our lumens vs. watts guide provides useful context for comparing efficiency and perceived light output.
Color temperature is just as important as brightness. Cool white often works best in kitchens, offices, and work areas, while warm white usually feels more comfortable in bedrooms and living spaces. You also need to consider run length and voltage. 12V strips are often sufficient for short projects, but 24V strips typically handle voltage drop better for longer runs, providing more consistent brightness. If you want voice control, timers, or app-based scenes, check the product’s compatibility with smart LED lighting systems before buying.
Don’t buy LED strip lights based on price alone. Inexpensive strips often use lower-quality chips, weaker adhesive, and unreliable controllers, which can result in uneven color, accelerated degradation, and frustrating installation issues.
Before ordering, make sure you have everything you need for a complete setup, not just the strip itself. This usually means having the correct length and voltage strip, a power supply with sufficient wattage, a controller for RGB, RGBW, or smart features, and connectors or soldering supplies to join sections, if necessary. Mounting clips or aluminum channels can also significantly impact the final result, especially if the strip will be visible after installation.
- Choose a strip type that matches the room and lighting goal.
- The correct voltage and sufficient power supply capacity are also important.
- A suitable IP rating for the environment
- A compatible controller, dimmer, or smart system.
- Use connectors, clips, or channels for a cleaner finish.
Installation Basics and Common Mistakes to Avoid
Although installing LED strip lights is usually straightforward, small details can greatly affect the final result’s appearance and longevity. First, clean the mounting surface thoroughly with isopropyl alcohol to remove dust, grease, and debris. Adhesive-backed strips adhere best to clean, smooth surfaces, so poor preparation is one of the most common reasons a strip will peel away later. If that becomes a problem, our guide to fixing LED strips that won’t stick covers the usual causes.
Measure carefully before cutting and only cut at the marked points on the strip. Place the power supply near an outlet, but in a hidden, ventilated location. Size it with enough headroom for the full run. Beginners often make two mistakes: underpowering the strip and assuming any old adapter will work. Another mistake is ignoring voltage drop on long runs, which can cause the far end of the strip to be dimmer than the beginning. For more detailed calculations and layouts, see our full LED installation guide.
Aluminum channels or profiles are worth using whenever the strip will be visible. They protect the strip, improve heat dissipation, reduce spotting when used with a diffuser, and usually make the finished installation look much cleaner. If you want a simple solution, an aluminum channel diffuser can help create a more polished line of light.
Connections also require more attention than many first-time buyers expect. Solderless connectors work for simple jobs, but soldering creates a more durable long-term connection. Always check the polarity before powering the strip and confirm that the controller, strip, and power supply are compatible before final installation. If you need a walkthrough, here’s how to correctly connect LED strip lights.
The most common mistakes include using the wrong power supply, ignoring IP ratings in wet areas, placing high-density strips in areas with poor heat dissipation, and failing to perform a full test before permanently mounting everything. Reviewing these common LED wiring mistakes before you start will also help. Testing first saves time, protects your components, and makes it much easier to fix a problem before the strip is stuck in place.
Frequently Asked Questions
How long do LED strip lights actually last?
Quality LED strip lights usually last around 30,000 to 50,000 hours under normal conditions. This translates to many years of use in a typical home, though heat, power quality, and product quality all affect the actual lifespan.
Can I cut LED strip lights to custom lengths?
Yes, but only at the marked cutting points. These are typically indicated by scissor symbols or copper pads. Cutting between these marks can damage the circuit and render part of the strip unusable.
Are LED strip lights safe to leave on all the time?
They can be safe when installed correctly with a suitable power supply and proper mounting. However, leaving them on constantly will shorten their lifespan. Timers, dimmers, motion sensors, and smart controls are usually a better long-term solution.
What’s the difference between 12V and 24V LED strips?
The main difference is how they handle run length and voltage drop. 12V strips are ideal for shorter distances, while 24V strips provide more consistent brightness over longer distances and are often the better choice for larger installations.
Next Steps for Your LED Strip Project
Now that you know what LED strip lights are, how they work, which types fit different spaces, and what matters most when choosing and installing them, you can move on to the next step. The next step is to turn that knowledge into a setup that fits your room, lighting goals, and budget without overbuying or choosing the wrong components.
If you are planning an advanced project or fixing an existing installation, our LED troubleshooting guide is an excellent next read. For broader advice on efficiency and lighting best practices, explore the Energy Saver LED lighting resources.
One of the biggest advantages of LED strip lights is that they make modern lighting more accessible. A project that once seemed too custom or expensive can now be achieved with the right strip, careful planning, and an understanding of how power, brightness, and placement work together.
For more technical, research-based information on modern LED lighting, visit the Lighting Research Center.
Key Takeaways
– LED strip lights are flexible, efficient lighting tools that can handle accent, task, and decorative lighting when you choose a strip type that matches the space and purpose.
To achieve the best results, match the brightness, voltage, IP rating, and control options to the room. Then, use reliable components and test the setup before final installation.
Due to their compact size, versatility, and ease of customization compared to many traditional fixtures, LED strip lights remain one of the simplest ways to upgrade a space with clean, modern lighting.
Share this guide with someone planning an LED strip lighting project.
Facebook | X (Twitter) | WhatsApp | LinkedIn