LED Lights Not Working After Installation? 5 Checks First
If your LED lights are not working after installation, do not replace the fixture yet. In most cases, the problem is one of five things: no power at the fixture, a loose connection, the wrong 12V or 24V power supply, reversed polarity, or an incompatible dimmer, driver, switch, or controller.
This guide shows you what to check first, how to narrow down the fault safely, and when the issue is serious enough to stop troubleshooting and call an electrician.
Quick Answer
Most LED lights that do not work after installation fail because power is not reaching the light, the wiring is loose, the voltage does not match, polarity is reversed, or the dimmer, driver, transformer, or controller is not compatible. Check these issues in this order before assuming the LED product is defective.
- Check the breaker, wall switch, and incoming power first.
- Inspect wire nuts, terminals, strip connectors, and splices for loose or incorrect connections.
- Confirm whether the product needs line voltage, 12V DC, or 24V DC.
- Check polarity on low-voltage LED strips, modules, and drivers.
- Bypass incompatible dimmers, controllers, drivers, or transformers only if it is safe to do so.
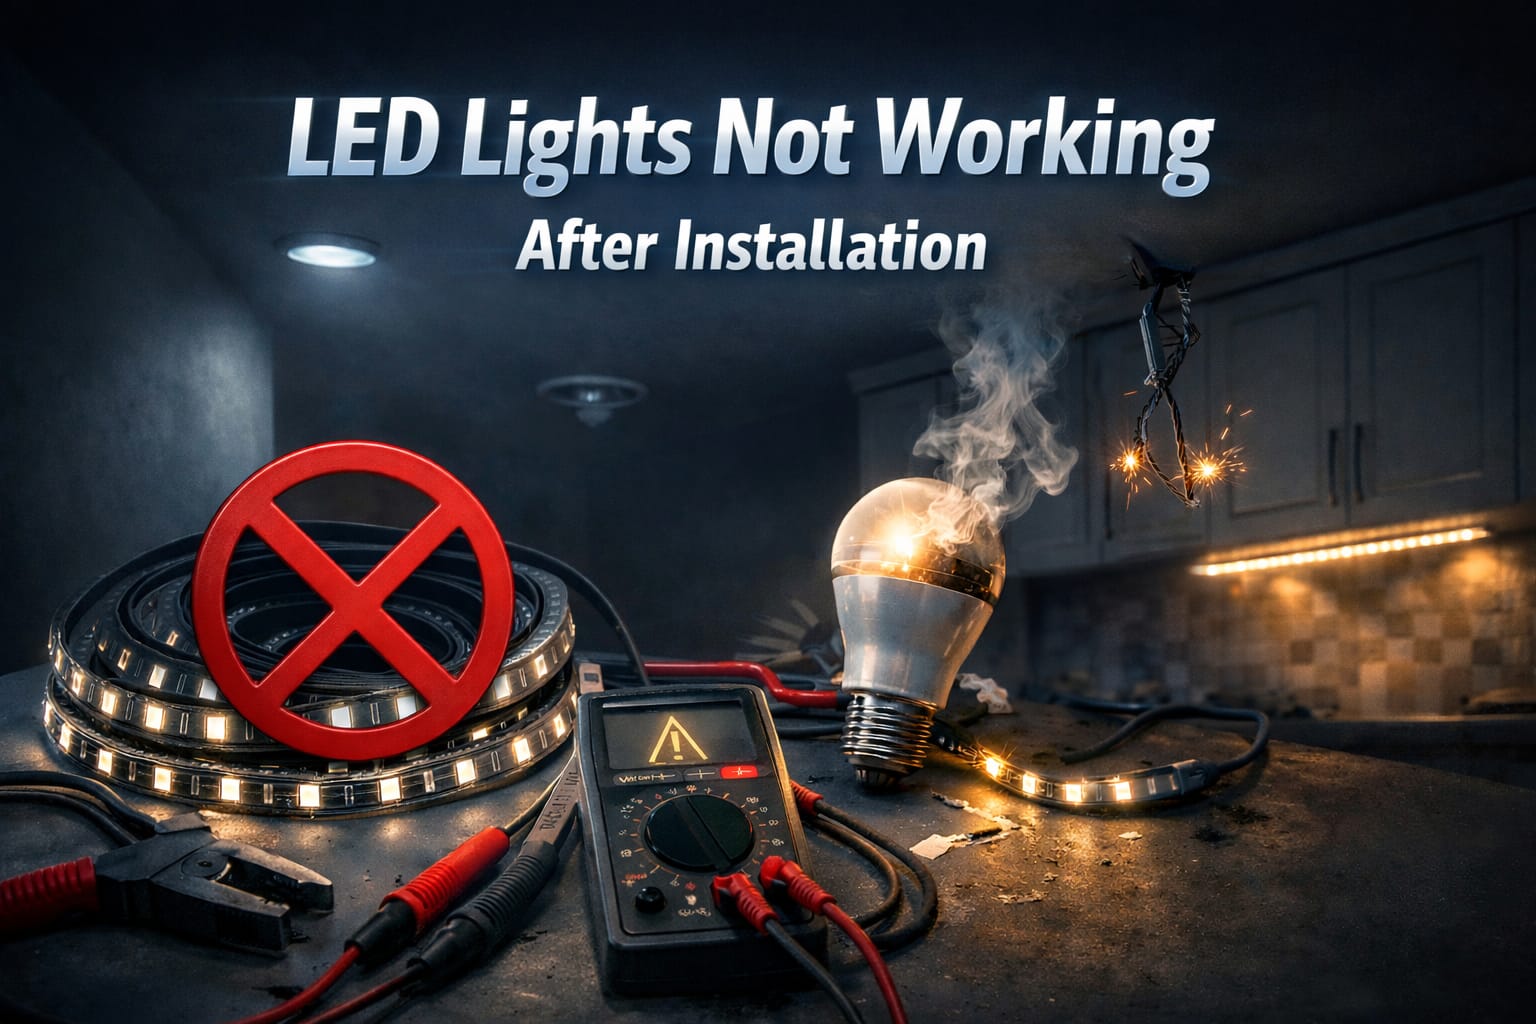
Table of Contents:
- Quick Answer
- 1. No Power Reaching the LED Fixture
- 2. Loose or Incorrect LED Wiring Connections
- 3. Wrong Voltage: 12V, 24V, or Line Voltage
- 4. Incompatible LED Dimmer, Switch, or Controller
- 5. Bad Fixture, Bulb, Driver, or Installation Environment
- How to Test the LED Before Replacing Parts
- When to Stop and Call an Electrician
- Key Takeaways
- Sharing This Guide
1. No Power Reaching the LED Fixture
The first check is simple: make sure the LED light is actually receiving power. If your LED lights won’t turn on after installation, the issue may be upstream from the light itself. A tripped breaker, a switched-off wall control, a loose feed wire, or a failed connection in the fixture box can make a new LED appear dead.
Check the electrical panel and fully reset any tripped breaker by switching it all the way off, then back on. Some breakers may only partially trip and look normal at first glance. If the breaker trips again immediately, stop and investigate the cause instead of repeatedly resetting it. Repeated trips usually point to an overload, short circuit, wiring fault, or incompatible installation. If that sounds familiar, this guide on LED installations causing breakers to trip can help you narrow down the cause.
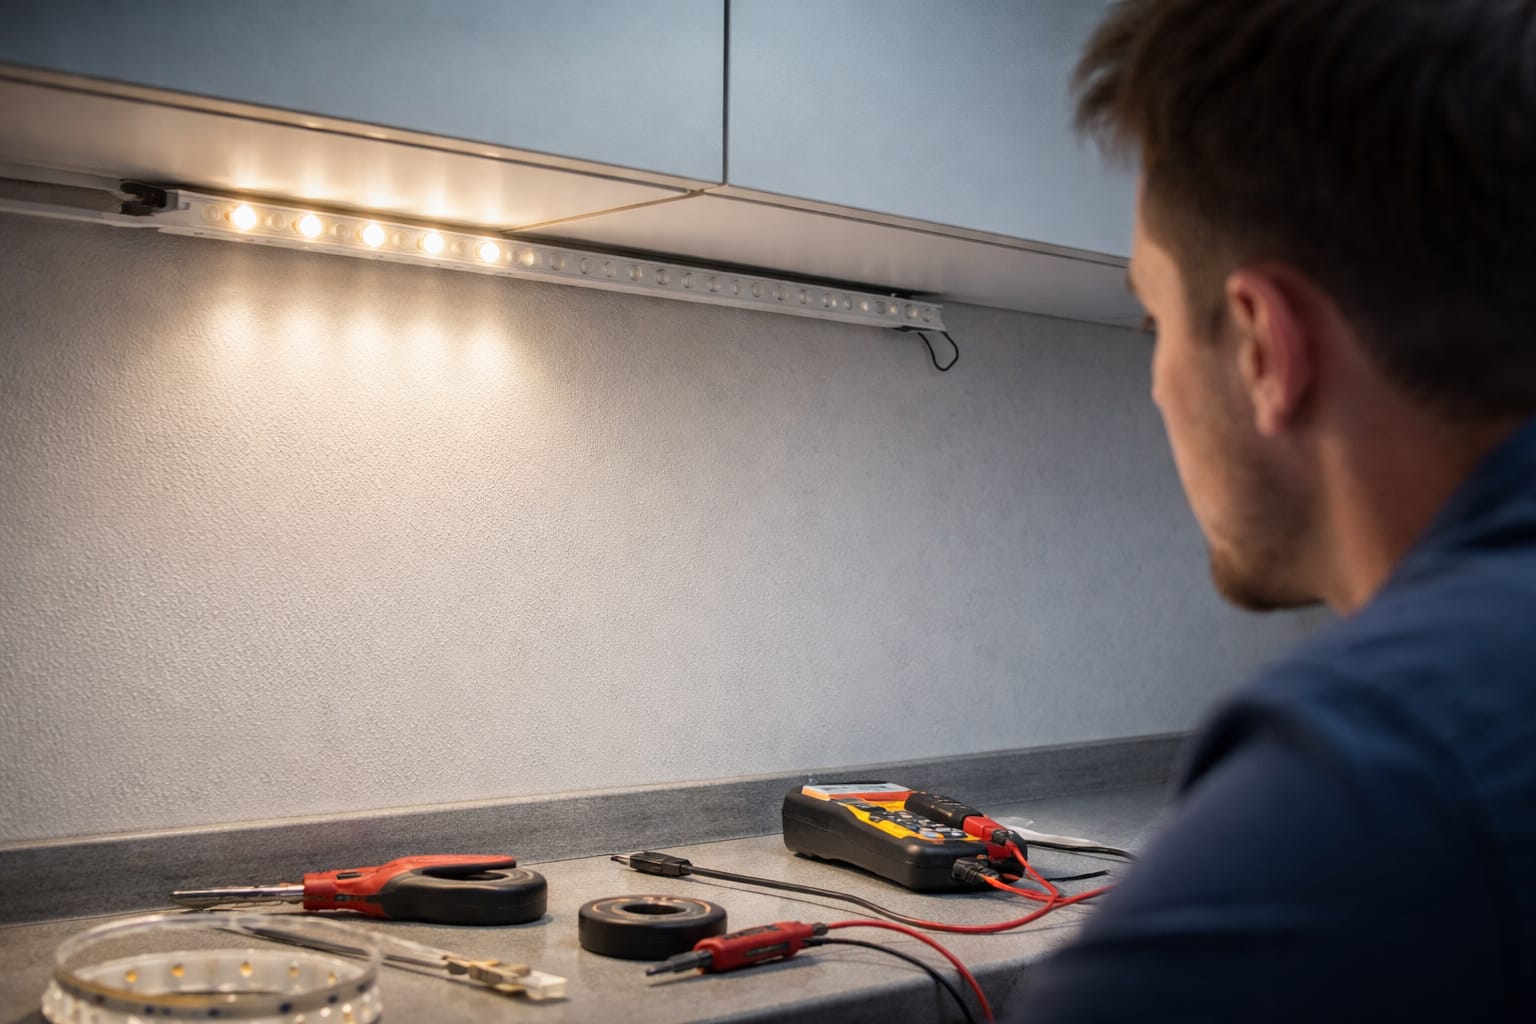
Circuit capacity matters too. Even efficient LEDs can cause problems if the circuit is already overloaded with other appliances or if multiple fixtures were added at once. Add up the total wattage on the circuit and keep the load safely below the breaker rating. If you need to verify what the circuit or driver is actually delivering, a digital multimeter for checking voltage and continuity is one of the most useful tools for troubleshooting LED installation problems.
2. Loose or Incorrect LED Wiring Connections
Loose wiring is one of the most common reasons a new LED fixture, bulb, or strip fails after installation. A wire may look connected but still be partly seated, poorly stripped, inserted into the wrong terminal, or held by a connector that is not the right size for the wire. Before opening any fixture, switch off power at the breaker and confirm the circuit is safe to work on.
Before you remake any connections, take a clear photo of the existing wiring with your phone. It gives you a reference point if you need to backtrack or compare the final wiring to the original layout.
Inspect each splice, push-in connector, terminal block, strip connector, and socket connection. A good connection should not shift when you gently tug on the wire. If anything feels loose, disconnect it, trim back damaged copper, strip the wire cleanly, and remake the connection with the correct size connector.
Wire identification also matters. In standard North American wiring, black is usually hot, white is neutral, and bare copper or green is ground. Red is often used for a second switched line in three-way or multi-switch setups. Other regions use different color codes, so never rely on color alone if the installation is unfamiliar. When in doubt, follow the relevant electrical code standards for your area.
Wire gauge can also affect LED performance, especially on longer low-voltage runs. Most residential lighting circuits use 14-gauge wire with 15-amp breakers or 12-gauge wire with 20-amp breakers. For LED strips, long runs of thin wire can create voltage drop, causing dimming, uneven brightness, or even unwanted LED color changes when the strip is not receiving stable voltage.
3. Wrong Voltage: 12V, 24V, or Line Voltage
A voltage mismatch is easy to miss because many LED products look similar from the outside. Some LED bulbs and fixtures connect directly to household line voltage, while many LED strips, modules, cabinet lights, and specialty fixtures need 12V or 24V DC from a separate driver or transformer.
Connecting a low-voltage LED product directly to line voltage can damage it immediately. Connecting a 24V strip to a 12V supply may leave it dim or nonfunctional, while connecting a 12V strip to the wrong supply can overdrive the LEDs. If you are troubleshooting strip lights, understanding the 5V, 12V, and 24V LED strip voltage differences can prevent you from choosing the wrong replacement supply.
For low-voltage LED strip setups that require stable 12V DC output, a regulated 12V power supply adapter for LED strips can help avoid unstable power, flickering, poor startup, and premature strip failure when the original adapter is weak or mismatched.
The power supply must also be sized correctly. As a general rule, the driver or transformer should have at least 20% more capacity than the total LED load. For example, if your LED system draws 60 watts, use a power supply rated for at least 72 watts. Running a driver at its limit can cause overheating, shutdowns, flickering, or early failure.
Polarity is part of this same check for low-voltage DC LEDs. If positive and negative are reversed on an LED strip, module, or driver output, the light may stay completely dark even if nothing looks burned. Check the + and – markings on the product and power supply, then confirm polarity with a multimeter if the strip still does not turn on.
Do not guess with 12V, 24V, series, or parallel LED wiring. A wrong voltage or wiring layout can leave the system inoperable or damage the driver and connected LEDs.
Wiring layout also affects voltage and current. In a series setup, voltage requirements add together. In a parallel setup, voltage stays the same, but current demand increases. Before finishing the installation, calculate the total load and confirm that the driver, wire size, connectors, and layout match the LED system.
4. Incompatible LED Dimmer, Switch, or Controller
Not every existing dimmer, switch, transformer, or controller works with LEDs. Older incandescent dimmers were designed for filament bulbs, not modern LED drivers. A mismatch can cause flickering, buzzing, dead zones in the dimming range, delayed startup, or no light at all.
If the LED stopped working immediately after installation, test the fixture with a standard on/off switch or temporarily bypass the dimmer only if it is safe and permitted for your setup. If the light works without the dimmer, the control device is likely the issue rather than the LED fixture.
For LED strip setups, replacing an unstable or mismatched controller with a low-voltage LED strip dimmer controller can be more reliable than forcing the strip to work with a controller that was not designed for that voltage or load.
Minimum load is another common problem. Some LED-compatible dimmers still require a minimum wattage to operate properly. If the circuit only has one or two efficient LED bulbs, the dimmer may not detect enough load and the light may fail to start or dim correctly. This is also a common reason LED bulbs do not dim properly, even when the wiring itself is correct.
5. Bad Fixture, Bulb, Driver, or Installation Environment
If power, wiring, voltage, polarity, and controls all check out, the next step is to test the LED product itself. Defective bulbs, damaged sockets, weak drivers, poor-quality fixtures, and damaged LED strips can all fail even when the installation looks correct.
Start with a simple swap test. Place the LED bulb in a known working fixture, then try a known working bulb in the new fixture. For LED strips, test a short section directly from a compatible power supply if the product design allows it. This helps separate a product fault from a wiring, socket, or driver problem.
Socket contact can also stop a screw-in LED bulb from turning on. In some fixtures, the small center tab sits too low and does not touch the bulb base. With power switched off, check for residue, bent contacts, poor alignment, or a bulb that does not seat firmly. If the bulb wobbles or screws in awkwardly, the socket may be the weak point.
Drivers and transformers are another common failure point because they handle the conversion and regulation LEDs depend on. A bad driver can leave a fixture completely dark even if the incoming power and LED module are fine. Compare the driver output to the value printed on the label; if the output is missing, unstable, or far below the rated value, the driver may need replacement.
Driver type matters before you buy a replacement. Some LED products need a constant-voltage supply, while others require a constant-current driver. Choosing the wrong type can leave the light dead again, so check the fixture label and review the difference between constant current vs constant voltage LED drivers before matching a new driver to the LED load.
The installation environment can make a working LED appear faulty too. Enclosed housings, recessed fixtures, tight cavities, and poor ventilation can trap heat around the driver. Outdoor fixtures, bathrooms, and damp locations can introduce moisture that corrodes contacts or creates shorts. If you see condensation, fogging, water marks, or damaged gaskets, solve the moisture issue before replacing parts.
How to Test the LED Before Replacing Parts
The fastest way to troubleshoot LED installation problems is to test in order instead of guessing. Start with the switch, breaker, and obvious connections before moving on to voltage, polarity, drivers, dimmers, and load calculations. For a broader step-by-step framework, the complete LED troubleshooting guide is a useful companion.
- Line-voltage fixture: measure AC voltage between hot and neutral at the fixture location.
- Low-voltage LED strip: measure DC voltage at the driver output and again at the strip input.
- Polarity check: confirm the positive and negative terminals match the LED markings.
- Continuity check: disconnect power and test for broken wires, failed sockets, bad splices, or loose terminals.
- Swap test: test the bulb, fixture, strip, or driver with a known working setup when possible.
A non-contact voltage tester can quickly indicate whether live power is present at a box, but it will not tell you everything. For more precise troubleshooting, a multimeter is better because it can check AC voltage, DC driver output, polarity, resistance, and continuity.
If there is no continuity where there should be a connection, you have likely found a break, loose terminal, failed socket, or damaged internal component. If voltage is present at the supply but missing at the LED, the fault is usually between those two points.
When to Stop and Call an Electrician
Some problems go beyond normal DIY troubleshooting. If you have checked power, wiring, voltage, polarity, controls, and the fixture itself, but the LED still does not work, a licensed electrician can test the circuit more thoroughly and safely. Hidden neutral faults, damaged wiring, overloaded circuits, and code issues are easier to diagnose with proper equipment and experience.
If you smell burning, see scorch marks, hear crackling, notice sparking, or the breaker keeps tripping, turn off power at the breaker and stop troubleshooting until a qualified electrician inspects the installation.
Professional help is also important for code compliance. Even if you get the light working temporarily, a non-compliant installation can create safety risks, insurance problems, or complications when selling the home. For broader LED basics and best practices, visit the LED Knowledge Center.
Key Takeaways
When LED lights do not work after installation, the cause is usually specific and testable. Start with the five checks that solve most problems: power, wiring, voltage, polarity, and compatibility with dimmers, drivers, transformers, switches, or controllers.
Do not replace the fixture until you have confirmed that power reaches the light, the connections are secure, the supply voltage matches the product, and the control device is compatible with LEDs.
If you see signs of heat damage, burning smells, sparking, repeated breaker trips, moisture intrusion, or hidden wiring faults, stop troubleshooting and get professional help. A safe, code-compliant repair is better than a temporary fix that creates a bigger problem later.
Sharing This Guide
If you found this guide helpful, save it for later or send it to someone dealing with LED lights not working after installation.
Share using the links below.
Interested in learning more? Browse all related articles in our LED troubleshooting category.