LED Strip Won’t Stick? 9 Quick Fixes to Stop It Falling Off
If your LED strip won’t stick, the fastest fix is usually to clean the surface with isopropyl alcohol, let it dry completely, warm the strip slightly, and press it down firmly section by section. If it still peels away, the original adhesive is probably too weak for the wall, cabinet, ceiling edge, or textured surface.
This guide shows when simple surface preparation is enough, when stronger mounting tape is the better fix, and when clips or aluminum channels are the most reliable long-term option. If you are troubleshooting a broader strip setup, our LED lighting troubleshooting guide is also worth keeping open.
Quick Answer
If your LED strip won’t stick, start by fixing the surface before blaming the strip. Clean the wall with isopropyl alcohol and let it dry completely. If needed, warm the surface and press the strip down firmly, section by section. If that fails, the quickest, most reliable fix is usually stronger tape, mounting clips, or an aluminum channel instead of relying on the original adhesive alone.
- Clean away dust, grease, and cleaner residue.
- Do not install on damp, cold, or freshly painted surfaces.
- Upgrade the weak factory adhesive if needed.
- Use clips or channels on textured, porous, or vertical surfaces.
- Do not repeatedly peel and reattach the same adhesive backing.
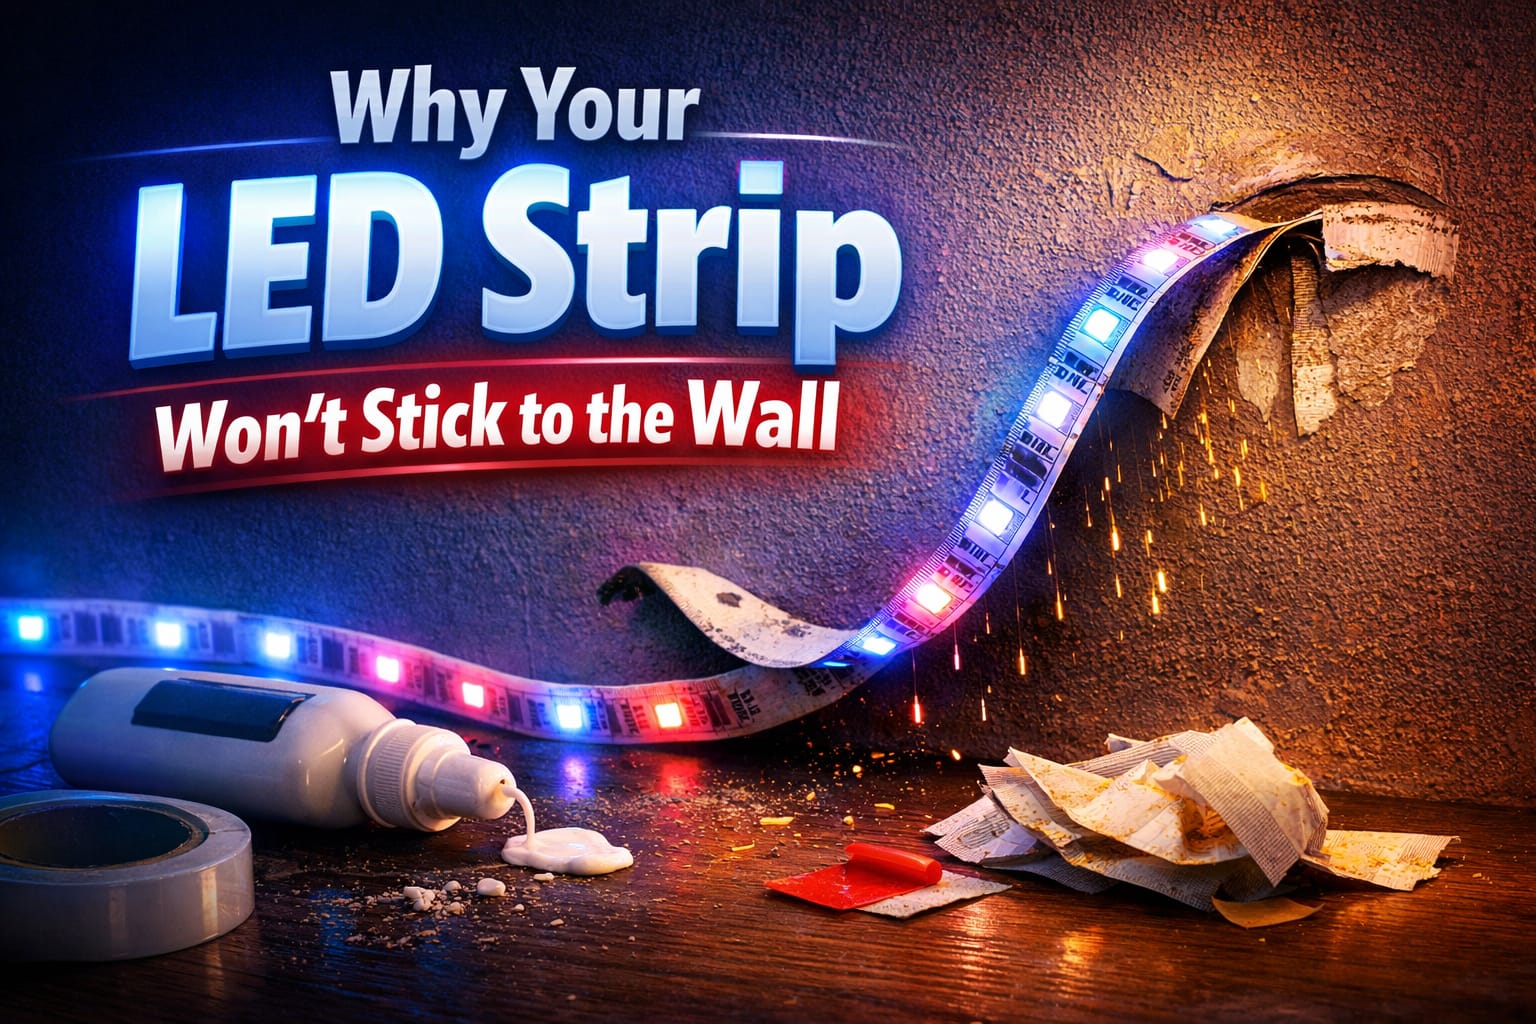
Table of Contents:
- Why LED Strips Fall in the First Place
- Fix 1: Clean the Surface Properly
- Fix 2: Let the Surface Dry Completely
- Fix 3: Check the Temperature and Humidity
- Fix 4: Use Stronger Mounting Tape
- Fix 5: Avoid Textured and Porous Surfaces
- Fix 6: Support Heavy or Rigid Strips
- Fix 7: Improve Your Installation Technique
- Fix 8: Use Clips or Channels
- Fix 9: Reattach a Fallen LED Strip Correctly
- Best Permanent Ways to Mount LED Strip Lights
- How to Stop It from Happening Again
- Key Takeaways
- Sharing This Guide
Why LED Strips Fall in the First Place
When an LED strip won’t stick, it’s usually due to one of a few common issues: dirty walls, weak factory adhesive, textured paint, moisture, cold temperatures, or the strip being too heavy for the backing. Most failures are not related to the LEDs themselves. They are about the bond between the strip and the surface.
The original tape on many strips is only strong enough for smooth, clean, dry surfaces. Once grease, humidity, rough paint, or a heavier strip design are introduced, that bond becomes much weaker. This is why adhesive backing failure is so common in kitchens, bathrooms, garages, and on textured walls.
The good news is that, once you identify the cause, the solution is usually straightforward. The key is to use the right fix for the right problem instead of repeatedly pressing the same strip back onto the wall.
Fix 1: Clean the Surface Properly
The most common reason an LED strip won’t stick is poor wall surface preparation. Dust, grease, furniture polish, hand oils, cooking residue, and old cleaner buildup create an invisible barrier that prevents the adhesive from bonding properly.
The best first step is to wipe the area with a clean microfiber cloth, and then clean it again with isopropyl alcohol and a lint-free cloth. This removes oils without leaving residue behind. Do not use household sprays that leave a film because they often make the problem worse.
In kitchens and bathrooms, cleaning is especially important because greasy air, soap residue, and humidity constantly settle on surfaces. If you skip this step, even premium tape can fail quickly.
Fix 2: Let the Surface Dry Completely
After cleaning, do not rush to install the strip. A surface can appear clean yet still be slightly damp, and this small amount of moisture can weaken the adhesive bond. If the wall feels cool or slightly wet, wait longer.
Although alcohol dries quickly, water-based cleaning products take longer, especially in humid rooms. This is one of the simplest causes of adhesive backing failure and one of the easiest to fix by simply slowing down the installation process.
If you are working in a bathroom, basement, or other damp area, allowing extra drying time before mounting strip lights can make a huge difference.
Fix 3: Check Temperature and Humidity
Temperature matters more than most people think. If the wall or strip is too cold, the adhesive will not flow or bond properly. This is a major reason why LED strips fail in garages, basements, rooms with cold exterior walls, and during winter installations.
A mild warm-up with a hairdryer can help. Gently warm the surface and the strip, then apply the strip while both are at a comfortable room temperature. High humidity can also be problematic because moisture in the air slows drying and interferes with bonding.
If your LED strip won’t stick in a cold or damp room, it is often easier to fix the environment first than to use stronger tape immediately.
If the strip starts peeling only after a few hours or days, test a short piece on a smooth, clean, dry surface first. If it sticks there, the problem is probably the wall, temperature, humidity, or surface texture, not the LED strip itself.
Fix 4: Use Stronger Mounting Tape
Sometimes, the backing on the strip is just not very good. Budget LED strips often come with tape that looks fine at first but loses its grip quickly, especially on painted walls, cabinets, or other slightly uneven surfaces. In those cases, better preparation alone will not solve the problem.
If the original backing feels weak or has failed before, replacing it with stronger tape is often the fastest solution. This 3M VHB-based mounting tape provides much stronger holding power and can handle minor surface irregularities better than standard strip adhesive can.
It is one of the most reliable solutions when an LED strip won’t stick to a smooth surface where it should have worked in the first place.
Fix 5: Avoid Textured and Porous Surfaces
Textured paint, brick, unfinished wood, concrete, and rough drywall are difficult surfaces for LED strip adhesive to adhere to. The issue is that the tape only touches the high points, not the entire surface. Therefore, the strip never has enough contact area to hold properly.
Porous materials create a different problem by absorbing part of the adhesive or shedding dust into the bond line. In both cases, basic strip backing is usually ineffective. This is why many people mistakenly believe the strip is defective when the real issue is the wall itself.
For rough surfaces where standard backing is ineffective, these Command mini light clips are often a better solution than trying to mount the strip directly to the wall. They help mount strip lights when tape alone is not an option.
Fix 6: Support Heavy or Rigid Strips
Some strips are simply too heavy for the included adhesive to hold for long. High-density, COB, double-row, and rigid strips all put more strain on the backing. Vertical runs and ceiling edges exacerbate this issue because gravity constantly pulls against the bond.
If your strip is thick, heavy, or stiff, do not rely on tape alone. Add support clips at intervals, or switch to a channel. This will spread the load and prevent the strip from peeling off in sections over time.
Many repeat failures result from using the right tape on the wrong kind of strip. Weight and flexibility matter more than many people expect.
Fix 7: Improve Installation Technique
Even high-quality adhesive can fail if the strip is installed incorrectly. One common mistake is peeling off all the backing at once and then trying to position the entire strip while the adhesive picks up dust or touches your fingers. Another mistake is pressing too lightly and assuming the strip will “set” on its own.
A better approach is to peel the backing off gradually and install the strip in short sections, pressing each section down firmly for several seconds. Work slowly. Apply even pressure along the entire length instead of just tapping it into place. This gives the adhesive the best chance to form a strong bond.
If an LED strip won’t stick after being peeled off and repositioned multiple times, consider the adhesive compromised and switch to a stronger reattachment method.
Fix 8: Use Clips or Channels
For a long-lasting fix, clips and aluminum channels are often better than tape. Clips provide periodic mechanical support, which is useful for textured walls, ceilings, vertical runs, and longer strip installations. Channels provide an even better solution by giving the strip a rigid mounting base and a cleaner finished look.
They are especially useful when mounting strip lights in visible areas where better heat handling and a more professional result are desired. They also protect the strip and reduce the likelihood of sagging over time. The heat side matters too, especially in tight installations, as explained in our guide on the dangers of LED overheating.
If you want a more permanent solution, aluminum channels usually make strip installations feel properly built instead of temporary.
Fix 9: Reattach a Fallen LED Strip Correctly
If the strip has already fallen, don’t just push it back onto the wall and hope for the best. Old adhesive picks up dust, paint particles, and oils when it fails for the first time, so reusing it without preparation usually leads to another fall within hours or days.
First, remove any old residue from the wall. Then apply new high-bond tape, use clips, or install a channel if a more permanent solution is needed. If the original strip backing is visibly weak or contaminated, trying to save it will only waste time.
Do not staple, nail, screw through, or sharply bend an LED strip to force it to stay in place. Damaging the strip, copper contacts, or insulation can cause flickering, overheating, or complete failure.
Now would also be a good time to ask whether the original surface was ever suitable. If not, changing the mounting method is the real fix, not repeating the same failed one.
Best Permanent Ways to Mount LED Strip Lights
Once you’re tired of dealing with tape, aluminum channels are usually the best long-term solution. They attach with screws, hold the strip securely, improve heat dissipation, and often look much better than exposed, adhesive-backed strips. If you want a proper, permanent installation, this is usually the cleanest option.
If you are ready to go that route, these V-shaped aluminum channel diffuser profiles are a practical option because they include mounting hardware and covers that help create a cleaner, more finished look.
I would choose this option for visible shelves, cabinets, desk setups, long ceiling runs, and any installation where repeated adhesive problems are wasting time.
How to Stop It from Happening Again
The best prevention is simple: choose the right surface, prepare it properly, install it at an appropriate temperature, and don’t assume that the included adhesive is always sufficient. If the wall is textured or the strip is heavy, plan to use clips or a channel from the beginning instead of treating them as emergency fixes later.
It also helps to consider the room itself. Kitchens, bathrooms, and garages are harder on adhesives than dry living spaces. The same goes for freshly painted walls, dusty utility rooms, and ceiling-edge installations where gravity works against the tape.
If you want to avoid other installation mistakes, our guide on common LED wiring mistakes is a useful next step after solving the mounting problem.
Key Takeaways
There are four main reasons why an LED strip won’t stick: poor surface preparation, weak adhesive, poor installation conditions, or an incorrect mounting method for the surface. Addressing the root cause is key to preventing the problem from recurring.
- First, clean the surface with isopropyl alcohol and allow it to dry completely.
- Install the strip at a reasonable temperature and avoid cold or damp walls.
- Replace weak backing with stronger tape when needed.
- Use clips or channels for textured, heavy, vertical, or long installations.
- Do not reuse adhesive after a strip has fallen once.
Sharing This Guide
If you found it helpful, save it for later or share it with a friend. It’s especially useful for beginners, homeowners, and DIYers.
Share using the links below:
Interested in learning more? Browse all related articles in our category section.