LED Lights Overheating? Warning Signs, Fire Risk & Fixes
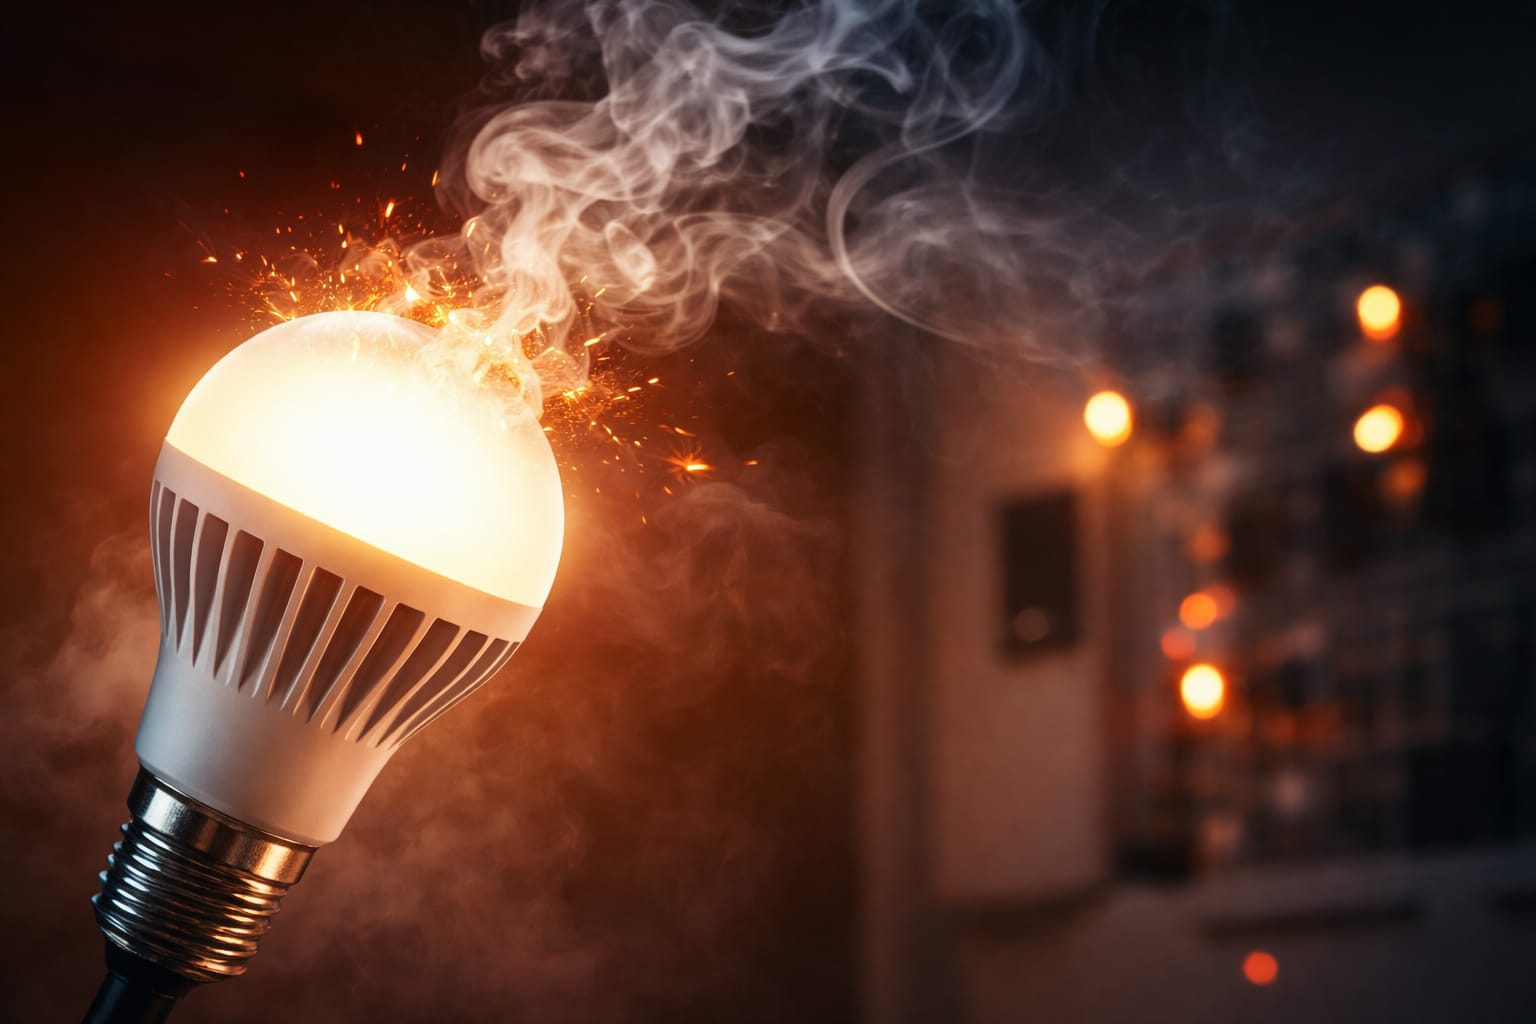
LED lights can overheat when heat gets trapped inside the bulb, fixture, driver, wiring, or surrounding enclosure. A warm LED is usually normal, but discoloration, burning smells, flickering, melting plastic, or a fixture that feels painfully hot are warning signs you should not ignore.
This guide helps homeowners, renters, and DIY lighting users understand when LED light overheating is dangerous, what usually causes it, what to check first, and which safe fixes can reduce fire risk, protect wiring, and extend the life of the light.
Quick Answer
A warm LED bulb is usually normal, but an LED light that smells burned, flickers, discolors, melts plastic, or feels painfully hot may be overheating and should be checked. The most common causes are poor airflow, enclosed fixtures, incompatible dimmers, low-quality drivers, bad wiring connections, and using the wrong bulb for the fixture.
- If the light smells like burning plastic or shows melting, switch it off immediately.
- Discoloration around the bulb base, socket, trim, or housing can mean repeated heat stress.
- Enclosed fixtures need LED bulbs specifically rated for enclosed use.
- Flickering, dimming, random shutoffs, or early bulb failure can point to heat, dimmer, or driver problems.
- The safest fix is to improve airflow, match the bulb to the fixture, use compatible controls, and replace damaged parts before reuse.
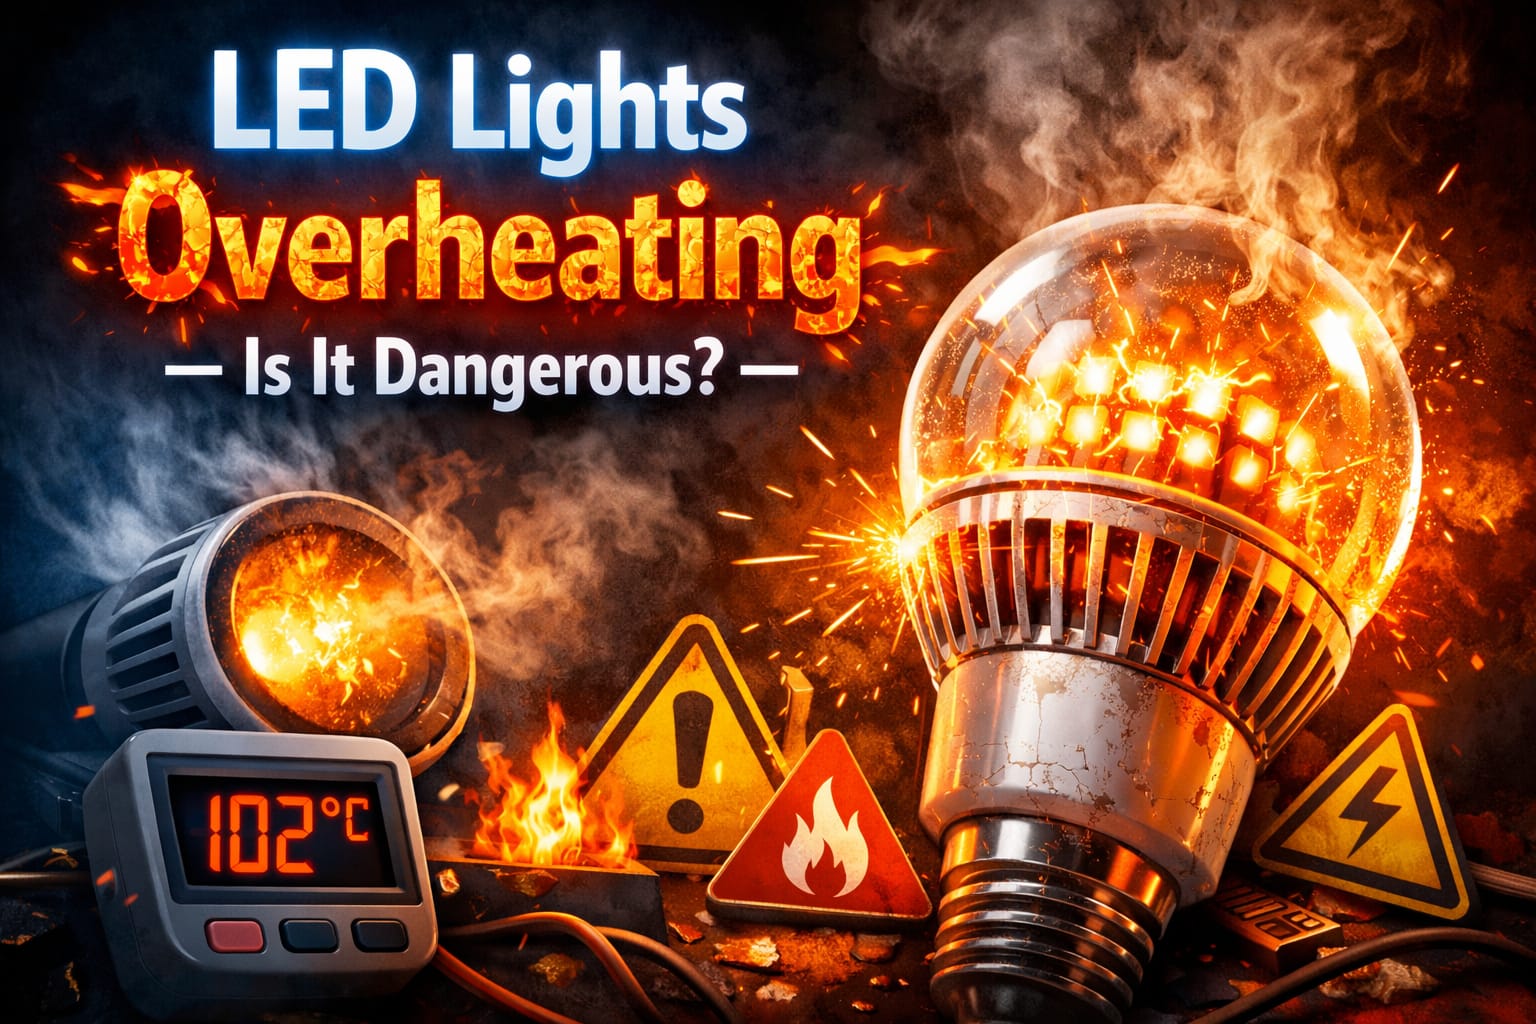
Table of Contents:
- Quick Answer
- Is an Overheating LED Light Dangerous?
- LED Overheating Warning Signs: Smell, Flicker, Discoloration
- What Causes LED Lights to Overheat?
- Enclosed Fixtures, Ventilation, and LED Heat Dissipation
- Dimmers, Drivers, Wiring, and Electrical Damage
- How to Prevent LED Overheating Safely
- Maintenance Checklist and When to Stop Using the Light
- FAQ
- Key Takeaways
- Sharing This Guide
Is an Overheating LED Light Dangerous?
LED lights are generally safer and more efficient than incandescent bulbs, but overheating should still be treated seriously. The danger usually comes from the full lighting system, not just the LED chip: trapped heat, a stressed driver, damaged plastic, poor wiring, or insulation around a fixture can turn a small heat issue into a safety problem.
A bulb that feels mildly warm after use is not automatically unsafe. However, a fixture that becomes painfully hot, smells burned, trips breakers, leaves brown marks, or causes the LED to flicker or shut itself off is no longer behaving normally. Those symptoms mean the heat is building up faster than the fixture can release it.
The LED junction temperature is especially important because it is hidden inside the bulb or module. When internal temperatures rise too far, light output drops, efficiency worsens, components degrade faster, and the driver may become unstable. Homeowners usually cannot measure this directly, so visible and performance symptoms matter.
If an LED fixture smells like burning plastic, shows signs of melting, repeatedly trips breakers, or leaves scorch marks around the socket, switch off the power and stop using it until the cause is identified.
Can overheating LED lights cause a fire? In normal use with compatible, properly installed products, the risk is low. The risk increases when heat is trapped inside enclosed fixtures, when wiring insulation degrades, when a driver overheats, or when combustible dust, paper, fabric, or insulation sits too close to hot parts.
LED Overheating Warning Signs: Smell, Flicker, Discoloration
Discoloration is one of the clearest warning signs. Yellowing plastic, brown marks around the socket, darkened trim, warped housing, or a discolored LED bulb base usually means the light has been exposed to excessive heat repeatedly. These marks should not be treated only as cosmetic damage.
Smell is another serious clue. A sharp chemical odor, hot electronics smell, burning plastic smell, or anything resembling burning rubber can indicate that the driver, housing, insulation, or socket materials are overheating. If the smell appears only when the light is on, stop using the fixture until you know why.
Performance changes can appear before visible damage. Dimming, color shift, random shutoffs, flickering, or blinking may happen when the driver is stressed or when thermal protection has activated. If your symptom is mainly flicker or random blinking, the guide on LED lights blinking randomly explains other causes that can overlap with overheating.
The most concerning pattern is when several symptoms happen together: a hot fixture, discoloration, flickering, and odor. That combination suggests the problem is not just a bad bulb but a fixture, airflow, wiring, dimmer, or driver issue that needs a safer fix.
What Causes LED Lights to Overheat?
LED lights usually overheat because the heat path is blocked or poorly designed. LEDs do not release heat in the same way as incandescent bulbs. Much of the heat is concentrated inside small electronic components, then must move through the circuit board, thermal materials, heat sink, housing, and surrounding air.
Poor airflow is the most common cause. A standard LED bulb inside a sealed ceiling dome, tight recessed can, narrow glass shade, or decorative enclosure can become much hotter than expected because warm air has nowhere to go. Even a good bulb can fail early if the fixture traps heat around it.
Fixture mismatch is another major cause. A bulb can fit the socket and still be wrong for the application. Shape, orientation, wattage equivalent, base position, shade size, ambient temperature, and airflow all affect LED heat dissipation. This is why “it fits” is not the same as “it is safe for this fixture.”
Low-quality products can also overheat more easily. Cheap LED bulbs, strips, and fixtures often reduce cost by using smaller heat sinks, weaker drivers, thin circuit boards, or poor thermal interface materials. That can create hot spots, unstable brightness, early failure, and visible discoloration near the hottest parts.
Enclosed Fixtures, Ventilation, and LED Heat Dissipation
Enclosed fixtures are one of the biggest reasons LED bulbs overheat. A fully enclosed glass dome, sealed porch light, recessed can, or tight decorative fixture can trap hot air around the bulb and driver. In those situations, you should use bulbs specifically rated for enclosed fixtures, not just any LED bulb with the correct base.
Recessed lights need special attention because they sit inside ceiling cavities where heat can build up quickly. IC-rated housings are designed for insulation contact, while non-IC fixtures need clearance so heat can escape. If the overheating problem happens in ceiling cans, choosing the best LED bulbs for recessed lighting is safer than using a standard bulb that may trap heat in the wrong housing.
Outdoor fixtures can also overheat, especially in direct sunlight, hot climates, or small sealed housings. Even though the fixture is outside, trapped air inside the enclosure can still push the bulb or driver beyond its comfortable operating range.
Heat sinks allow many LED bulbs, fixtures, and modules to move heat away from the LED chip before it damages the driver or housing. For a deeper explanation of this process, the LED heat sink and cooling guide explains how cooling design affects performance, lifespan, and safety.
LED strip lights have their own heat problem. Long strips installed directly onto wood, plastic, or poorly ventilated surfaces can hold heat against the strip. For strip lighting, an aluminum LED channel to help strip lights dissipate heat can provide a cleaner mounting surface and a better path for heat to move away from the LEDs.
If the same LED bulb feels unusually hot in one fixture but normal in another, the problem is often the fixture design, enclosure, or airflow rather than the bulb itself.
Dimmers, Drivers, Wiring, and Electrical Damage
Heat does more than shorten bulb life. LED drivers contain capacitors, diodes, and control circuits that are sensitive to temperature. Repeated heat exposure can cause unstable brightness, buzzing, flickering, short circuits, or early failure. For more symptom-based diagnosis, the complete LED troubleshooting guide can help narrow down whether the issue is heat, wiring, dimming, or the bulb itself.
Dimmer mismatch is a common hidden cause of extra heat. Older dimmers designed for incandescent bulbs can make LED drivers work inefficiently, creating heat inside both the bulb and the wall control. If overheating happens mainly when dimmed, the dimmer and bulb compatibility should be checked before replacing the fixture.
Low-voltage LED strips, panels, and some fixtures depend on a separate driver or power supply. If the original driver is overloaded, poorly ventilated, failing, or incompatible, it can run hot and make the whole setup unstable. If the light flickers, shuts off randomly, or overheats around the power supply, check for signs of LED driver failure signs before replacing bulbs again.
When the driver is replaceable and the electrical specifications match, a compatible replacement LED driver for unstable low-voltage LED setups may help, but it should never be guessed or forced into an incompatible fixture.
Wiring can also be affected by repeated heat. Loose splices create resistance, and resistance creates more heat. Over time, insulation can harden, crack, or degrade, increasing the risk of ground faults, arcing, breaker trips, and hidden electrical damage.
How to Prevent LED Overheating Safely
The safest way to prevent LED lights overheating is to match the bulb, fixture, dimmer, driver, and environment. Use enclosed-rated bulbs in enclosed fixtures, LED-compatible dimmers where dimming is needed, and products with clear temperature, wattage, and certification information.
Keep fixtures clear so air can move around them. Do not allow insulation, storage items, paper, fabric, dust buildup, or decorative materials to block vents or sit directly against warm housings. Good airflow is often the difference between normal operation and chronic overheating.
Safe installation matters as much as product choice. The fixture should be secure, rated for the location, and free from gaps that allow insulation or debris to reach hot parts. Recessed lights should have the correct housing type for insulated ceilings, and outdoor fixtures should be rated for weather and ambient heat.
Electrical connections should be tight, clean, and contained inside suitable junction boxes. In heat-prone lighting fixtures, heat-rated wire connectors for lighting fixture connections can be a safer choice than basic connectors, especially where fixture temperatures or ceiling conditions are demanding.
Avoid very cheap, unbranded products with vague specifications or unrealistic claims. Certifications do not guarantee perfection, but recognizable safety marks and clear documentation are better signals than generic listings with no thermal or electrical details. For a broader look at durability and early failure, read the guide on LED bulb lifespan.
Best Fix by Problem Type:
Maintenance Checklist and When to Stop Using the Light
A quick inspection can catch overheating before it becomes expensive or dangerous. After a light has been on for a while, compare its temperature with similar fixtures in your home. Look for discoloration, brittle plastic, warped trim, dark marks, dust around vents, or any unusual smell.
Monitor performance over time. Dimming, color shift, flicker, buzzing, random shutoffs, or a shorter-than-expected bulb life can indicate thermal stress. Keeping a rough record of installation dates makes it easier to notice when bulbs are failing early in the same fixture.
Cleaning matters too. Dust buildup around vents and housings traps heat and can leave combustible debris near warm components. A simple annual cleaning helps the fixture breathe better and lowers the risk of heat-related performance loss.
Stop using the light immediately if you see melting, smell burning plastic, hear crackling, notice scorch marks, or have repeated breaker trips. If you want to keep learning about LED safety and troubleshooting, the LED Knowledge Center is a useful place to continue.
FAQ
Can Overheating LED Lights Cause a Fire?
Yes, but the risk usually comes from the surrounding system rather than the LED chip alone. Damaged drivers, overheated housings, degraded wiring, insulation contact, loose connections, and combustible dust or materials near hot parts can increase fire risk.
Why Is My LED Bulb Discolored or Brown Near the Base?
Brown or yellow discoloration near the base often points to repeated heat stress around the socket, driver, or housing. It may come from an enclosed fixture, poor airflow, excessive ambient heat, or a bulb that is not suitable for that installation.
Can LED Bulbs Be Used in Enclosed Fixtures?
Only if the bulb is rated for enclosed fixtures. Standard LED bulbs may overheat inside sealed glass domes, porch lights, recessed cans, or decorative enclosures because heat cannot escape properly.
Is It Normal for an LED Bulb to Feel Hot?
Some warmth is normal. What is not normal is a fixture that feels painfully hot, produces odor, causes flickering, shows discoloration, melts nearby plastic, or repeatedly fails bulbs much earlier than expected.
Key Takeaways
LED lights can overheat when heat is trapped by poor airflow, enclosed fixtures, low-quality components, incompatible dimmers, bad drivers, or weak wiring connections.
The most important warning signs are discoloration, burning smells, flickering, melting plastic, painful surface heat, random shutoffs, and repeated early bulb failure.
The safest fix is to match the bulb to the fixture, use enclosed-rated products where needed, improve ventilation, check dimmer and driver compatibility, and stop using any fixture that shows signs of burning, melting, or electrical damage.
Sharing This Guide
If you found this guide helpful, save it for later or share it with someone dealing with overheating LED fixtures at home.
Share using the links below:
Interested in learning more? Browse all related articles in our category section.