How to Set Up Smart Lights at Home: Beginner Guide
Setting up smart lights at home is mostly about choosing the right bulbs or switches, connecting them to a stable 2.4 GHz Wi-Fi network or hub, and pairing them in the app. Start with one room first, test control from your phone, and then add voice commands, schedules, and automations once everything responds reliably.
This beginner-friendly guide shows the safest order to follow: choose compatible devices, prepare your network, install smart bulbs, connect a hub if needed, group rooms, link your lights to Alexa, Google Assistant, or Apple Home, and fix common pairing problems before expanding your smart lighting setup.
Quick Answer
To set up smart lights at home, start with compatible smart bulbs or switches, connect them to a stable 2.4 GHz Wi-Fi network or hub, add them in the manufacturer’s app, group them by room, and then link them to Alexa, Google Assistant, or Apple Home for voice control.
- Choose one ecosystem before buying bulbs, switches, sensors, or light strips.
- Check whether your lights use Wi-Fi, Zigbee, Z-Wave, Matter, or a separate hub.
- Prepare a reliable 2.4 GHz network before pairing devices.
- Start with one room, test everything, and expand only after the setup is stable.
- Use clear room-based names so voice control works naturally.
Table of Contents:
- Quick Answer
- What You Need to Set Up Smart Lights
- Choose the Right Smart Lighting Setup
- Prepare Your Wi-Fi Network Before Pairing Lights
- Install and Pair Smart Bulbs Safely
- Create Rooms and Connect Voice Control
- Set Schedules, Scenes, and Automations
- Fix Pairing, Wi-Fi, and Offline Smart Light Problems
- FAQ
- Key Takeaways
- Sharing This Guide
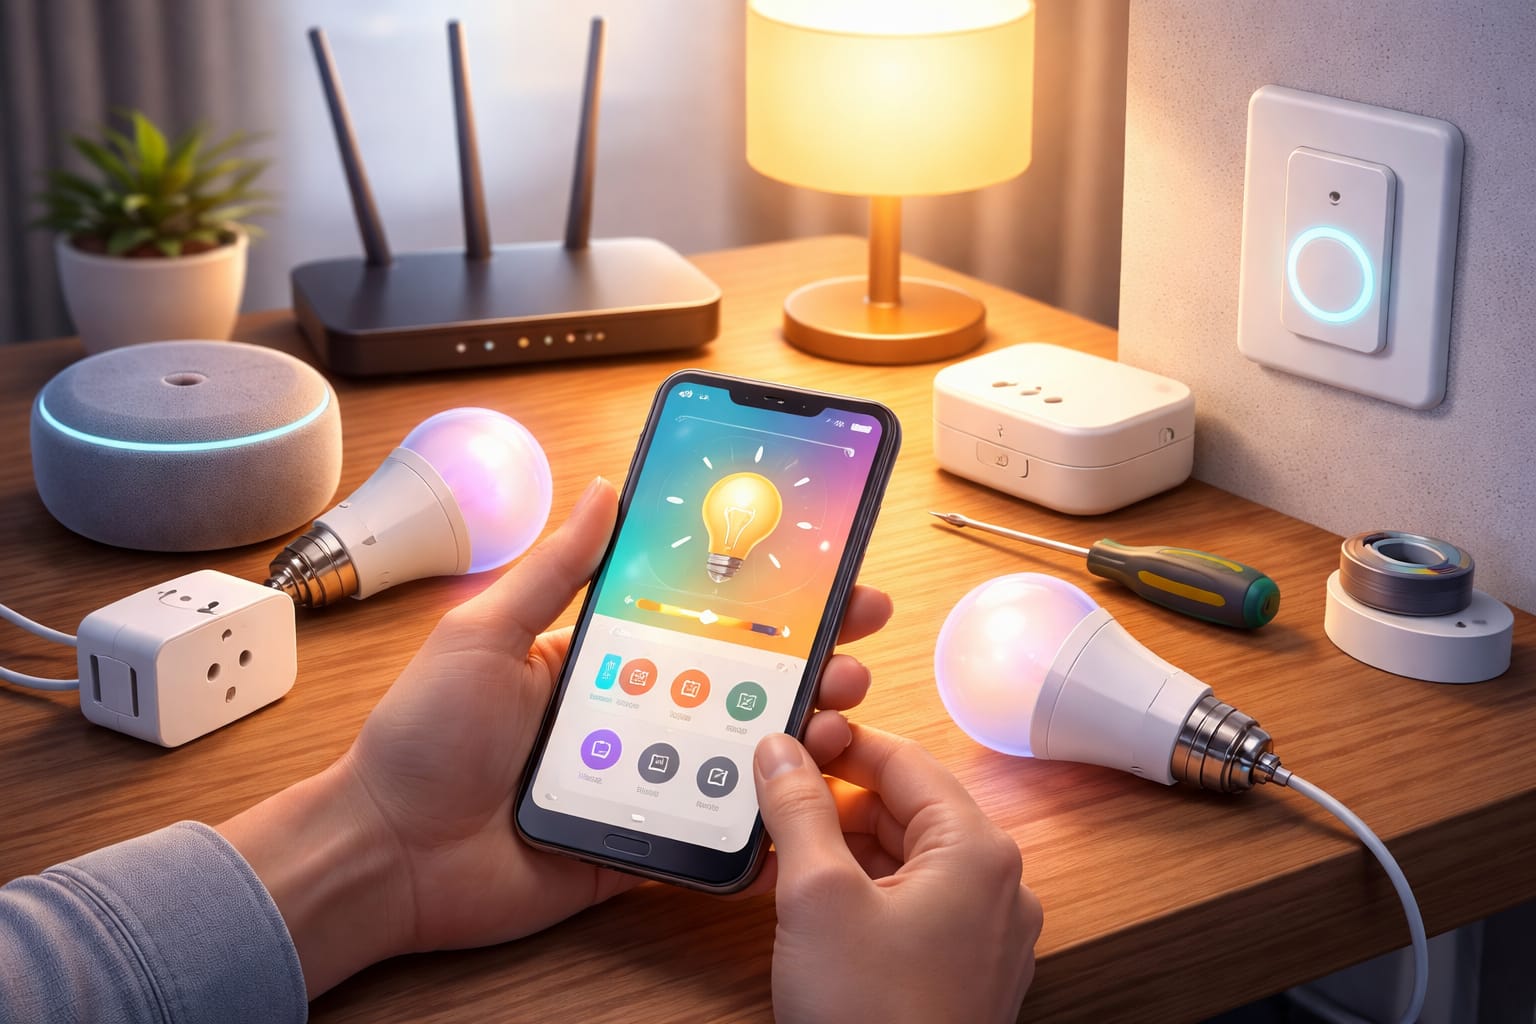
What You Need to Set Up Smart Lights
A basic smart lighting setup needs compatible lights, a phone with the correct app, reliable internet, and a clear plan for how each room will be controlled. For most beginners, the simplest starting point is one room, one or two smart bulbs, and a single app. Once that works well, you can add more rooms, sensors, switches, and automations.
Before buying, check the socket and bulb shape as carefully as the app features. A smart bulb is only useful if it physically fits the fixture, so this guide to LED bulb base types can help you avoid ordering the wrong bulb base for lamps, ceiling fixtures, or recessed lights.
At a minimum, check the bulb base, bulb shape, brightness, fixture type, app compatibility, and voice assistant support before buying. If you are just testing smart lighting for the first time, a beginner-friendly color-changing smart bulb with app control is a practical first device because it lets you test dimming, colors, schedules, and phone control without changing the whole room.
Some homes also benefit from wireless dimmer switches, motion sensors, or smart plugs. Motion sensors are useful in hallways, closets, bathrooms, laundry rooms, and entryways because they can turn lights on automatically when someone enters. Wireless dimmers are helpful when family members still want a physical control instead of using a phone every time.
For regular lamps that do not need color control, a compact smart plug with energy monitoring for regular lamps can add app control and usage tracking without replacing the bulb. This works especially well for table lamps, floor lamps, seasonal lights, or small accent lights.
Do not buy smart lights room by room without checking compatibility first. Choose the app, ecosystem, and control method before you start expanding.
Choose the Right Smart Lighting Setup
Before installing anything, decide how you want your smart lights to communicate. A smart lighting setup usually uses Wi-Fi, a hub or bridge, Zigbee, Z-Wave, Matter, or a mix of these technologies. If you want a broader overview of how these systems fit together, our complete smart lighting systems guide explains the main parts in more detail.
Wi-Fi smart bulbs are usually the easiest to start with because they connect through your existing router and often do not require extra hardware. They are a good choice for small apartments, single rooms, and simple setups. The downside is that too many Wi-Fi bulbs can add more traffic to your network, especially if your router is already handling cameras, speakers, laptops, and other smart home devices.
Hub-based systems can be better for larger homes or multi-room setups. Philips Hue, for example, is known for reliability and a wide product range, while direct Wi-Fi brands may be simpler for users who only want a few bulbs. Zigbee and Z-Wave systems often create a separate mesh network, which can improve coverage and reduce pressure on your main Wi-Fi network.
For one room: start with Wi-Fi smart bulbs or a simple app-controlled starter bulb.
For a whole home: consider a hub-based system for better reliability and expansion.
For lamps: use smart plugs when you only need on/off control and energy monitoring.
For accent lighting: use smart LED strips after your basic bulbs are already working.
For voice-first control: check Alexa, Google Assistant, or Apple Home compatibility before buying.
The best choice is not always the most advanced one. For many beginners, the right setup is the one that is easy to install, easy to control, and compatible with the devices they already use every day.
If you are unsure whether to start with app-controlled bulbs or replace the wall control, our guide to smart bulbs vs smart switches explains which option makes more sense for bedrooms, living rooms, lamps, and multi-bulb fixtures.
Prepare Your Wi-Fi Network Before Pairing Lights
A dependable network is one of the most important parts of setting up smart lights. Weak Wi-Fi can cause pairing failures, slow response times, delayed voice commands, and devices that randomly appear offline in the app.
Many smart bulbs use the 2.4 GHz band because it usually reaches farther through walls and floors than 5 GHz. Before pairing, make sure your phone is connected to the same 2.4 GHz network that your lights will use. If your router combines 2.4 GHz and 5 GHz under one name, check the app instructions because some devices may need a separate 2.4 GHz network during setup.
If your smart lighting system uses a hub or bridge, place the hub near the router at first and connect it to the router using the supplied Ethernet cable if required. Once the hub is working, keep it in a central location where it can communicate reliably with the lights. If your home has weak coverage, a mesh Wi-Fi system may help before you add more connected devices.
Also check router features that can block local communication. Guest network isolation, AP isolation, and client isolation can stop your phone, hub, and smart lights from discovering each other. Reserving an IP address for a hub or bridge can also reduce reconnect issues in larger setups.
Set up one room first and test it for a day or two before expanding. It is much easier to fix compatibility or signal issues early than after installing smart lights throughout the house.
Install and Pair Smart Bulbs Safely
Turn off the power at the switch or breaker before handling any fixture. If the old bulbs were recently on, let them cool before removing them. Carefully install the new smart bulbs and make sure they are seated firmly without overtightening.
Restore power and leave the wall switch in the on position. Smart bulbs need constant power so they can stay connected to the app, voice assistant, schedules, and automations. If someone turns the wall switch off, the bulb will usually appear offline until power is restored.
Download the manufacturer’s app, create an account if needed, and follow the setup wizard. During setup, the app may ask for Bluetooth, location, or local network permissions because these can help with pairing, device discovery, and geofencing. Connect the app to the correct network before adding more devices.
To pair smart bulbs, open the Add Device section, choose the product type, and put the bulb into discovery mode if required. Some brands need a reset sequence, such as turning the bulb on and off several times. Once the app finds the bulb, test it immediately by turning it on, dimming it, and changing the color or color temperature if supported.
Using LEDs correctly helps preserve the efficiency that makes them useful in the first place. The U.S. Department of Energy explains that efficient lighting choices can reduce energy use, but proper fixture compatibility and installation still matter.
Unless the manufacturer specifically says it is safe, do not install standard smart bulbs on circuits controlled by incompatible dimmer switches. This mismatch can cause flicker, buzzing, dropouts, or unstable behavior.
Create Rooms and Connect Voice Control
After pairing your devices, organize them into rooms. Assign each bulb, strip, switch, or plug to its actual space, such as bedroom, kitchen, office, hallway, or living room. Room grouping makes everyday control much easier because you can turn off an entire room with one tap or one voice command.
Use simple names that make sense in normal conversation. Names such as “Kitchen Ceiling,” “Desk Lamp,” “Hallway Left,” or “Bedroom Strip” are easier for voice assistants to understand than generic labels like “Bulb 1” or “Light A.” Clear names also make troubleshooting easier later.
Most platforms also support zones, which combine several rooms into larger areas such as “upstairs,” “downstairs,” or “main floor.” This is useful for larger homes and for users who want to build more advanced routines. If you are comparing the benefits and drawbacks of connected lighting before expanding, our guide to smart home lighting pros and cons can help with that decision.
To connect smart lights to Alexa, Google Assistant, or Apple Home, open the assistant’s app, search for your lighting brand, and link your account. After authorization, run device discovery so the assistant can import your lights and room groups. Test simple commands first, such as “turn on the kitchen,” “dim the bedroom lamp,” or “turn off the hallway lights.”
Use room + fixture: “Kitchen Ceiling” is clearer than “Light 1.”
Avoid similar names: do not use “Lamp One” and “Lamp Two” if they sound too alike.
Keep names easy to say: “Bedroom Lamp” works better than long technical labels.
Match the way people speak: use names your family would naturally say out loud.
Be specific in shared rooms: “Living Room Floor Lamp” is better than just “Lamp.”
Set Schedules, Scenes, and Automations
Once your smart light setup is stable, add schedules and scenes. A morning schedule can gradually brighten the room, while an evening scene can lower brightness and use warmer tones before bed. This is where smart lighting starts to feel useful instead of just different.
Timers and vacation modes can make your home look occupied while you are away. Randomized timing usually feels more natural than a fixed daily pattern. Motion-based automations are especially useful in bathrooms, hallways, laundry rooms, closets, and entryways because they reduce the need to touch switches at all.
More advanced systems let you add conditions so automations only run when they make sense. For example, a hallway light can turn on with motion only when the room is dark, or a bedtime routine can dim multiple rooms at once. These conditions make home automation feel more natural and less like a rigid timer system.
You can also add accent lighting once your core lights work reliably. For media areas, shelves, gaming rooms, or under-cabinet lighting, a smart LED strip light kit for accent areas can be a natural upgrade. If you want more detail before choosing strip lights, our beginner’s guide to LED strip lights explains the basics.
Some platforms also support entertainment syncing, adaptive color temperature, and energy reports. If you want to compare privacy, speed, and reliability between different control methods, our guide to local versus cloud smart lighting explains how the control architecture can affect the experience.
Fix Pairing, Wi-Fi, and Offline Smart Light Problems
The most common smart lighting setup problems are pairing failures, bulbs going offline, delayed response times, and voice commands not matching the correct room. Start with the simple checks first: make sure the bulb has power, the wall switch is on, your phone is on the right network, and the app has the permissions it needs.
If a smart bulb will not pair, reset it using the exact method for that brand. Many setup problems happen because the bulb is still linked to an old network or because it was not fully reset before pairing. Move the bulb closer to the router or hub during setup if discovery keeps failing.
If lights respond slowly, the cause is often weak signal, congestion on the 2.4 GHz band, interference, or a hub placed too far from the devices. Repositioning the hub, improving Wi-Fi coverage, or reducing distance between devices often solves the issue faster than replacing the hardware.
Keep firmware updated when the app recommends it. Firmware updates can fix bugs, improve compatibility, and make the system more stable. Avoid cutting power or closing the app while an update is in progress because an interrupted update can leave a device unusable until it is reset.
Fast troubleshooting checklist:
- ✓Confirm the wall switch is on and the bulb has power.
- ✓Use the correct 2.4 GHz Wi-Fi network during setup.
- ✓Move the bulb closer to the router or hub while pairing.
- ✓Reset the bulb using the manufacturer’s exact sequence.
- ✓Check app permissions for Bluetooth, location, and local network access.
- ✓Update firmware after the device is paired and stable.
For broader LED basics, buying advice, efficiency guides, and troubleshooting topics beyond smart lighting, explore the full LED knowledge center.
FAQ
Do I Need a Hub to Set Up Smart Lights?
Not always. Many Wi-Fi smart bulbs connect directly to your router and app without a hub. A hub can be useful for larger homes, more reliable multi-room setups, or systems that use Zigbee or Z-Wave.
Can I Set Up Smart Lights Without an Electrician?
You can usually install smart bulbs yourself because they fit into existing fixtures like regular bulbs. Smart switches, recessed fixtures, or hardwired controls may require electrical work, so follow the manufacturer’s instructions and use a qualified electrician when wiring is involved.
Why Won’t My Smart Bulb Connect to Wi-Fi?
The most common reasons are using a 5 GHz network instead of 2.4 GHz, weak signal, incorrect reset sequence, blocked app permissions, or the bulb still being linked to an old account or network.
Are Smart Bulbs or Smart Switches Better?
Smart bulbs are easier for beginners and give you dimming, color, and app control without changing wiring. Smart switches are better when you want physical wall control for several bulbs at once, but they usually require more careful compatibility checks and installation.
Key Takeaways
The best way to set up smart lights at home is to start small, choose compatible devices, prepare your 2.4 GHz Wi-Fi or hub, and test one room before expanding. This avoids unnecessary spending and makes problems easier to solve.
For most beginners, smart bulbs are the simplest first step. Smart plugs are useful for regular lamps, while hubs, switches, sensors, and LED strips make more sense once the basic setup is stable.
A reliable smart lighting setup depends more on compatibility, network quality, clear room names, and gradual expansion than on buying the most advanced devices first.
Sharing This Guide
If you found it helpful, save it for later or share it with someone planning a smart home upgrade. It is especially useful for beginners, homeowners, renters, and DIY users who want a simple smart lighting setup that works reliably.
Interested in learning more? Browse all related articles in our smart home lighting category section.