Why LED Lights Not Turning On? Quick Fix Guide
When your LED lights not turning on, it can be frustrating and confusing. Whether you’re dealing with brand new installations or fixtures that suddenly stopped working, understanding the root causes helps you restore lighting quickly. This comprehensive guide walks you through common problems, diagnostic methods, and practical solutions to get your LEDs back to full brightness.
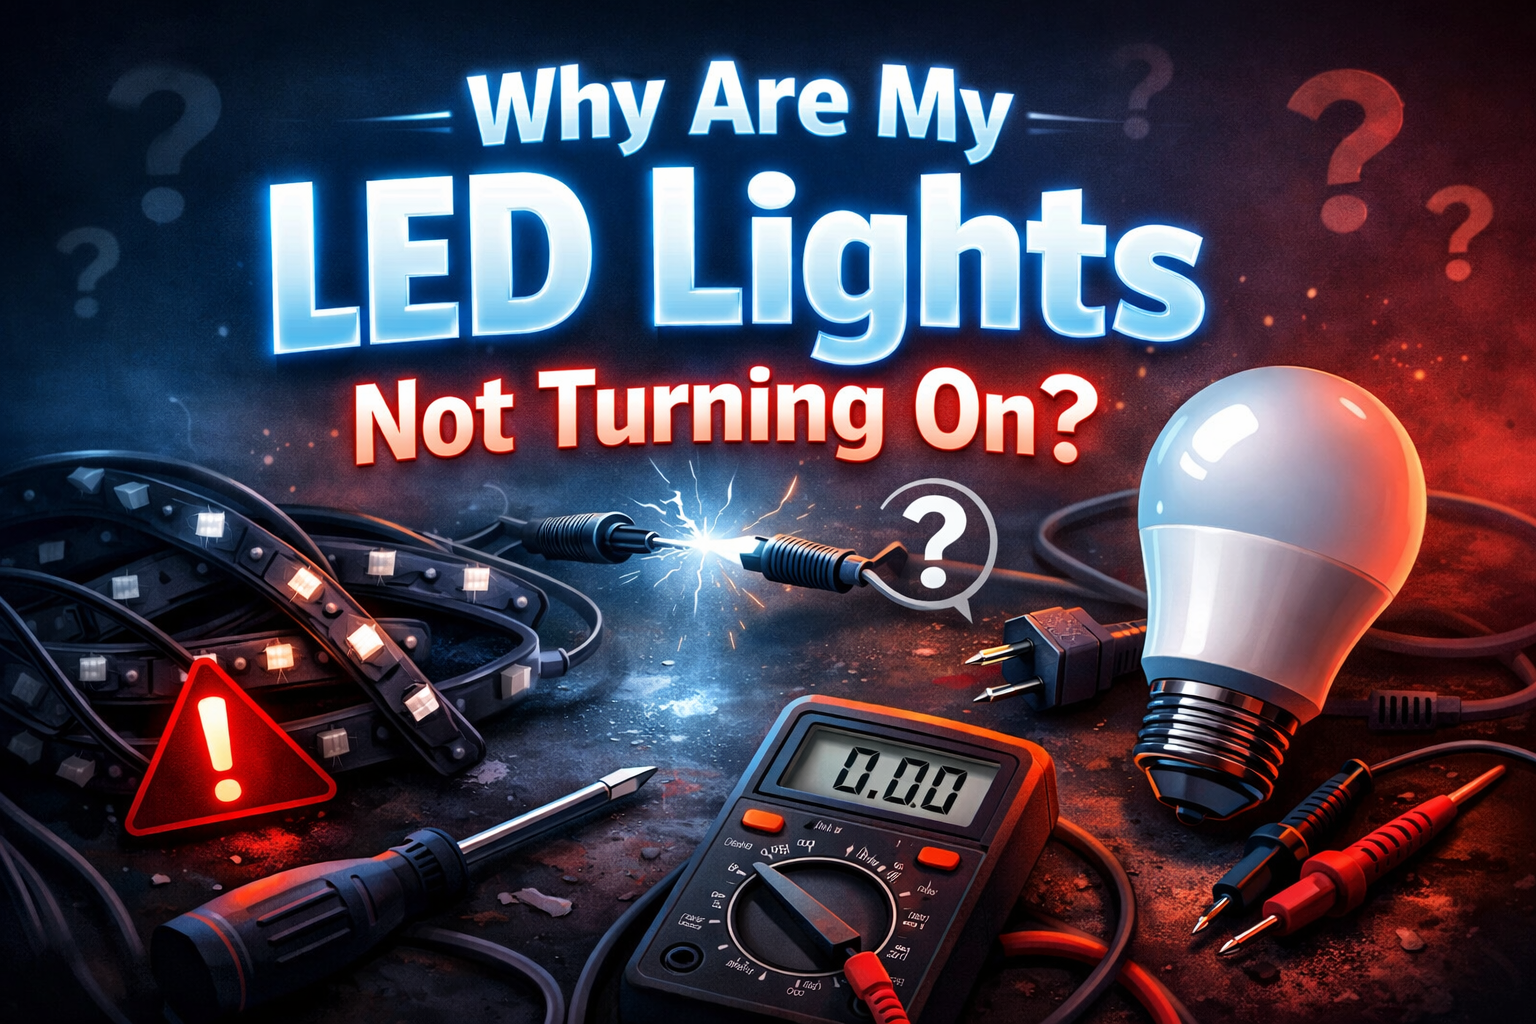
Table of Contents
Power Source Problems
The most frequent reason for LED lights not turning on involves power delivery issues. Your electrical circuit might have tripped breakers, blown fuses, or loose connections at the main panel. Always check your circuit breaker box first, ensuring the switch controlling your lighting circuit sits firmly in the “on” position. Reset any tripped breakers by flipping them fully off, then back on.
Wall outlets sometimes develop internal failures that prevent electricity from reaching your fixtures. Test the outlet with a known working device like a phone charger or lamp. If other devices don’t work either, the outlet requires professional repair or replacement. Faulty wiring inside walls can also interrupt power flow, though this typically affects multiple outlets or fixtures simultaneously.
Ground fault circuit interrupters (GFCIs) protect bathrooms, kitchens, and outdoor areas from electrical hazards. These safety devices trip easily when detecting moisture or irregular current flow. Locate the GFCI outlet nearest your non-functioning fixture and press the reset button. Many homeowners overlook this simple step when troubleshoot LED fixtures throughout their homes. If you want a dependable option, a solid example is a non-contact voltage tester for safely detecting live wires, which performs reliably in everyday use.
Connection Issues
Loose Socket Contacts
Light sockets accumulate dust, corrosion, and debris over time, preventing proper electrical contact with bulb bases. Turn off power at the breaker, then carefully inspect the socket’s metal contacts. Clean them using a dry cloth or compressed air. Bent contacts should be gently adjusted to ensure they touch the bulb base firmly when installed.
Screw-base sockets sometimes develop loose internal connections between the socket housing and the fixture’s wiring. This problem manifests as intermittent operation or complete failure. Wiggling the bulb slightly while installed can temporarily restore contact, but permanent repair requires replacing the socket assembly entirely.
Wire Connection Failures
Wire nuts securing fixture connections can loosen from vibration, temperature changes, or inadequate initial installation. After shutting off power, remove the fixture cover and inspect all wire connections. Properly installed wire nuts should resist gentle tugging. If wires pull free easily, disconnect them, clean the copper ends, and reconnect with fresh wire nuts twisted tightly.
Push-in wire connectors offer convenience but sometimes fail to maintain secure connections. These spring-loaded connectors can release wires gradually, creating high-resistance connections that prevent LED bulb won’t light up scenarios. Consider replacing push-in connectors with traditional wire nuts for more reliable long-term performance in permanent installations.
For those working with flexible lighting options, proper wiring technique becomes critical. Learning correct strip installation procedures prevents many connection-related problems before they occur.
Driver and Transformer Failures
LED drivers convert household alternating current into the direct current required by LED chips. These electronic components fail more frequently than the LED elements themselves, especially in budget fixtures using low-quality drivers. When a driver fails, the entire fixture goes dark even though the actual LED chips remain functional.
External drivers connected between the power source and fixture can be tested by substituting a known working replacement. Internal drivers built into the fixture housing require more extensive disassembly to diagnose. Many fixtures use proprietary driver designs that must be ordered from the original manufacturer rather than generic replacements. Another practical alternative is a plug-in outlet wiring tester for quick circuit polarity checks, which works well in real-world home environments.
Transformers serving low-voltage LED systems (typically 12V or 24V) experience similar failure patterns. Overloading a transformer by connecting too many fixtures exceeds its rated capacity, causing thermal shutdown or permanent damage. Calculate total wattage carefully, ensuring your LED power supply failure doesn’t result from exceeding the transformer’s specifications.
Heat buildup inside enclosed fixtures accelerates driver degradation. Drivers contain electrolytic capacitors that dry out faster at elevated temperatures, reducing operational lifespan from the rated 50,000 hours to just a few years. Proper ventilation around the driver compartment significantly extends component life and reduces failure rates.
Bulb Quality Concerns
Inexpensive bulbs from unknown manufacturers often fail prematurely due to substandard components and inadequate quality control. While these products appear identical to premium alternatives, internal differences dramatically affect reliability. Reputable brands test their products extensively and stand behind them with meaningful warranties, whereas budget options offer minimal support.
Manufacturing defects occasionally affect even quality products. A small percentage of any production run contains flaws that cause immediate or early failure. When multiple bulbs from the same package fail quickly, contact the manufacturer for warranty replacement. Document purchase dates and retain receipts to facilitate the replacement process.
Counterfeit products bearing fake brand names flood online marketplaces. These imitations copy packaging and labeling from legitimate manufacturers while using inferior internal components. Purchase from authorized dealers or directly from manufacturer websites to avoid counterfeits that contribute to LED bulb won’t light up complaints.
Voltage Compatibility
Incorrect Voltage Ratings
Installing 12-volt bulbs in 120-volt sockets or vice versa prevents operation and may damage the bulb immediately. Always verify voltage ratings marked on both the bulb base and fixture socket before installation. This mismatch commonly occurs when replacing halogen bulbs with LED retrofits in track lighting or recessed cans originally designed for low-voltage systems.
Some fixtures accept multiple voltage ranges through integrated transformers or switching power supplies. Universal voltage bulbs rated for 100-240V work across different electrical systems worldwide, providing flexibility for international use or applications with variable input voltage. However, these bulbs cost more than single-voltage alternatives.
Voltage Drop Problems
Long wire runs between the power source and fixture cause voltage drop that may prevent proper operation. This issue particularly affects low-voltage systems where resistance in thin wires significantly reduces available voltage at the endpoint. When troubleshoot LED fixtures installed far from transformers, measure actual voltage at the socket using a multimeter.
Undersized wire gauges exacerbate voltage drop issues. Upgrading to heavier gauge wire reduces resistance and maintains adequate voltage throughout the circuit. For extensive runs exceeding manufacturer recommendations, install additional transformers closer to the fixtures rather than extending circuits beyond their design limits.
Understanding proper sizing becomes especially important in custom installations. Resources about modifying flexible lighting explain how to maintain electrical integrity when customizing lengths.
Dimmer Switch Conflicts
Traditional incandescent dimmers use phase-control technology incompatible with many LED bulbs. When LED lights not turning on after installing new bulbs in dimmer-controlled circuits, incompatibility likely causes the problem. LED-rated dimmers specifically designed for solid-state lighting solve this issue by using electronic dimming methods compatible with LED drivers.
Minimum load requirements for dimmers create another compatibility challenge. Most dimmers require a certain wattage threshold to function correctly, typically 25-40 watts. Since LED bulbs consume far less power than incandescent equivalents, a circuit with multiple LEDs might not reach the dimmer’s minimum load, preventing operation entirely.
Some LED bulbs marketed as “dimmable” work with certain dimmer brands but not others. Check manufacturer compatibility lists before purchasing bulbs for dimmer circuits. Installing non-dimmable bulbs on dimmer circuits causes flickering, buzzing, or complete failure to illuminate, even with the dimmer set to maximum brightness.
Upgrading older dimmer switches to modern LED-compatible models resolves most compatibility issues. These newer switches typically cost more but provide smooth dimming performance and reliable operation. Many manufacturers offer compatibility databases on their websites, listing which bulbs work best with specific dimmer models.
Environmental Factors
Temperature Extremes
Extreme cold temperatures affect LED performance, particularly in outdoor fixtures and unheated spaces. While LEDs generally tolerate cold better than other lighting technologies, very low temperatures can prevent drivers from starting properly. Cold-rated fixtures designed for outdoor use incorporate components rated for subzero operation, ensuring reliable performance throughout winter months.
Excessive heat degrades LED components faster than any other environmental factor. Enclosed fixtures without adequate ventilation trap heat around bulbs and drivers, accelerating failure rates. When LED bulb won’t light up in enclosed fixtures, heat damage to internal components may be responsible, even if the fixture worked fine initially.
Moisture and Humidity
Water infiltration destroys electronic components in LED bulbs and fixtures. Outdoor installations require weatherproof fixtures with sealed housings and gaskets preventing moisture entry. Even indoor bathrooms generate enough humidity to damage improperly rated fixtures over time, leading to corrosion and electrical failures.
Condensation forms inside fixtures when warm, moist air contacts cold surfaces. This commonly occurs in outdoor fixtures during temperature swings or poorly ventilated indoor fixtures in humid environments. Select fixtures with appropriate moisture protection ratings matching installation location requirements.
Installation Mistakes
Incorrect polarity in DC LED systems prevents operation entirely. While many modern LED products include reverse-polarity protection preventing damage, they simply won’t illuminate when connected backward. Double-check positive and negative wire connections, ensuring they match manufacturer diagrams exactly.
Forgetting to remove protective films or packaging materials from bulbs seems obvious but occurs surprisingly often. Some bulbs ship with clear protective caps or plastic films that must be removed before installation. These transparent materials aren’t always immediately visible, especially in dim lighting during installation.
Overtightening bulbs in sockets can crack internal components or damage socket contacts. LED bulbs require only finger-tight installation—excessive force serves no purpose and may cause immediate or delayed failure. Similarly, forcing bulbs into incompatible sockets damages both components and creates safety hazards.
Installing bulbs exceeding fixture wattage ratings creates fire hazards and accelerates both bulb and fixture failure. Even though LED bulbs consume less power than incandescent equivalents, manufacturers specify maximum wattages for safety reasons. Always respect these ratings, selecting appropriately sized bulbs for each application.
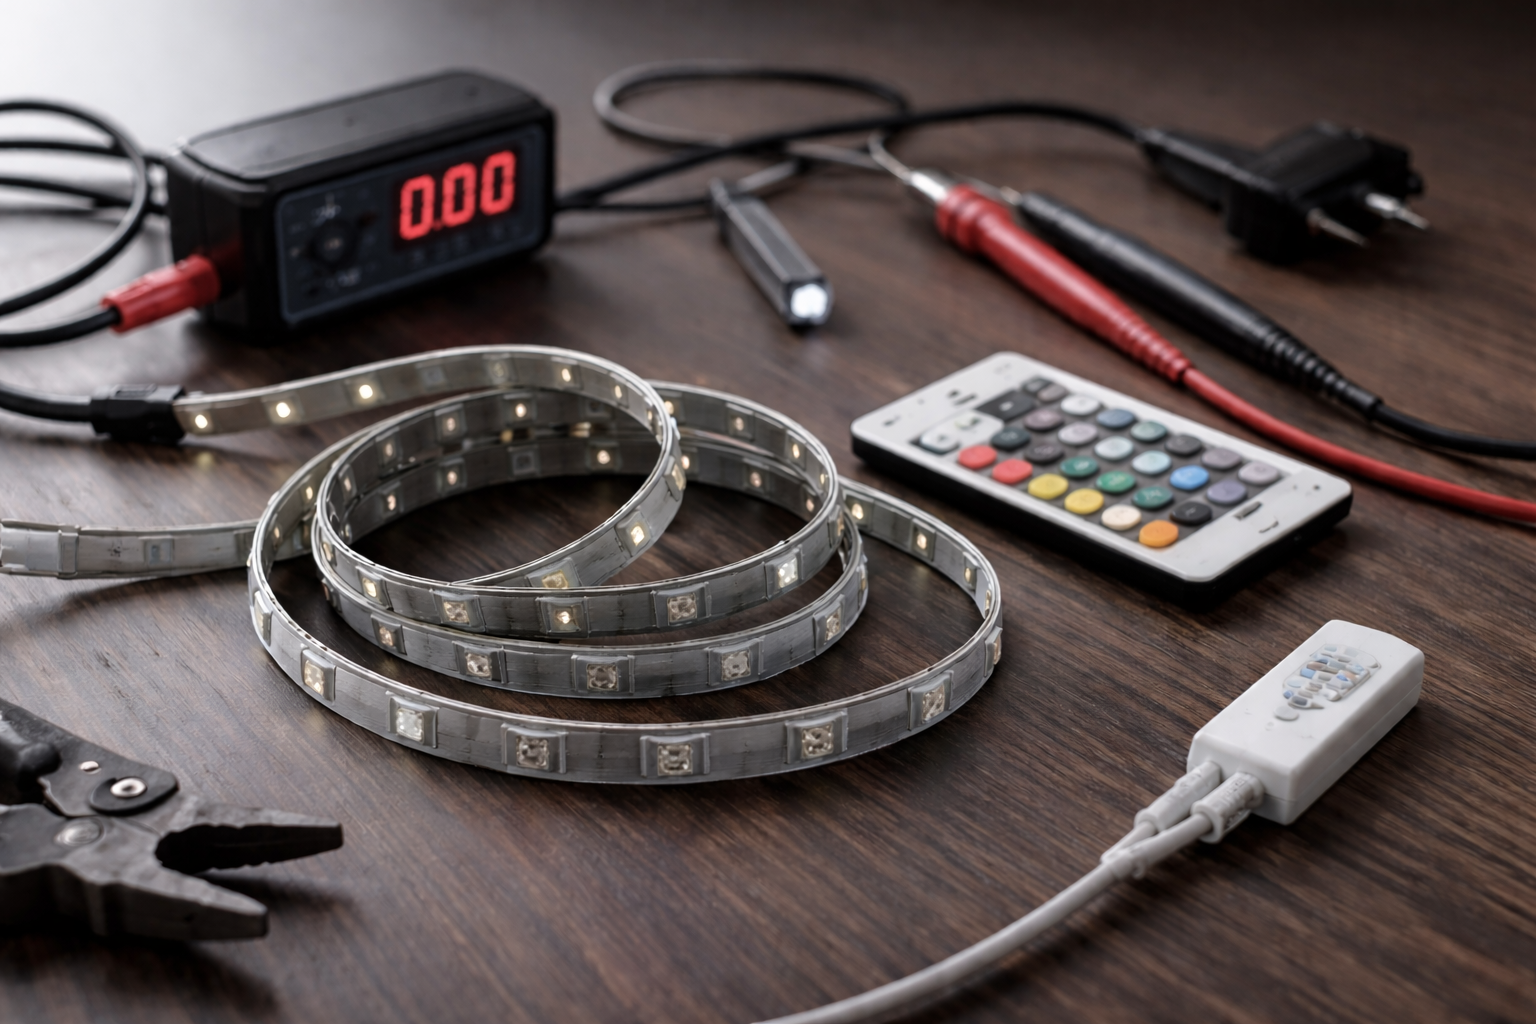
Testing Methods
Multimeter Diagnostics
Digital multimeters provide definitive answers when troubleshoot LED fixtures. Set the meter to AC voltage mode and test the socket or wire connections with power on, verifying that full voltage reaches the fixture. Readings significantly below expected values (120V for standard circuits, 12V or 24V for low-voltage systems) indicate wiring problems or LED power supply failure.
Testing bulbs individually requires careful attention to polarity and voltage settings. Some multimeters include diode-testing modes that can verify LED functionality without powering the entire bulb assembly. This advanced diagnostic technique helps identify whether bulb failures stem from LED chips, drivers, or connection issues.
Substitution Testing
Swapping suspect bulbs with known working units quickly isolates problems. If the original bulb works in a different fixture, the socket or fixture wiring requires attention. Conversely, if a working bulb fails in the problematic fixture, the fault lies with the fixture rather than the bulb.
Systematic testing works best when dealing with multiple non-functioning fixtures. Test each component individually rather than replacing everything simultaneously. This methodical approach saves money and identifies the actual failure point rather than guessing and potentially replacing functional components unnecessarily.
Building knowledge about common issues helps prevent future problems. The comprehensive learning resources available online explain diagnostic procedures and preventive measures in greater detail.
Replacement Strategies
When repairs prove impractical or impossible, strategic replacement extends the useful life of your lighting system. Purchase spare bulbs when buying fixtures initially, ensuring you have compatible replacements available when failures occur. Many LED products use proprietary designs discontinued after a few years, making future replacement difficult or impossible.
Upgrading entire fixtures rather than just bulbs makes economic sense when dealing with integrated LED designs where bulbs cannot be replaced separately. Modern fixtures offer improved efficiency, better light quality, and longer rated lifespans than older designs. Energy savings from upgraded fixtures often offset replacement costs within a few years through reduced electricity consumption. For a more permanent upgrade, many users switch to a replacement LED driver module for restoring failed fixtures, which is known for stable long-term performance.
Standardizing on specific bulb models throughout your home simplifies maintenance and inventory management. Rather than stocking various incompatible bulbs, selecting a single high-quality model for all compatible fixtures reduces complexity. This approach also ensures consistent color temperature and light quality throughout your space.
Consider smart LED bulbs when replacing failed conventional units. These connected devices offer remote control, scheduling, and dimming capabilities without requiring new switches or wiring. While smart bulbs cost more initially, their added functionality and typical long service life justify the premium for many users.
Preventive Maintenance
Regular cleaning prevents many common failures by removing dust buildup that insulates heat-generating components. Turn off power before cleaning, then wipe bulbs and fixtures with dry microfiber cloths. Avoid liquid cleaners unless specifically designed for electrical components, as moisture causes corrosion and short circuits.
Periodic visual inspections catch developing problems before complete failure occurs. Look for discolored wire insulation, corroded connections, or heat damage around sockets during routine bulb changes. Addressing these warning signs proactively prevents more extensive damage and reduces the likelihood of LED lights not turning on unexpectedly.
Keeping fixture ventilation openings clear ensures adequate cooling for drivers and bulbs. Enclosed fixtures accumulate dead insects, dust, and debris that block airflow and trap heat. Annual cleaning of outdoor fixtures and semi-annual attention to indoor units maintains optimal operating conditions and extends component life.
According to the U.S. Department of Energy, proper installation and maintenance significantly extends LED lighting lifespan, often achieving the rated 25,000-50,000 hours under optimal conditions. Following manufacturer guidelines for installation, operation, and environmental conditions prevents premature failures and maximizes your investment.
Documentation helps track performance and identify patterns. Recording installation dates, model numbers, and failure modes creates a maintenance history revealing which products perform reliably and which require frequent replacement. This information guides future purchasing decisions and helps anticipate when replacements will be needed.
For comprehensive problem-solving approaches, consulting detailed troubleshooting guides provides step-by-step diagnostic procedures covering scenarios from simple bulb failures to complex system-wide issues.
Sharing this guide
If you found this guide helpful, you can save it for later or share it with a friend. It’s especially useful for beginners, homeowners, and DIY users.
Share using the links below
Interested in learning more? Browse all related articles in our category section.
Pingback: LED Lights Flickering? Ultimate Fix Guide Revealed
Pingback: Stop LED Bulb Buzzing: Quick Fixes That Work Fast
Pingback: LED Bulbs Burning Out Fast: Critical Fixes Now - NeoLEDHub
Pingback: Reading LED Packaging: Essential Guide for Buyers