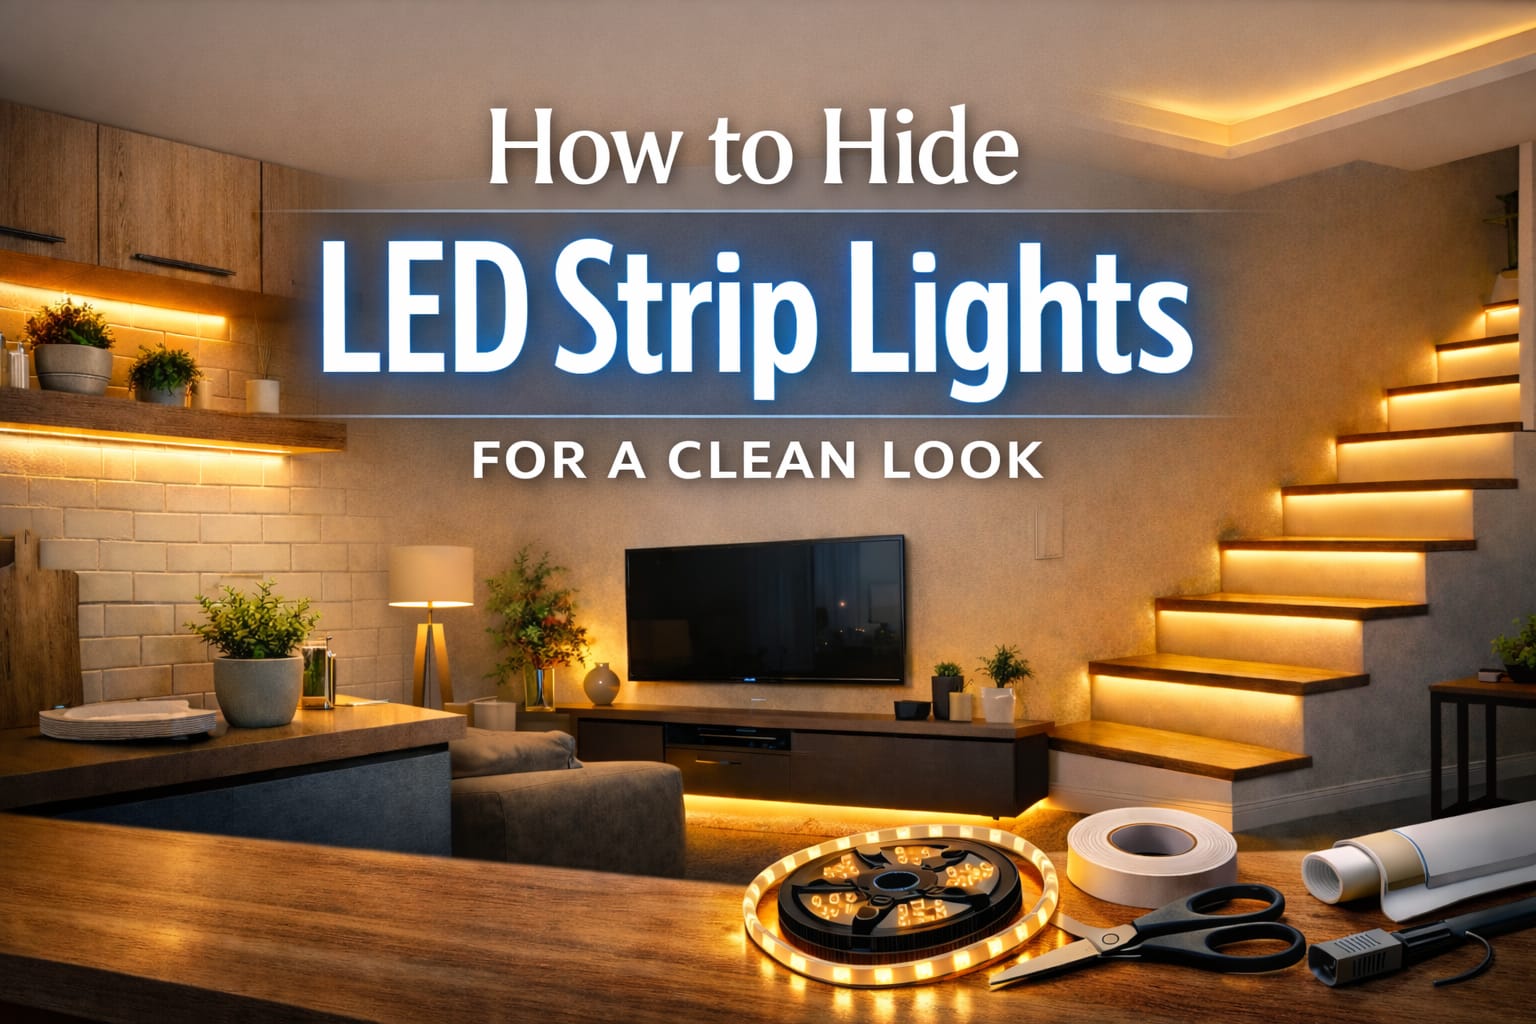
How to Hide LED Strip Lights: 7 Ways to Hide Wires & Dots
The cleanest way to hide LED strip lights is to place them behind a lip, recess, trim edge, cabinet underside, TV panel, headboard, bed frame, or diffuser channel so you see the glow instead of the dots, tape, wires, or power supply.
This guide is for anyone whose LED strip lighting works but still looks unfinished. You will learn where to place the strips, how to hide LED strip wires, when to use an LED strip diffuser channel, and how to create an integrated LED lighting detail that looks built into the room.
Quick Answer
Hide LED strip lights by placing them behind a cabinet lip, crown molding, floating shelf, TV panel, headboard, bed frame, or inside an LED strip channel with a diffuser. Keep the power supply behind furniture or inside a cabinet, and route visible wires along edges or inside a slim cover instead of letting them hang across open wall space.
Table of Contents:
7 Ways to Hide Wires & Dots
To hide wires and dots properly, the fix should not be a vague list of placement ideas. Each method below solves a specific problem: visible diode points, harsh glare, exposed feed wires, bulky power supplies, crooked strip lines, or sagging adhesive that reveals the strip later.
1. Hide the Diode Line Behind a Lip or Recess
The easiest way to hide LED dots is to place the strip where a physical edge blocks the direct view of the diodes. Cabinet lips, shelf undersides, trim edges, bed frame recesses, TV panels, and headboard gaps all work because they let the glow escape while keeping the strip itself out of sight.
This method is especially useful when the strip is close to eye level. If people can see the bare LED line from the sofa, bed, doorway, or kitchen counter, the setup will look temporary. Move the strip slightly farther behind the edge until the dots disappear and only the reflected light remains.
2. Aim the LEDs Toward a Surface, Not the Eye
Even a hidden strip can look harsh if it points outward. A cleaner setup aims the LEDs toward a wall, ceiling, shelf, backsplash, cabinet underside, or furniture panel so you see a reflected glow instead of direct glare. This is the main difference between an exposed strip and an integrated lighting effect.
This is also why understanding direct versus indirect lighting matters before you choose the final position. For most living spaces, the strip should support the room quietly rather than draw attention to itself.
Aim the glow toward a surface instead of toward the eye. This single choice often makes a bigger difference than buying a brighter LED strip.
3. Use a Diffuser Channel When Dots Are Visible
A diffuser channel helps when the strip cannot be hidden deeply enough on its own. It softens visible diode points, keeps the strip straight, reduces glare, and gives the edge a cleaner finish. This is especially useful on shallow shelves, desks, vanities, media walls, and cabinet edges.
If the room has visible side angles, a corner LED strip channel with diffuser can reduce the speckled look and make the light appear smoother at night. If you are still comparing bare strips, shallow channels, and deeper profiles, this LED strip beginner guide can help you understand the basics before committing to a profile.
4. Hide the Power Supply Before You Mount the Strip
Most people focus on the strip and forget the power block, but the adapter is often the part that ruins the clean look. Before mounting anything, decide where the adapter and controller will sit. Good hiding spots include inside a cabinet, behind a media console, behind a desk panel, on top of upper cabinets, or behind furniture that already sits close to the wall.
The power supply should be accessible but not visible from normal viewing angles. A hidden LED setup only feels finished when the adapter, controller, and final cable loop are planned before the adhesive backing touches the surface.
5. Route Wires Along Corners, Seams, and Furniture Edges
Visible wires look cleaner when they follow a line that already exists in the room. Route feed wires along inside corners, cabinet seams, shelf edges, desk backs, media console gaps, or furniture legs instead of letting them cross open wall space. A wire that follows an edge looks intentional; a wire hanging in the middle of a wall looks improvised.
For rooms with multiple segments, avoid messy overlaps and strained corners. Clean transitions matter as much as the first strip placement. If your setup needs more than one strip section, read how to connect LED strip lights before deciding where the joins should sit.
6. Use a Slim Cable Cover for Exposed Wire Runs
Sometimes the feed wire cannot be hidden completely behind furniture, trim, or a cabinet. In that case, it is better to make the visible run look deliberate than to leave it loose. A slim paintable cable cover for exposed feed wires can make the run look cleaner when the cable has to cross a visible area.
Use this only where needed. The best result still comes from keeping the wire path short, straight, and close to an architectural edge. The cable cover should support the clean look, not become the main visual feature.
7. Secure Loose Sections So Strips Do Not Sag Later
A strip can look hidden on day one and then become visible later if the adhesive weakens. Heat, dust, textured paint, unfinished wood, ceiling edges, and kitchen moisture can all cause sagging. Once the strip droops, the dots, wires, and unfinished edges become much easier to see.
Use small mounting clips for textured surfaces and ceiling edges if adhesive may weaken over time. Clips are especially useful at endpoints, corners, warm areas, and places where cleaning or movement could pull the strip out of alignment.
Why Hidden LED Strip Lights Look Better
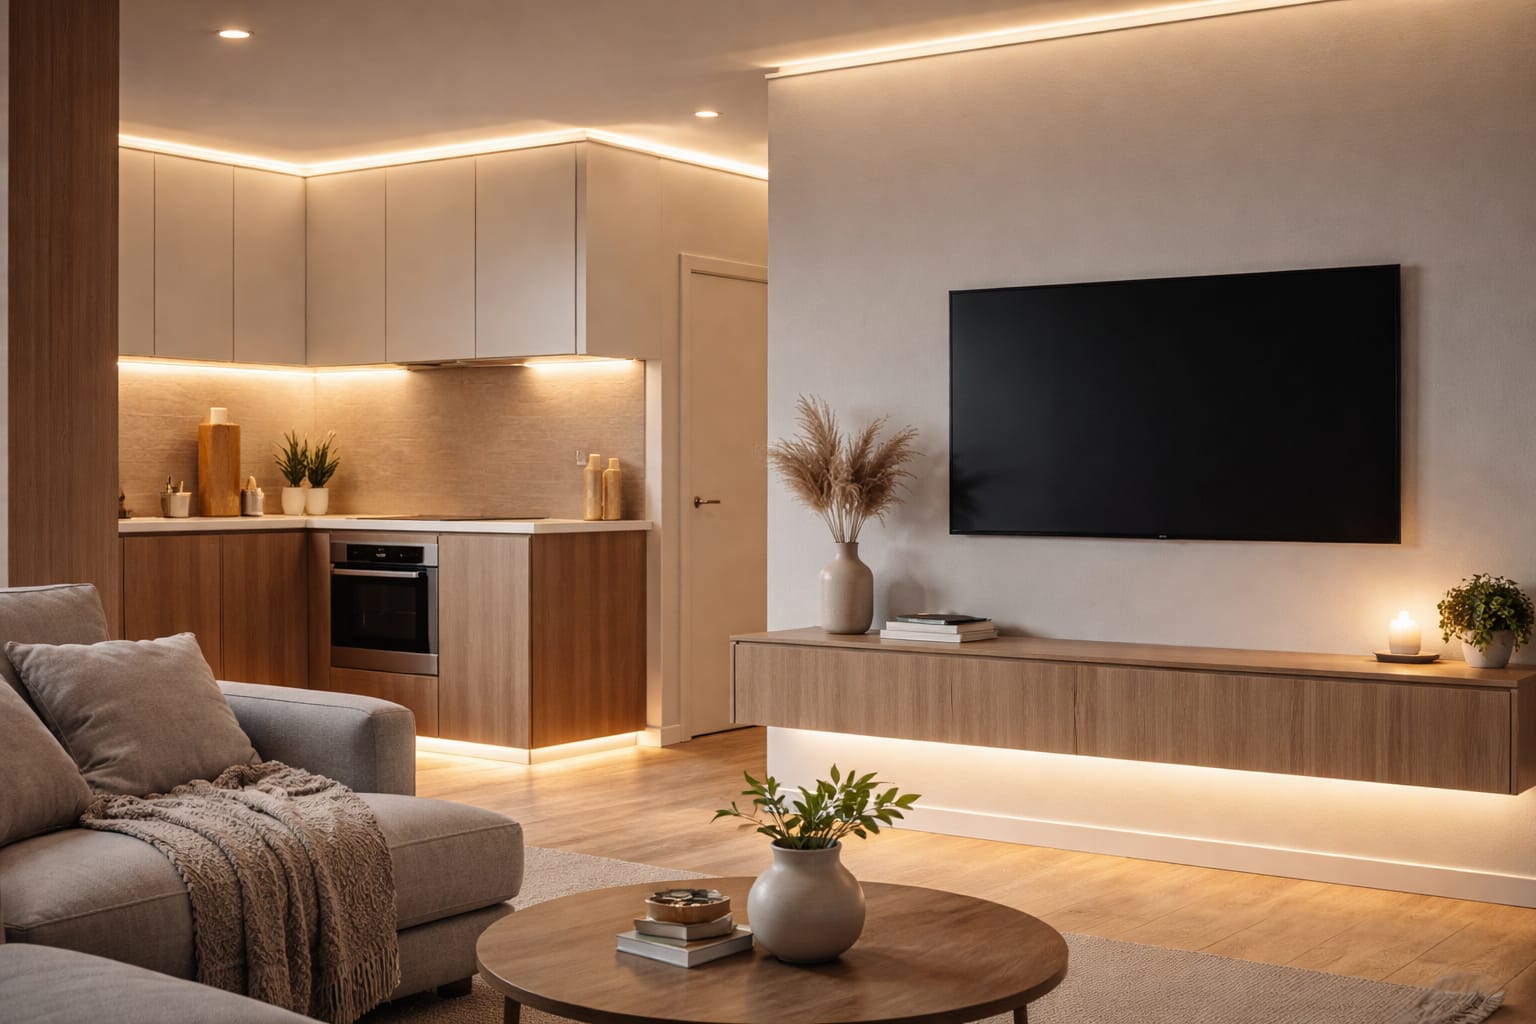
People searching for how to hide LED strip lights are usually not looking for more brightness. They want the room to look cleaner, calmer, and more intentional. The best hidden LED strip setups reveal the glow, not the hardware. When the eye sees a soft reflection on a wall, shelf, ceiling cove, or cabinet surface instead of exposed diodes, the lighting feels more architectural.
A polished setup depends on sightlines. If the strip, adhesive backing, exposed wire, or power feed is visible from the sofa, doorway, bed, or kitchen counter, the installation can look temporary. If the strip is tucked behind a lip or inside a channel, the room feels more finished.
The goal is not to make the room darker or hide the light completely. The goal is to hide the strip itself. When the light source disappears and only the reflected glow remains, the setup looks more expensive, more permanent, and easier to live with every day.
Plan the Layout Before You Stick the Strip
The biggest mistake is starting with adhesive instead of layout. Before peeling anything, decide where the strip will sit, where the power supply will go, where the wire will exit, and which surface should receive the glow. A good layout plan solves most visible-dot, visible-wire, and glare problems before installation begins.
- 1
Check the normal viewing angle
Stand where people will sit, enter, cook, work, or watch TV. The strip should not be directly visible from those everyday positions.
- 2
Choose the hidden edge first
Look for a cabinet lip, shelf underside, trim edge, headboard gap, TV panel, bed frame recess, or ceiling cove before deciding where the strip should stick.
- 3
Map the power entry point
Decide where the controller and adapter will sit before measuring the strip. This prevents awkward exposed leads at the end of the run.
- 4
Dry-fit the strip before cutting
Use painter’s tape for a quick mock-up. Turn the strip on, check the reflection, and confirm every corner before installing it permanently.
This planning stage is also when you decide whether the current strip is right for the job. If you have not chosen one yet, this guide to choosing LED strip lights can help you match strip type, brightness, and placement instead of forcing the wrong product into the room.
If the run needs to stop exactly at a cabinet edge, shelf corner, or bed frame endpoint, review how to cut LED strip lights before mounting anything. Accurate cuts make the finished line look intentional and prevent loose excess length from hanging past the hidden edge.
Which Hidden LED Strip Setup Should You Choose?
The best setup depends on what is ruining the look. Some rooms need better placement, some need cleaner wire management, and some need a diffuser because the dots are still visible from normal angles.
If the dots are visible
Move the strip farther behind the edge or use a diffuser channel. This is the most direct fix for speckled reflections and visible diode points.
If the wires are visible
Shorten the feed path, route it along an inside edge, hide the adapter behind furniture, or use a slim cover where the wire must cross open space.
If the light feels harsh
Aim the strip toward a wall, ceiling, shelf, or backsplash instead of outward. Lower brightness and warmer color temperature can also make the setup feel more polished.
If the strip may sag later
Use extra support on textured paint, unfinished wood, warm ceiling zones, or areas near cooking moisture. A hidden setup only works if the strip stays straight over time.
If you want a built-in look
Combine three things: a concealed edge, a clean wire path, and a soft reflected glow. That is what turns a basic LED strip into an integrated lighting detail.
For everyday rooms, one or two well-placed hidden strips usually look better than trying to light every edge. A narrow glow behind furniture, under a cabinet, or inside a cove often feels more refined than a bright LED outline around the whole room.
Mistakes That Make LED Strips Look Cheap
The first mistake is making the strip too bright. Excessive brightness makes every flaw more visible, including hot spots, glare, uneven reflections, loose wire paths, and exposed endpoints. Hidden LED lighting usually looks better when it supports the room instead of competing with it. If glare is the main issue, this lighting glare reduction guide explains how to soften harsh light before changing the whole setup.
The second mistake is choosing the easiest mounting surface instead of the best-looking surface. A strip can be technically secure and still look wrong if it is mounted where the diodes face the viewer. Placement should be chosen from the viewing angle, not only from where the adhesive is easy to apply.
The third mistake is ignoring the final details. A beautiful hidden installation loses its impact if the last cable loop, controller, adapter, or connector is left in plain sight. If you want to hide LED strip lights properly, treat the endpoint as part of the design.
Do not mount bare diodes where they face a sofa, bed, pillow, mirror, glossy tile, or standing entryway. Even a good LED strip looks unfinished when the eye catches the dots first.
In kitchens and task zones, the goal is balance. You still need enough light to see clearly, but the strip does not need to be exposed. Under-cabinet lighting works best when the counter is lit and the diode line stays hidden. For broader LED product and efficiency context, the ENERGY STAR guide to LED lighting basics is a useful reference.
Installation Checklist Before You Peel
Before sticking the strip down permanently, run through this quick check. It helps catch the small details that separate a rushed installation from a clean, built-in-looking result.
- ✓ Confirm that normal eye level cannot see the bare LEDs directly.
- ✓ Test the location of the power supply with furniture, cabinet doors, and daily use in mind.
- ✓ Dry-fit the corners and verify every cut point before trimming the strip.
- ✓ Check if a diffuser channel is needed where dots, glare, or crooked lines are visible.
- ✓ Use extra support if adhesive may weaken over time.
- ✓ Turn the lights on during the day and at night to detect unwanted glare.
- ✓ Hide the controller, adapter, and final cable loop before calling the setup finished.
Adhesive is fine on smooth, clean, sealed surfaces. Clips are better when the surface is textured, dusty, warm, unfinished, or likely to be touched during cleaning.
This matters because hiding LED strip lights is not just about how they look on day one. It is also about keeping them invisible after weeks of heat, cleaning, and normal use. For more troubleshooting and planning help, visit the LED Knowledge Center after installation.
Questions People Ask About Hidden Strip Setups
Most questions come down to four things: where to place the strip, how to hide the wires, whether diffusers are worth using, and how to make the lighting look built in instead of added afterward.
What is the best way to hide LED strip lights?
The best method is to place the strip behind a lip, trim edge, shelf, cabinet, headboard, TV panel, or diffuser channel so the glow is visible but the diodes are not. The cleaner the sightline, the more built-in the lighting will feel.
How do you hide LED strip wires?
Route the feed wire into a cabinet corner, behind furniture, along an architectural edge, or inside a slim cable cover. Keep the path short and straight, and place the power supply outside normal sightlines.
Do diffuser channels really hide LED dots?
Yes. A diffuser channel softens visible diode points, helps keep the strip straight, and reduces glare when the strip is close to eye level or mounted on a shallow surface.
Can LED strips look like integrated lighting?
Yes, if the strip is hidden behind a recess, edge, channel, or built-in furniture detail. The key is to make the light appear from the architecture instead of showing the strip itself.
What color temperature looks most polished indoors?
For most living spaces and bedrooms, 2700K–3000K looks warm, comfortable, and upscale. Kitchens and work zones can use 4000K if the strip remains concealed and the light is aimed at the work surface.
Key Takeaways
Learning how to hide LED strip lights is mostly about controlling sightlines. The strip should sit behind a lip, recess, channel, furniture edge, cabinet underside, or trim detail so the glow is visible and the hardware disappears.
The cleanest setup starts with the power location, wire route, viewing angle, and reflective surface. Once those are planned, you can decide whether a diffuser channel, cable cover, or mounting clips will improve the final result.
For a more integrated LED lighting look, use fewer strips in better places. A controlled glow behind furniture, inside a cove, under a cabinet, or behind a headboard usually looks more polished than exposing bright LED strips around every edge of the room.
Sharing This Guide
Save it or share it with someone planning a cleaner LED strip lighting setup.
Interested in learning more? Browse all related articles in our LED strips category section.