LED Wiring Mistakes: Why Strip Lights Flicker, Dim, or Fail
Most LED wiring mistakes show up as strip lights that flicker, look dim at the far end, change color, overheat, or stop working after a cut, connector, polarity change, or power-supply update. Before replacing the strip, check polarity, wire gauge, voltage drop, load, and every connection in order.
This guide helps you diagnose the most common LED strip wiring mistakes, understand the warning signs, and choose the safest fix so your lighting runs brighter, more reliably, and without unnecessary part replacement.
Quick Answer
If your LED strip lights flicker, look dim at one end, change color, or do not turn on after wiring, the most likely causes are reversed polarity, loose connectors, incorrect wire gauge, LED voltage drop, an overloaded driver, or a cut made in the wrong place. Check power, polarity, load, and every connection before replacing the strip.
- If the strip does not turn on, check polarity and power-supply output first.
- If the strip flickers when moved, inspect connectors, terminals, and solder joints.
- If the far end looks dim or changes color, check wire gauge and voltage drop.
- If the driver shuts down or gets hot, recalculate the total load and leave headroom.
- If a section died after trimming, confirm that the strip was cut only at marked cut points.
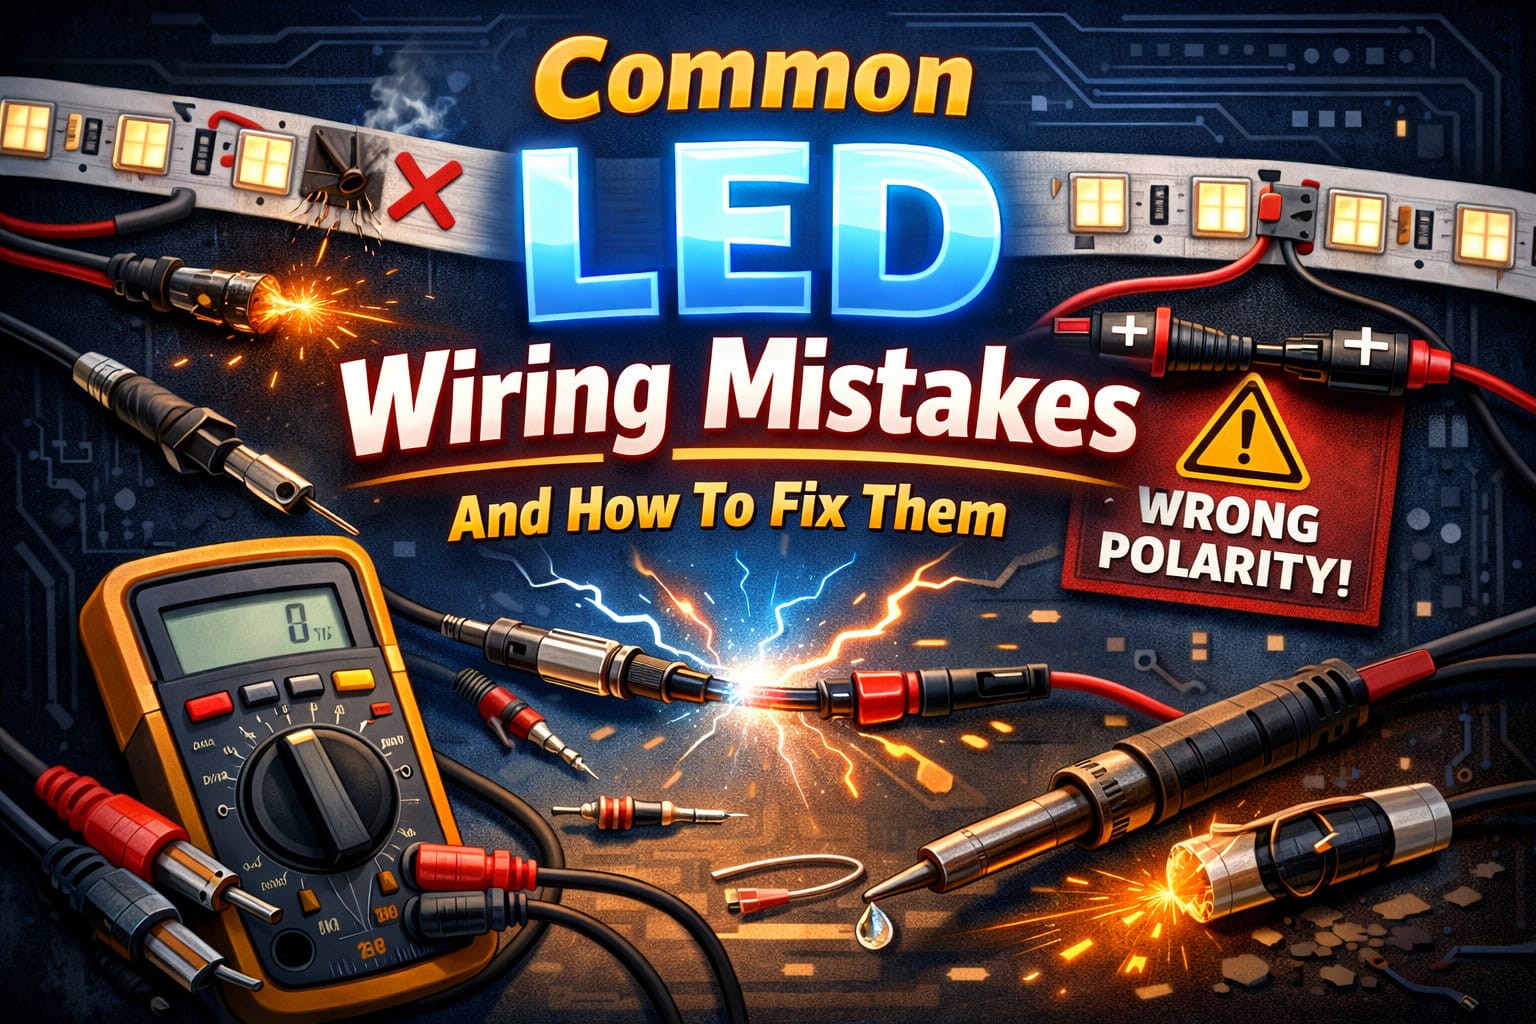
Table of Contents:
- Quick Answer
- What to Check First Based on the Symptom
- Reverse Polarity: Why LED Strips Do Not Turn On
- Wrong Wire Gauge and LED Voltage Drop
- Loose Connectors, Bad Splices, and Flicker
- Power Supply Load, Series, and Parallel Wiring
- Cutting, Soldering, and Repairing LED Strips
- Insulation, Moisture, Grounding, and Safety
- FAQ
- Key Takeaways
What to Check First Based on the Symptom
The fastest way to troubleshoot LED wiring mistakes is to start with the symptom, not with random part replacement. Most LED strip wiring problems point toward a small group of causes.
- LED strip does not turn on: check polarity, driver output, connector direction, and whether the power supply is compatible with the strip voltage.
- LED strip flickers: inspect loose terminals, poor solder joints, weak strip connectors, overloaded drivers, and intermittent contact points.
- Far end looks dim or a different color: look for LED voltage drop, thin wire, long runs, or missing power injection.
- Only one section is dead: check the cut point, damaged copper pads, broken traces, or a poor strip-to-strip connection.
- Power supply shuts down: recalculate total wattage, check for shorts, and make sure the driver is not being pushed beyond its continuous rating.
If several symptoms appear at once, start at the power supply and work outward: output voltage, polarity, first connection, strip section, far-end voltage, then any later joins or cuts.
Reverse Polarity: Why LED Strips Do Not Turn On
Reversed polarity is one of the easiest LED wiring mistakes to make, especially with low-voltage DC strips, modules, and drivers. Most LED strip lights need positive connected to positive and negative connected to negative terminals. If those terminals are swapped, the strip may stay completely dark even though the power supply is working.
Check the plus and minus markings on the strip, the driver, the connector, and any extension cable. Some strips also use red and black wires, but color alone is not enough if the cable has been extended, spliced, or repaired before.
A meter gives the quickest confirmation. Set it to DC voltage, place the positive probe on the terminal you believe is positive, and place the negative probe on the other side. A positive reading confirms the polarity; a negative reading means the leads are reversed. For this kind of check, a digital multimeter for checking polarity and voltage drop is one of the most useful tools to keep near any LED project.
Before powering a new LED setup, label the positive and negative conductors with tape or a marker. This prevents accidental polarity reversal when you reconnect, extend, or troubleshoot the system later.
Can reverse polarity damage LED strip lights? Sometimes. Many products simply stay off when polarity is wrong, but lower-cost strips, modules, or drivers may lack reverse-polarity protection. Warning signs include a burnt smell, visible discoloration, a driver that shuts down, or a strip section that remains dead after being rewired correctly.
If you suspect polarity damage, disconnect power immediately. Then test the driver output separately, reconnect a known-good section if available, and avoid repeatedly powering the same damaged section while guessing at the wiring.
Wrong Wire Gauge and LED Voltage Drop
Incorrect wire gauge and LED voltage drop usually appear together. Thin wire adds resistance, wastes energy as heat, and leaves less voltage available for the LEDs. The longer the run and the higher the current, the more obvious the problem becomes.
At first, AWG sizing can feel backwards because larger AWG numbers mean thinner wire. For many low-voltage LED projects, 18-gauge or 16-gauge wire is common, but the right choice depends on current draw, total run length, voltage, and whether power is injected at more than one point.
Voltage drop is often the reason an LED strip looks bright near the power supply but dim, yellowish, bluish, or inconsistent at the far end. If your system is showing unexpected LED color changes, voltage drop should be one of the first things you test.
To diagnose it properly, measure the voltage at the LED connection point while the system is on, not only at the power supply. As a general guideline, most 12V systems should remain above about 11.4V at the far end, and most 24V systems should remain above about 22.8V. If readings fall below those levels, the fix is usually thicker wire, shorter cable runs, power injection, or a higher-voltage strip system if the product supports it.
Do not try to fix voltage drop by increasing the supply voltage unless you have confirmed that the LEDs and driver can safely handle it. Too much voltage can permanently damage the strip.
If replacing a long hidden cable is not practical, moving the power supply closer to the LED load can help. In larger installations, multiple smaller power supplies placed near the strip zones often perform better than one large supply feeding a long cable run.
Loose Connectors, Bad Splices, and Flicker
Loose connections are among the hardest LED wiring problems to diagnose because they may work only some of the time. A strip can turn on, flicker when touched, fail after vibration, or show dead sections when a connector shifts just enough to lose contact.
Start with a visual inspection. Look for stray copper strands, discolored insulation, melted plastic, scorched terminals, loose screws, or conductors that are not fully seated. Then perform a gentle pull test on each wire. A reliable connection should not slip, wobble, or pull free.
Screw terminals need the right amount of pressure. Too loose and the wire can move; too tight and the conductor can be crushed, creating high-resistance contact points that heat up over time. Wire nuts, push-in connectors, and strip connectors also need the correct strip length and full seating to remain stable.
When you are testing layouts, repairing low-voltage splices, or reconnecting short wire sections, lever-action wire connectors for quick low-voltage testing and secure splices can make the process cleaner than repeatedly twisting and untwisting wires.
If the strip still flickers after every visible connection looks secure, follow a step-by-step process instead of guessing. The LED troubleshooting guide walks through common symptoms and helps narrow down whether the fault is the strip, driver, dimmer, wiring, or connector.

Power Supply Load, Series, and Parallel Wiring
Overloading a driver or power supply is one of the most common LED wiring mistakes behind dimming, flicker, shutdown behavior, overheating, and early failure. A supply may appear powerful enough on the label but still struggle if it is being pushed too close to its continuous rating.
The safer approach is to calculate the total wattage of every connected LED load and leave headroom. A common practice is to keep the continuous load at about 80% of the rated capacity. That margin helps with heat, reliability, and future expansion.
Do not confuse peak power with continuous power. Many failures happen because the printed number looks sufficient, but the supply cannot sustain that output during normal use. If a driver shuts down, buzzes, overheats, or causes repeated dimming, recalculate the load before assuming the LED strip is defective.
Series and parallel wiring also matter. In a series circuit, voltage requirements add up. Three 12V LED modules in series need 36V, not 12V. In a parallel circuit, each module still receives 12V, but the total current draw increases. Confusing these layouts can create insufficient voltage, overload, uneven brightness, or a system that never turns on correctly.
For larger layouts, document the wiring before you close walls, channels, or cabinets. A simple diagram showing voltage, current, driver location, strip length, and injection points can save a lot of time when expanding or troubleshooting the installation later.
Cutting, Soldering, and Repairing LED Strips
Cutting an LED strip in the wrong place is one of the easiest mistakes to make and one of the hardest to undo cleanly. LED strips are designed with marked cut points. Cutting between them can break the copper traces that feed the LEDs and leave a dead section behind.
Before cutting, measure the run, check the spacing between cut points, and confirm where the copper pads will remain. Most strips use scissors icons, printed lines, or exposed copper pads to mark safe cut locations. Always inspect these marks under good lighting before trimming.
If a cut is close to a correct point and enough copper remains, you may be able to trim back to the nearest valid cut mark. For strip-to-strip repairs where soldering is not practical, a solderless LED strip connector kit for cleaner strip-to-strip repairs can help create a more consistent connection, as long as the strip width, pin count, and pad layout match.
Bad solder joints create another failure point. A cold joint may look acceptable at first, but it has poor bonding, higher resistance, and a greater chance of failing when the strip heats up and cools down. Good soldering requires clean pads, enough heat, and solder fed into the joint rather than only onto the iron tip.
Too little heat creates weak joints, while too much heat can lift copper pads, damage traces, or stress nearby LED chips. In most cases, only a few seconds of contact are needed. If heat damage is already a concern, the guide on LED overheating dangers explains how thermal stress affects LEDs, drivers, and enclosed fixtures.
More advanced repairs can use small jumper wires to bridge damaged traces, but this requires steady soldering and a clear understanding of the strip layout. If the damaged area is extensive, replacing that strip section is usually cleaner and safer than building multiple fragile repairs.
Insulation, Moisture, Grounding, and Safety
Some LED wiring mistakes affect brightness. Others affect safety. Poor insulation, exposed conductors, weak moisture protection, and missing grounding can lead to shorts, sparks, damaged drivers, shock hazards, or fire risk.
Every splice and soldered joint should be fully covered. Heat shrink tubing is usually stronger and longer-lasting than tape alone because it grips the joint and keeps exposed metal protected. Electrical tape can still be useful, but it must be high quality, overlapped correctly, and checked over time because cheap tape can dry out, loosen, and lose adhesion.
Wet or humid locations need more than basic insulation. Moisture can creep into poorly sealed joints, corrode copper, and create random failures that look like driver or strip problems. Adhesive-lined heat shrink, cable glands, sealed connectors, and compatible enclosures help protect vulnerable connection points.
IP ratings also matter. The first digit describes protection against solids such as dust, while the second digit describes protection against liquids. Dry indoor spaces may be fine with lower protection, but exposed outdoor installations often need weather-rated strips, drivers, and connection hardware. Lighting resources from the Illuminating Engineering Society can provide useful context for lighting performance and installation considerations.
Grounding is especially important where metal fixtures, metal enclosures, junction boxes, or mains-powered drivers are involved. In North American wiring, ground is often bare copper or green-insulated, and it should never be removed just to make installation easier. A proper grounding path helps protective devices operate if a live conductor contacts a metal housing.
A GFCI adds another layer of protection in bathrooms, garages, outdoor areas, and other damp locations. Some LED drivers can cause nuisance tripping if they are incompatible or faulty, but bypassing protection is not the solution. Check the equipment specifications, replace incompatible parts, and consult a qualified electrician for mains-voltage wiring. For more basics and safe troubleshooting habits, visit the LED Knowledge Center.
FAQ
What Happens if LED Strip Polarity Is Reversed?
Most LED strips simply do not turn on when polarity is reversed. Some products include protection, but lower-quality strips or drivers may be damaged if reverse current is allowed to flow. Disconnect power, confirm positive and negative, and retest carefully.
Why Are My LED Strips Dim at the End?
A strip that is bright near the power supply but dim at the far end usually has voltage drop. Common causes include long runs, thin wire, high current draw, or not injecting power at additional points.
Can I Fix an LED Strip Cut in the Wrong Place?
Sometimes. If the cut is near a correct cut point and enough copper pad remains, you may be able to trim back and reconnect. If traces are badly damaged, replacing that section is often more reliable than trying to bridge several broken points.
What Wire Gauge Should I Use for LED Strip Lights?
There is no single gauge for every LED strip. The correct wire size depends on voltage, current draw, cable length, and acceptable voltage drop. Many small low-voltage projects use 18 AWG or 16 AWG, but longer or higher-current runs may need thicker wire.
Key Takeaways
Most LED wiring mistakes come down to a short list of practical issues: reversed polarity, thin wire, LED voltage drop, loose connectors, overloaded power supplies, poor insulation, incorrect cutting, and weak solder joints.
Start with the symptom. A strip that will not turn on points first to polarity and power. A strip that flickers points first to connections. A strip that gets dim at the end points first to voltage drop, wire gauge, and power injection.
The best fix is usually methodical: verify output voltage, confirm polarity, inspect every connection, measure voltage at the load, calculate driver headroom, and only then replace parts. This saves time, avoids unnecessary purchases, and makes the installation safer.
Sharing This Guide
If it helped you troubleshoot an LED project, save it for later or share it with someone dealing with similar wiring issues.
Use the links below.
Interested in learning more? Browse all related articles in our category section.