Voice-Controlled Lighting Setup: Bulbs, Switches & Alexa
A good voice-controlled lighting setup starts with choosing the right device type: smart bulbs for lamps and color scenes, smart switches for ceiling fixtures, smart plugs for simple plug-in lamps, and hubs for larger systems that need more reliable control.
This guide shows you what to buy, how to connect each device to Alexa, Google Assistant, or Apple HomeKit, how to avoid pairing mistakes, and how to build a setup that works smoothly before you expand it across your home.
Quick Answer: Best Voice-Controlled Lighting Setup for Most Homes
For most beginners, the easiest voice-controlled lighting setup is one or two compatible smart bulbs for lamps, or a smart dimmer switch for fixed ceiling lights. Set each device up in the manufacturer’s app first, then link that account to Alexa, Google Assistant, or HomeKit.
- Use smart bulbs if you want the simplest start, color control, scenes, or lamp-by-lamp control; if Alexa is your main platform, compare smart LED bulbs for Alexa before buying.
- Use smart switches if you want voice control for ceiling lights, chandeliers, or multi-bulb fixtures.
- Use smart plugs for basic lamps where you only need on/off voice control.
- Use a hub if you want better reliability, more devices, or Zigbee/Z-Wave compatibility.
- Most setup problems come from weak Wi-Fi, unclear device names, unsupported platforms, or skipping the manufacturer’s app.
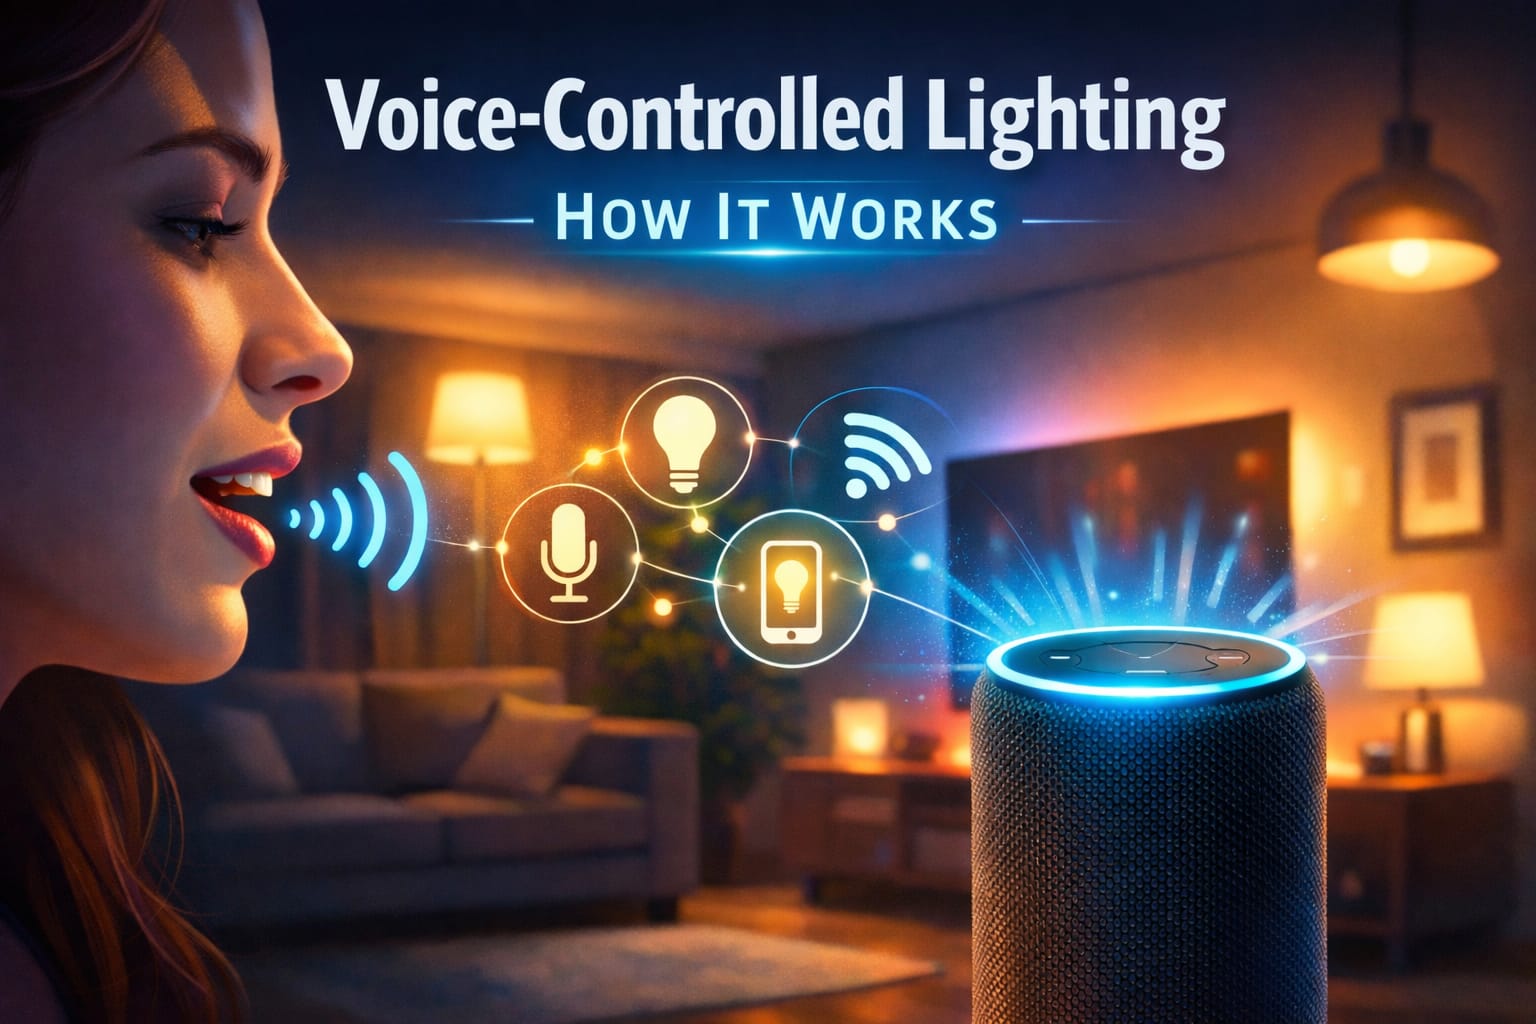
Table of Contents:
- Quick Answer
- How Voice-Controlled Lighting Works
- Choose the Right Device: Bulb, Switch, Plug or Hub
- Voice-Controlled Lighting Setup Steps
- Alexa vs Google Assistant vs HomeKit
- Useful Voice Commands, Scenes and Routines
- Troubleshooting Voice-Controlled Lighting Problems
- Privacy, Security and Cost
- Future-Proofing Your Setup
- FAQ
- Key Takeaways
- Sharing This Guide
How Voice-Controlled Lighting Works
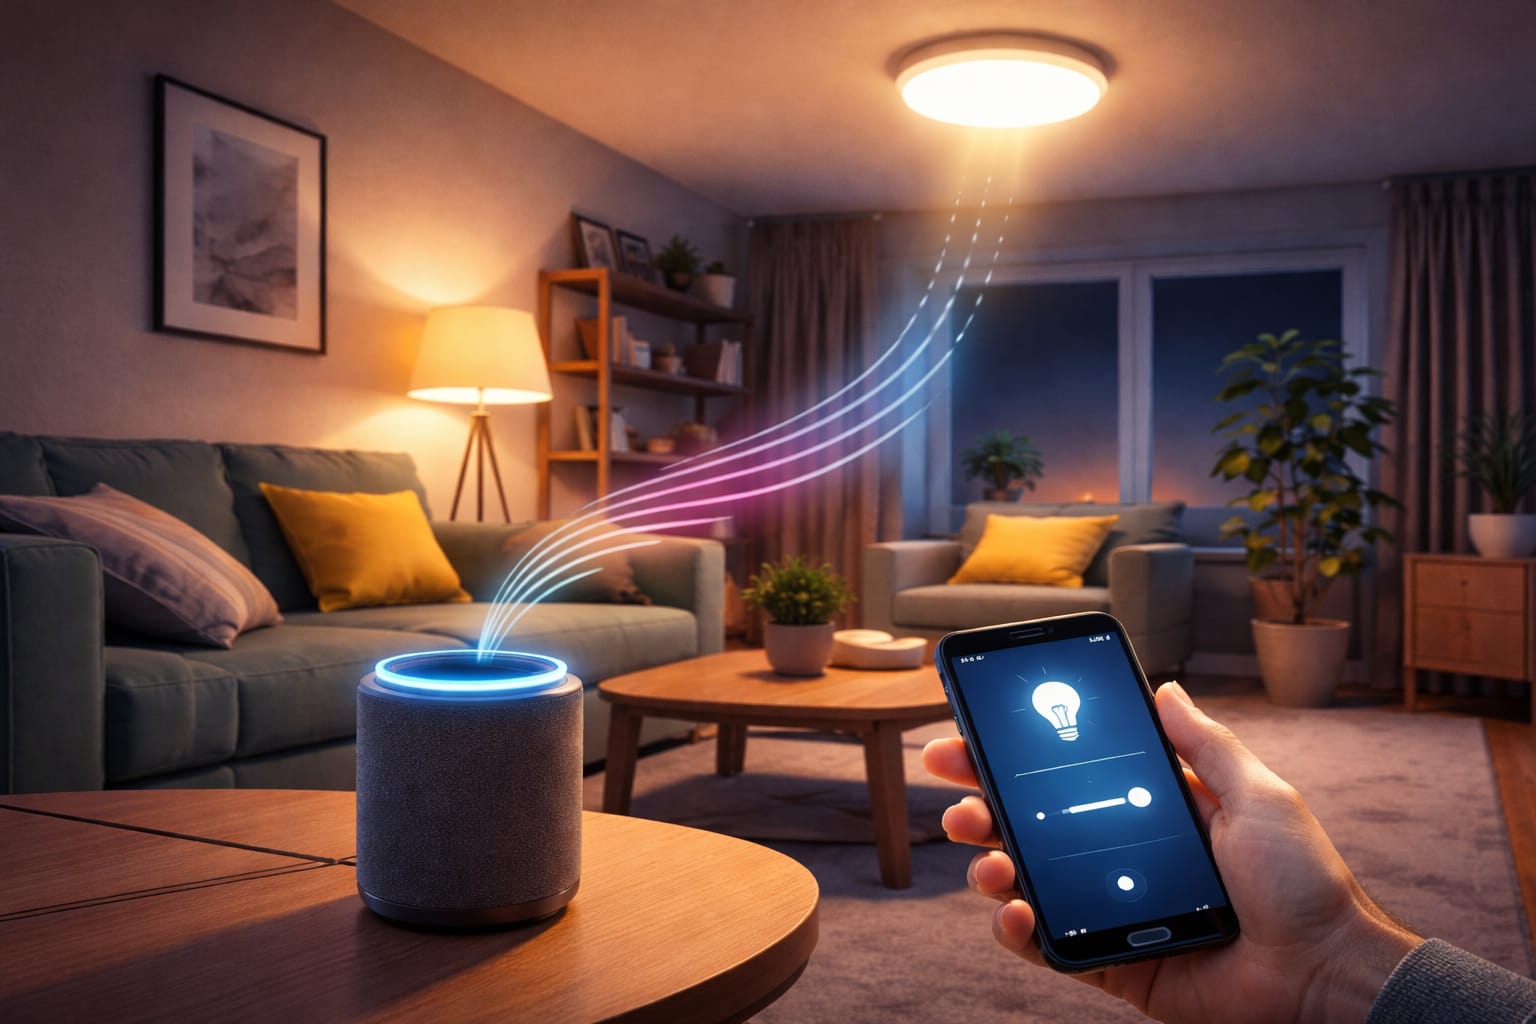
Voice-controlled lighting works by connecting a voice assistant, a lighting device, and a wireless communication method. When you say a command, your smart speaker, phone, or display captures the request, interprets it, and sends the instruction to the correct bulb, switch, plug, or hub.
A typical setup includes three parts: a microphone device such as an Echo, Nest speaker, HomePod, or smartphone; software that understands the command; and a lighting device connected through Wi-Fi, Bluetooth, Zigbee, Z-Wave, or another smart home protocol. The smoother those parts work together, the faster your lights respond.
This is why voice assistant compatibility matters before you buy anything. A bulb may be smart, but it still needs to support the platform you actually use. If you already have Alexa, Google Assistant, or Apple devices at home, choose lighting products that clearly list support for that ecosystem.
Choose the Right Device: Bulb, Switch, Plug or Hub
Before buying anything, decide what you want the voice command to control: one lamp, one ceiling fixture, several bulbs together, or a full-room scene. That decision affects cost, installation, compatibility, and how reliable the setup feels in daily use.
What should you choose?
Smart bulb: best for lamps, bedrooms, color scenes, renters, and simple starter setups.
Smart switch: best for ceiling lights, kitchens, hallways, chandeliers, and fixtures with multiple bulbs.
Smart plug: best for table lamps, floor lamps, and basic on/off control without replacing the bulb.
Hub-based system: best for larger homes, many devices, stronger reliability, or Zigbee/Z-Wave setups.
Smart bulbs are usually the easiest way to start. They screw into an existing socket and can often control brightness, white tone, and color without rewiring. For a small voice-controlled lighting installation, a color-changing smart bulb that works with voice assistants is the most beginner-friendly option because you can test one room before upgrading the rest of the home.
Smart switches are better when the wall switch controls a ceiling light, recessed lights, or a fixture with several bulbs. Instead of replacing every bulb, one switch controls the whole fixture. This is especially useful for kitchens, dining rooms, hallways, and living rooms where people still expect the physical wall switch to work normally.
If your goal is reliable voice control for fixed ceiling lights, a voice-compatible smart dimmer switch for ceiling lights is often more practical than using several individual bulbs. Just check the wiring requirements first, especially neutral wire requirements and dimmer compatibility.
Smart plugs are the simplest option for lamps where you only need on/off control. They are not ideal for color changes or advanced scenes, but they are useful for bedside lamps, reading lamps, seasonal lighting, and quick automations without electrical work.
Hubs add cost and another setup step, but they can improve reliability in larger systems. Instead of every device depending directly on Wi-Fi, the hub manages communication through smart home protocols. If you plan to expand beyond one or two rooms, it is worth comparing full smart lighting systems before buying separate devices from different brands.
Voice-Controlled Lighting Setup Steps
The setup process is usually straightforward, but the order matters. Many people try to connect a light directly to Alexa or Google first, then run into pairing errors. The safer method is to make the light work in the manufacturer’s app first, then connect that app to your voice assistant.
If you are installing a wall switch, always turn off the circuit breaker first. Smart bulbs are usually beginner-friendly, but switch installation should only be done by someone comfortable working safely with household wiring.
- Install the hardware. Screw in the smart bulb, plug in the smart plug, install the switch, or connect the hub according to the manufacturer’s instructions.
- Download the manufacturer’s app. Use the brand app first, even if you plan to control everything through Alexa, Google Assistant, or HomeKit later.
- Pair the device. Most lights enter pairing mode when powered on for the first time. A blinking or pulsing light usually means it is ready to connect.
- Connect to the correct network. Many smart lighting devices require 2.4 GHz Wi-Fi, so check your router settings if pairing fails.
- Name the device clearly. Use names like “kitchen ceiling light,” “bedroom lamp,” or “hallway lights” instead of vague labels like “light one.”
- Link the account to your assistant. Enable the Alexa skill, Google Home integration, or HomeKit connection, then allow device access.
- Create rooms and groups. Group lights by room before building routines. This makes voice commands much easier to understand.
Set up room names before creating routines. A clean naming system prevents commands like “turn off the lights” from affecting the wrong room.
The most reliable setups are usually built one room at a time. Test the light from the manufacturer’s app, then test it by voice, then add routines only after the basic command works consistently.
Alexa vs Google Assistant vs HomeKit
Most voice-controlled lighting systems revolve around Amazon Alexa, Google Assistant, or Apple HomeKit. The best platform is usually the one that already fits your home. If you own Echo speakers, Alexa will feel natural. If you use Android phones, Nest speakers, or Google services, Google Assistant may be easier. If your home is built around iPhones, iPads, Apple Watches, and HomePods, HomeKit may be the cleanest choice.
Alexa is often the easiest choice for mixed-brand smart lighting because many bulbs, switches, plugs, and hubs support it. The Alexa app also makes rooms, groups, scenes, and routines fairly easy to manage. If you are comparing ecosystems, our Alexa vs Google Assistant for smart lighting guide explains the main trade-offs in more detail.
Google Assistant is strong for contextual commands and multi-room control. It works well for households that already use Google Home, Nest speakers, Android phones, or Google services. It can also feel more conversational when you are adjusting brightness, changing rooms, or building routines around daily habits.
Apple HomeKit focuses heavily on privacy, security, and a polished app experience. It can be excellent for Apple users, although device selection may be narrower than Alexa or Google. Before buying, check that each product specifically says it supports Apple Home, HomeKit, or Matter if you want stronger cross-platform flexibility.
Useful Voice Commands, Scenes and Routines
Once the basic setup works, voice-controlled lighting becomes more useful when you move beyond simple on/off commands. Most systems can adjust brightness by percentage, change color temperature, activate scenes, turn off a room, or run a full routine with one phrase.
Useful commands include “turn on the kitchen lights,” “dim the living room to 40%,” “make the bedroom lights warm,” “turn off all downstairs lights,” or “set movie mode.” The key is to use simple names that match how people actually talk inside the home.
Scenes are one of the biggest upgrades. A scene can apply a saved lighting mood to several devices at once, such as bright work lighting, warm evening lighting, dinner lighting, or movie mode. Understanding how color temperature affects mood and function helps you create scenes that feel intentional instead of random.
For entertainment spaces, gaming setups, TV ambience, or layered room scenes, multi-zone accent lighting bars for scenes and TV ambience can make more sense than standard bulbs because they are designed to create visible mood lighting rather than just general illumination.
Routines connect lighting to real moments in the day. A morning routine can slowly brighten the bedroom, an evening routine can dim the living room, and an away routine can turn off selected lights when you leave. The U.S. Department of Energy notes that LED lighting and smart strategies can help lower energy use when applied thoughtfully.
A practical approach is to create routines only after your manual voice commands work well. If the assistant already misunderstands a light name, adding that light to a routine will usually make the problem harder to diagnose.
Troubleshooting Voice-Controlled Lighting Problems
If your smart lights do not respond correctly, troubleshoot in three areas: connection, recognition, and device response. This avoids changing too many things at once and helps you find the real cause faster.
Connection problems are usually caused by weak Wi-Fi, router issues, wireless interference, or a device being too far from the router or hub. Restart the light and router first, then check whether the device still appears inside the manufacturer’s app. If it disappears there too, the problem is not the voice assistant; it is the device connection.
Recognition errors happen when the assistant misunderstands the command or cannot tell similar device names apart. Names like “lamp one” and “lamp two” may work in an app but often fail by voice. Names like “sofa lamp,” “desk lamp,” and “bedroom ceiling light” are easier to understand.
Device unresponsiveness can come from outdated firmware, a switched-off lamp, a disconnected hub, or a failed account link. Smart bulbs need constant power to stay reachable. If someone turns off the physical switch, the app may still show the device, but the assistant cannot control it until power is restored.
Fast troubleshooting checklist:
- ✓Check that the light works in the manufacturer’s app.
- ✓Restart the bulb, switch, plug, hub, and router.
- ✓Confirm the device is on the correct Wi-Fi band if it requires 2.4 GHz.
- ✓Rename lights with clear room-based names.
- ✓Update firmware in the brand app.
- ✓Unlink and relink the brand account in Alexa, Google Home, or Apple Home if discovery fails.
If the same device keeps failing after updates and re-pairing, the issue may be poor compatibility, weak network coverage, or the wrong device type for the fixture. In that case, it may help to compare smart bulbs vs smart switches before replacing the device.
Privacy, Security and Cost
Privacy is a real concern with devices that listen for wake words. Most systems listen locally for the wake word and send audio for processing only after activation, but you should still review voice history, data retention, and third-party sharing settings inside your assistant app.
Account security also matters. Use strong passwords, enable two-factor authentication where available, keep router firmware updated, and avoid giving every family member the same account credentials. Some users also keep smart home devices on a separate network for extra separation.
Cost depends on the type of setup. A single smart bulb or smart plug can be inexpensive, while a whole-home setup with dimmers, hubs, and professional switch installation costs more. Smart switches can cost more upfront but may be more efficient for multi-bulb fixtures because one device controls the entire light group.
The safest budget strategy is to start with one room. Test whether you actually use voice commands, dimming, scenes, and routines before buying devices for the whole home. A small setup will quickly show whether you need bulbs, switches, plugs, or a more complete system. If long-term running cost matters, it also helps to understand the standby power usage of smart lights before expanding the system.
Future-Proofing Your Setup
The best voice-controlled lighting setup is not just the one that works today. It should also be easy to expand later. Choose products with strong platform support, regular firmware updates, clear compatibility labels, and a setup process that does not lock you into one fragile configuration.
Cross-platform standards such as Matter are making it easier for smart home devices to work across ecosystems. That can reduce the risk of buying lights that only work well with one assistant. However, you should still check the exact product page and app requirements before buying, because support can vary by model and generation.
As your setup grows, keep your naming system consistent, document which app controls each device, and avoid mixing too many brands without a reason. For broader lighting product guides and setup ideas, you can browse the LED knowledge center.
FAQ
Do I Need Alexa for Voice-Controlled Lighting?
No. Alexa is popular and widely supported, but Google Assistant and Apple HomeKit can also control smart lighting. The right choice depends on the phones, speakers, displays, and smart home devices you already use.
What Is the Easiest Voice-Controlled Lighting Setup for Beginners?
The easiest setup is usually one smart bulb in a lamp, connected first through the manufacturer’s app and then linked to Alexa, Google Assistant, or HomeKit. It lets you test voice control, dimming, color, and routines without changing wiring.
Are Smart Bulbs or Smart Switches Better?
Smart bulbs are better for color scenes, renters, lamps, and simple room-by-room testing. Smart switches are better for ceiling fixtures, multi-bulb lights, and permanent daily control where the wall switch still needs to behave normally.
Why Won’t My Smart Light Connect to My Voice Assistant?
The most common reasons are unsupported compatibility, weak Wi-Fi, using the wrong Wi-Fi band, skipping the manufacturer’s app, unclear device names, or a failed account link between the brand app and the voice assistant.
Key Takeaways
A strong voice-controlled lighting setup starts with the right device type. Smart bulbs are best for simple starter setups and scenes, smart switches are better for ceiling fixtures, smart plugs work for basic lamps, and hubs help larger systems stay reliable.
Set up each device in the manufacturer’s app before linking it to Alexa, Google Assistant, or HomeKit. Clear room-based names, strong Wi-Fi coverage, and realistic platform choices usually matter more than advanced features.
Start with one room, test the basic commands, then build groups, scenes, and routines. You will get a setup that feels practical now and is easier to expand later.
Sharing This Guide
If you found this guide helpful, save it or share it with someone planning a voice-controlled lighting setup. It is especially useful for beginners, homeowners, renters, and DIY users who want a clearer starting point.
Interested in learning more? Browse all related articles in our smart home lighting category section.