How to Plan a Lighting Layout: Spacing, Fixtures, and Switches
Planning a lighting layout starts with three practical questions: how many lights the room needs, how far apart they should be, and where switches or dimmers should go. Get those decisions right first, and the finished room is much less likely to feel uneven, dark, harsh, or awkward to use.
This guide walks through a simple lighting layout process using room measurements, ceiling height, fixture spacing, lumen targets, circuit planning, and control zones, so you can map a room before buying fixtures or starting installation.
Quick Answer
To plan a lighting layout, measure the room first, choose a target brightness, calculate how many fixtures you need, then space them based on ceiling height, beam spread, and how the room is used.
- Measure room size, ceiling height, and major obstacles
- Match light levels to the way the room is actually used
- Calculate how many lights the room needs before buying fixtures
- Use spacing rules that fit the fixture type and beam spread
- Plan circuits, switching, and dimming before any wiring begins
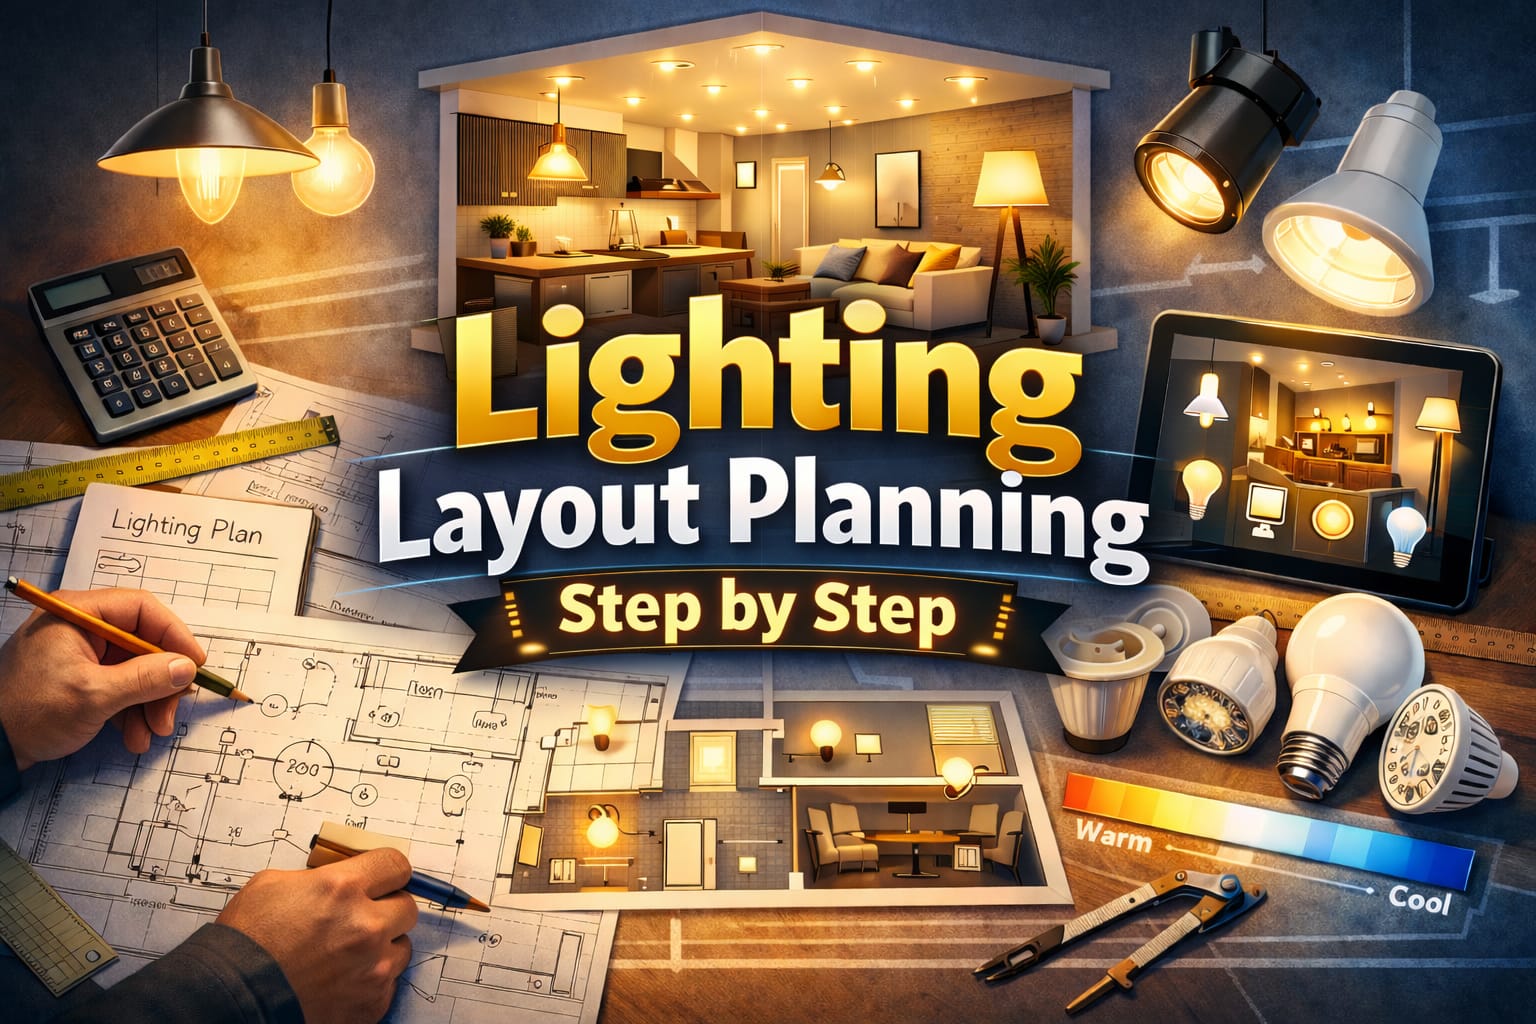
Table of Contents:
- Quick Answer
- Measuring Spaces Accurately
- How to Plan a Lighting Layout Around Room Use
- How Many Lights Do You Need?
- Lighting Spacing Rules: How Far Apart Should Fixtures Be?
- Planning Lighting Circuits Safely
- How to Draw a Simple Lighting Plan
- Layer Coordination
- Switch Planning
- Budget Allocation
- Code Compliance
- Implementation Timeline
- Key Takeaways
- Sharing This Guide
Measuring Spaces Accurately
Precise measurements are the foundation of an effective lighting layout. Recording room dimensions, ceiling heights, and architectural features allows you to calculate fixture quantity, spacing, and electrical needs with much more confidence. A digital laser distance meter can speed up the process and reduce the errors that often happen with a tape measure, especially in larger rooms or awkward spaces.
Measure ceiling height in more than one spot. Even small variations can affect recessed light spacing, trim selection, and beam coverage.
Your notes should include room width, length, and diagonals so you can confirm whether the space is truly square or slightly irregular. It also helps to mark windows, door swings, cabinets, beams, and built-in furniture, because those details often affect where fixtures can go. Catching those obstacles early prevents layout changes after materials are already ordered or wiring has started.
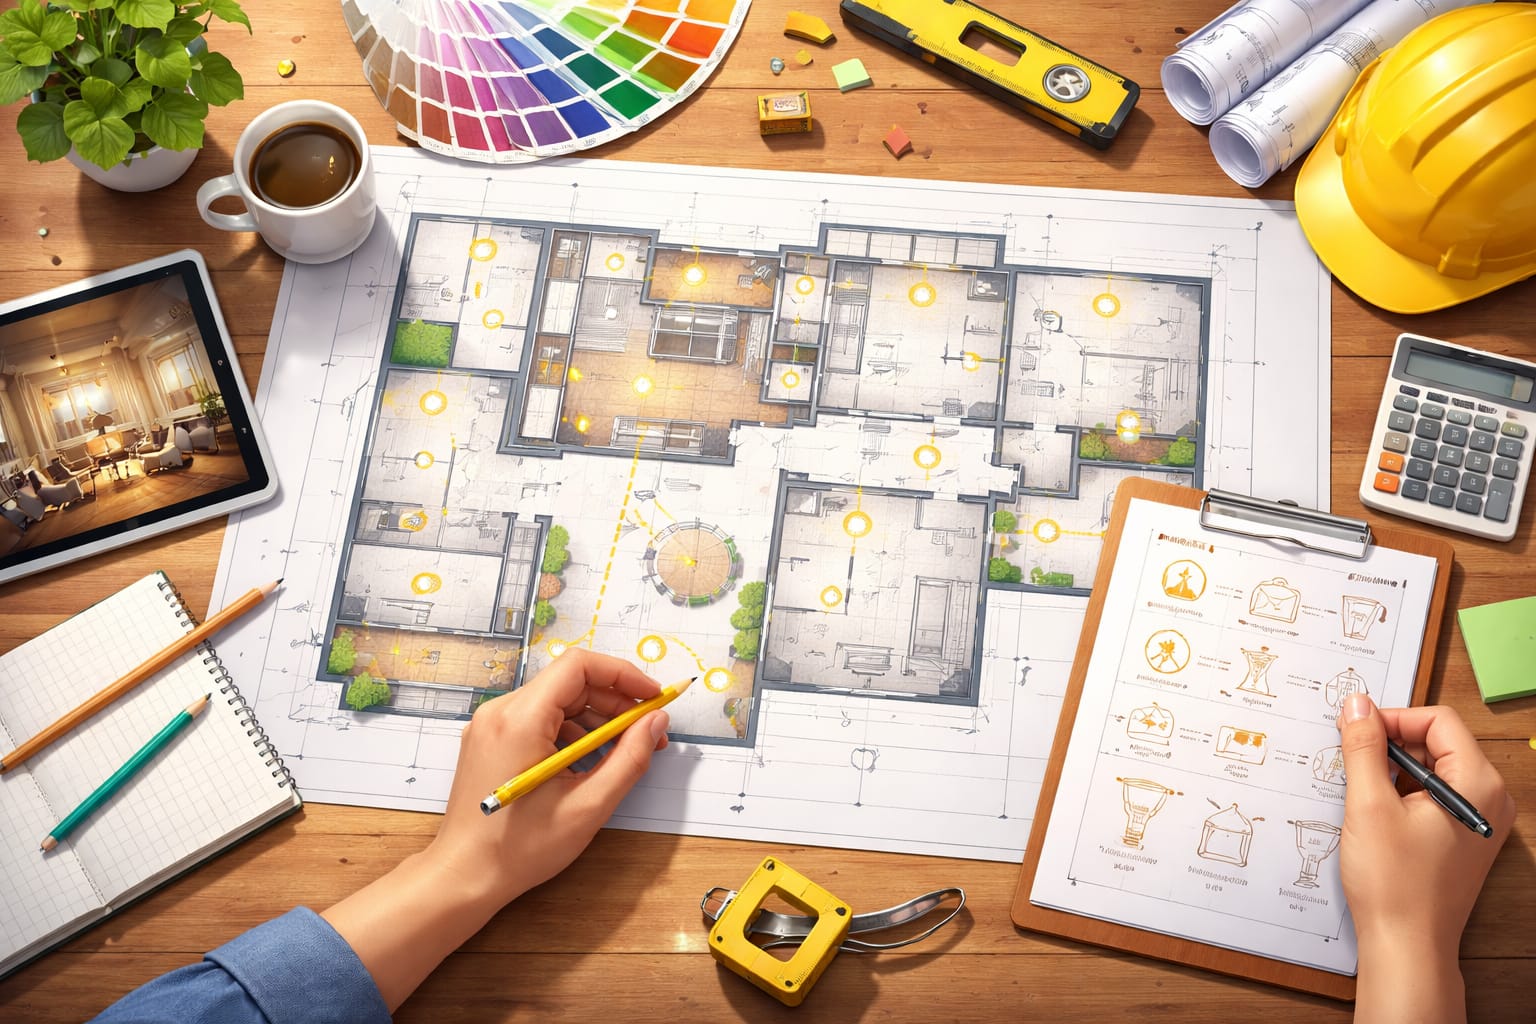
A scaled floor plan makes the next decisions much easier. You can sketch one on graph paper or use simple digital design software, but the goal is the same: turn raw measurements into a visual guide that helps you test fixture positions before committing to them. That step is especially useful when you want balanced coverage without crowding the ceiling.
If measurement errors are causing layout problems and uneven lighting coverage, using a laser measuring tool for accurate room dimensions helps eliminate mistakes and makes planning more reliable. To avoid common installation issues, reviewing common lighting placement errors helps prevent costly design failures.
Determining Requirements
Before you choose fixtures or start spacing them, define what the room actually needs to do. A good plan is based on activities, comfort, and user preferences, not just room size.
Activity Analysis
The way a space is used should drive your lighting decisions. A living room used for reading, conversation, and TV time needs a different layout than a kitchen focused on prep work and visibility. Listing the primary and secondary activities in each room makes it easier to decide how much ambient, task, and accent lighting you really need. Understanding lighting layer types helps define these roles clearly.
Task-heavy spaces usually need brighter and more targeted light. Home offices benefit from desk lighting that supports screen work and paperwork, while workshops need even coverage that reduces shadows. According to U.S. Department of Energy LED lighting efficiency guidance, matching fixture performance to the actual task helps avoid both under-lighting and over-lighting.
User Preferences
Personal preference matters more than many layouts account for. Some people like bright, crisp light that makes a room feel lively, while others prefer warmer, softer conditions. Asking the people who use the room about brightness, color temperature, and dimming preferences can prevent a technically correct plan from feeling uncomfortable in daily use.
How Many Lights Do You Need?
The fastest starting point is to estimate the room’s total lumen requirement first, then divide that number by the output of each fixture. This gives you a practical fixture count before you start adjusting for ceiling height, wall color, and beam spread.
Calculating fixture quantity helps you avoid two common problems: too few lights for the space or too many lights crammed into the same room. A simple starting method is to multiply room square footage by your target lumens per square foot, then divide that number by the lumen output of each fixture. A 200-square-foot living room that needs 30 lumens per square foot requires about 6,000 lumens total. If each bulb produces 800 lumens, you would need around eight fixtures for solid overall coverage. Understanding lumens vs watts explained makes these calculations easier to interpret.
Ceiling height also changes the math. Standard 8-foot ceilings can usually follow baseline estimates, while 10-foot ceilings often need more total output because the light source sits farther from the working plane below. Rooms with vaulted or uneven ceilings may need a less symmetrical layout so the light still feels consistent where people actually sit, walk, or work. Applying high ceiling lighting strategies can improve accuracy in these spaces.
Surface color matters too. Light walls and ceilings reflect more of the light back into the room, while dark finishes absorb more of it. That means two rooms with the same dimensions may still need different fixture counts to reach a similar visual result.
Lighting Spacing Rules: How Far Apart Should Fixtures Be?
Once you know how many fixtures you need, the next step is deciding where they should go. Spacing rules vary by fixture type, beam angle, and ceiling height, so it helps to treat them as starting points rather than rigid laws.
Recessed Downlight Spacing
A common rule for recessed lights is to space fixtures about half the ceiling height apart. With an 8-foot ceiling, that usually means around 4 feet between fixtures. With a 10-foot ceiling, spacing often moves closer to 5 feet. This helps prevent both dark patches from excessive spacing and harsh overlap from lights that are too close together.
Perimeter fixtures are usually best placed 18 to 24 inches away from the wall rather than right next to it. That allows better wall wash and reduces the dark edge effect that can make a room feel smaller. Beam angle also changes spacing: a narrow beam needs tighter placement than a wide flood. Adjustable trims can be helpful if you want flexibility later, especially in rooms where furniture or focal points may move over time. If glare is a concern, reducing glare issues can improve comfort.
Linear Fixture Arrays
Track lighting and linear LED systems follow a different logic because they spread light along a continuous run instead of from single points. Parallel tracks often work well when placed 3 to 4 feet apart for general ambient coverage, while task-focused layouts may bring them closer together above work zones, counters, or benches.
Planning Lighting Circuits Safely
Circuit planning starts by adding up the total wattage of the fixtures on each run. A standard 15-amp residential circuit is typically limited to about 1,440 watts for safe continuous loading, while a 20-amp circuit can usually handle about 1,920 watts. LED systems often stay well below those limits, but it is still smart to leave room for future fixture changes or added controls. A solid understanding of lighting design fundamentals helps keep these decisions organized.
Dedicated lighting circuits can also make a layout more reliable. Keeping lighting separate from outlet-heavy appliance loads reduces the chance that a tripped breaker will leave part of the room dark. The ENERGY STAR guide to LED lighting basics is a useful reminder that efficient lighting works best when the whole system is planned, not just the bulb choice.
Do not assume an existing circuit has spare capacity just because the current fixtures are LED. Always check the full load and local electrical requirements before adding more lighting.
It is also worth documenting which fixtures belong to each breaker. A simple circuit map saves time during troubleshooting, later upgrades, or remodeling work, and it reduces the risk of overloading a circuit because the original plan has been forgotten.
How to Draw a Simple Lighting Plan
A lighting blueprint turns your ideas into a working installation plan. It does not need to be overly technical for a basic residential project, but it should be clear enough that fixture locations, controls, and dimensions can be understood at a glance.
Symbol Standards
Professional plans use standard electrical symbols to show recessed lights, pendants, sconces, switches, and circuit paths. That makes it easier for installers to read the layout without constant explanation. Even a homeowner sketch becomes more useful when symbols are consistent from room to room.
Digital tools can help with this. Software such as Sweet Home 3D is often enough for residential layouts, while more advanced programs offer better layer control and more detailed coordination for larger projects.
Dimension Notation
Fixture positions should be tied to fixed reference points such as two perpendicular walls. That gives installers exact coordinates and avoids the small errors that build up when locations are marked one after another. Center-to-center dimensions between fixtures also help preserve the intended spacing if room edges are slightly irregular.
Layer Coordination
A well-planned layout balances ambient, task, and accent lighting rather than relying on a single fixture type to do everything. Ambient light handles general visibility, task lighting supports work, and accent lighting adds depth or emphasis. Planning those layers together helps prevent both wasted overlap and obvious gaps in coverage.
Independent switching makes those layers much more useful. A room feels more flexible when overhead ambient lighting, task fixtures, and decorative accents can operate separately. That lets users light the room for the moment instead of turning everything on at once.
Dimmers add another level of control, especially on ambient and accent circuits. They make it easier to adapt the same layout for daytime, evening, cleaning, or entertaining. For more advanced control setups, smart lighting grouping can improve coordination.
Switch Planning
A good fixture layout can still feel awkward if the switch locations are poorly planned. Control points should match the way people enter, move through, and use the room.
Location Strategy
Switches are usually most convenient on the latch side of the door so lights can be turned on immediately when entering. Rooms with more than one entrance often need three-way or four-way switching to avoid walking through dark areas to reach a single control point. Standard mounting heights also matter for accessibility and everyday comfort.
Grouping related controls in a sensible location can also reduce clutter. In a bedroom, for example, it may make sense to separate overhead lighting, closet lighting, and bedside controls rather than tying everything to one switch.
Smart Control Integration
If you may want automation later, plan for it now. Smart switches often require a neutral wire in the switch box, which older homes may not have. Including that wiring during renovation or new construction can save a lot of time and money if you upgrade controls in the future.
Budget Allocation
A realistic lighting budget should cover more than the fixtures themselves. Labor, wiring, dimmers, controls, boxes, trim, and small installation materials all affect the final cost. In many projects, a balanced split might place 40% to 50% of the budget on fixtures, 30% to 40% on labor, and the remainder on electrical work and contingencies.
If funds are limited, prioritize the rooms used most often. Kitchens, living rooms, and primary bedrooms usually deliver the biggest daily return from a stronger layout. Less critical spaces can often accept a simpler setup without noticeably hurting the overall experience.
It is also wise to keep 10% to 15% in reserve for surprises. Hidden framing issues, extra wiring needs, or code-related changes can appear once work begins, and a contingency fund helps keep the project moving.
Code Compliance
Every layout should be checked against local code before installation begins. That includes safety rules, switching requirements, fixture ratings, and energy standards where applicable.
Local Requirements
Local building codes may require specific fixture types, switch locations, or protection methods in certain spaces. Bathrooms, stairways, garages, and exterior areas often come with extra rules. Checking those requirements before finalizing the plan helps you avoid costly changes after inspection.
Permit rules also vary. A straightforward fixture replacement may not need one, while new circuits or more substantial electrical work usually will. If you are unsure, your local building department or a licensed electrician can confirm the correct path.
Energy Efficiency Standards
Some jurisdictions also require minimum efficiency standards for residential lighting. California Title 24 is one of the better-known examples, but other regions may have their own rules or incentive programs. Choosing efficient LED fixtures from the start can make compliance easier while reducing long-term operating costs.
Implementation Timeline
A realistic schedule helps keep the project organized. Simple single-room layouts may take a week or two from planning to installation, while larger whole-home projects usually need more time for design, fixture ordering, and contractor coordination.
If the project is part of a renovation, electrical work needs to be sequenced with framing, drywall, painting, and finish work. Good timing helps prevent delays and protects fixtures from damage during later stages of construction.
After installation, leave time for testing and small adjustments. Living with the layout for a short period often reveals whether a fixture needs to be repositioned slightly, a different beam direction, or a dimmer setting change. For deeper insights, explore LED learning resources.
When done well, lighting layout planning turns lighting from an afterthought into a practical design decision that improves comfort, function, and visual balance throughout the space.
Key Takeaways
A strong lighting layout starts with the basics: accurate measurements, realistic brightness targets, and fixture spacing that fits the room instead of fighting it.
If you want better results, think beyond fixture count alone. Plan the layers, circuits, switch locations, and how the room will actually be used before any installation work begins.
That extra planning time usually pays off with a layout that feels more comfortable, looks more intentional, and needs fewer corrections later.
Sharing This Guide
If you found this guide helpful, save it for later or share it with someone planning a room upgrade, renovation, or new lighting setup.
Share using the links below
Interested in learning more? Browse all related articles in our category section.