How to Group Smart Lights by Room: Alexa, Google & HomeKit
To group smart lights by room, add every bulb to the same app or ecosystem, assign each light to the correct room, and test a simple voice command like “turn off the kitchen lights.” The setup works best when your bulbs, switches, and hub support the same platform.
This guide shows how to group smart lights in Alexa, Google Home, and Apple HomeKit, plus the naming mistakes, switch problems, and connection issues that can make room groups unreliable.
Quick Answer
To group smart lights by room, connect all bulbs to the same app or ecosystem, create or choose the room, assign each light to that room, and test a command such as “Alexa, turn off the bedroom lights” or “Hey Google, dim the kitchen lights.”
- Best first step: set up one room before grouping the whole home.
- Best for voice control: use simple room names like Bedroom, Kitchen, Office, or Living Room.
- Best for reliability: keep bulbs, switches, hubs, and apps within the same ecosystem when possible.
- Best next step: add scenes and schedules only after the room group works consistently.
- Most common mistake: turning off a physical wall switch and cutting power to the smart bulb.
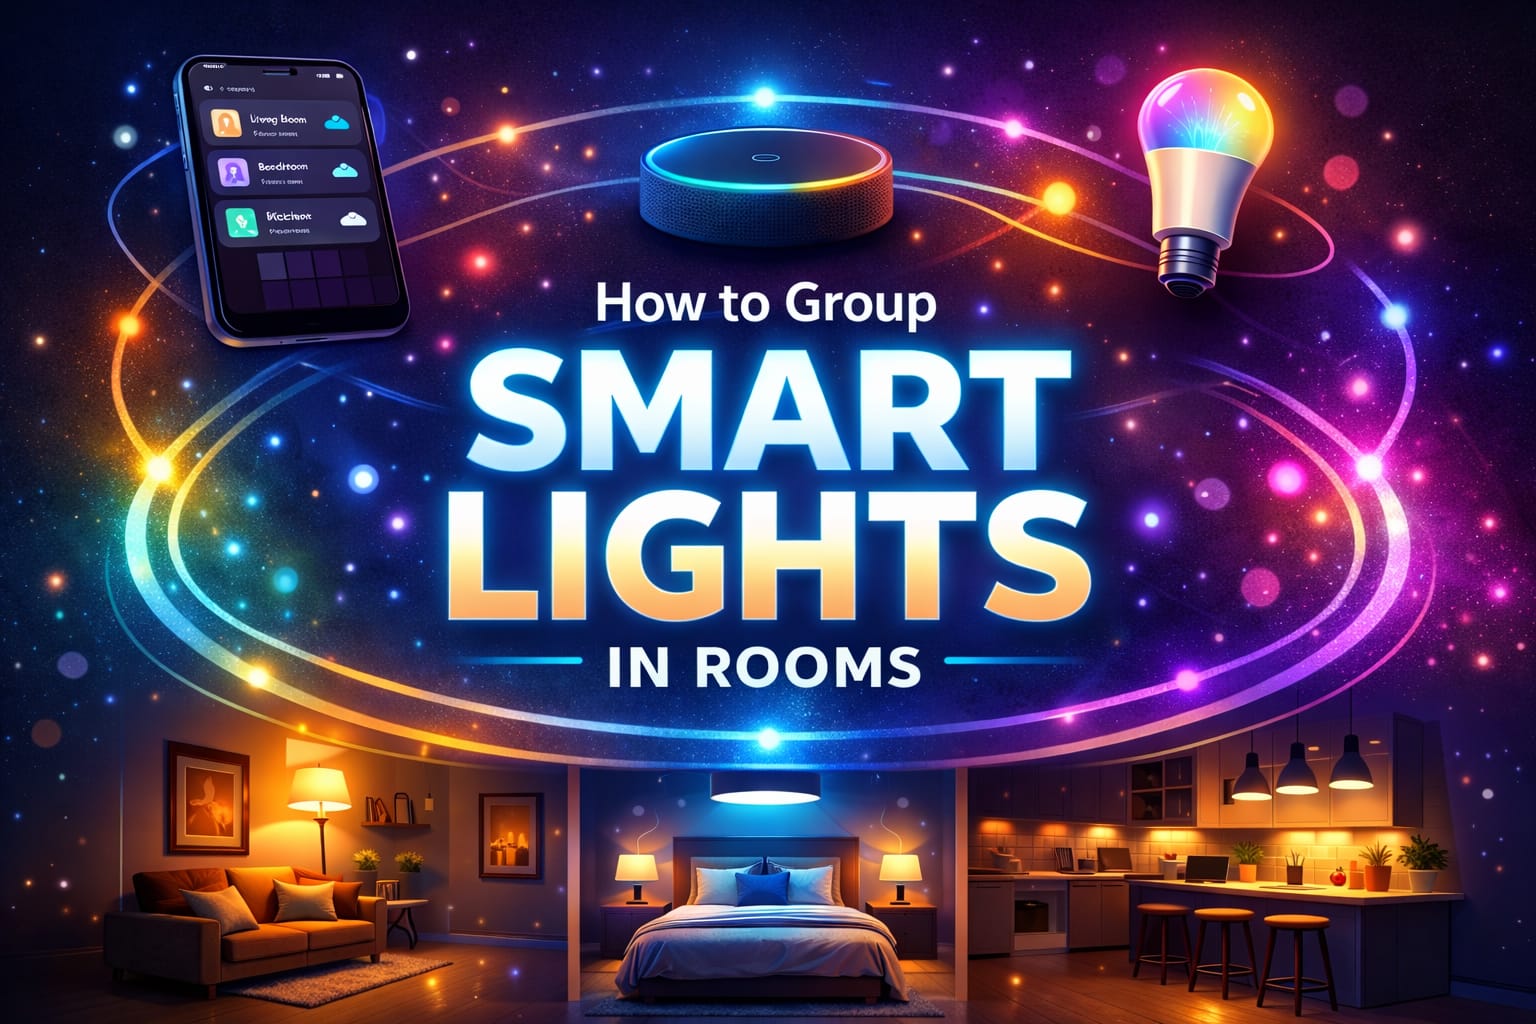
Table of Contents:
- Quick Answer
- Why Group Smart Lights by Room?
- Choose Compatible Bulbs and a Platform
- How to Create Your First Smart Light Room Group
- How to Group Smart Lights in Alexa
- How to Group Smart Lights in Google Home
- How to Group Smart Lights in Apple HomeKit
- Use Room Names Your Voice Assistant Understands
- Use Scenes, Schedules, and Automation
- Why Grouped Smart Lights Stop Responding
- Best Setup by Home Type
- FAQ
- Key Takeaways
- Sharing This Guide
Why Group Smart Lights by Room?
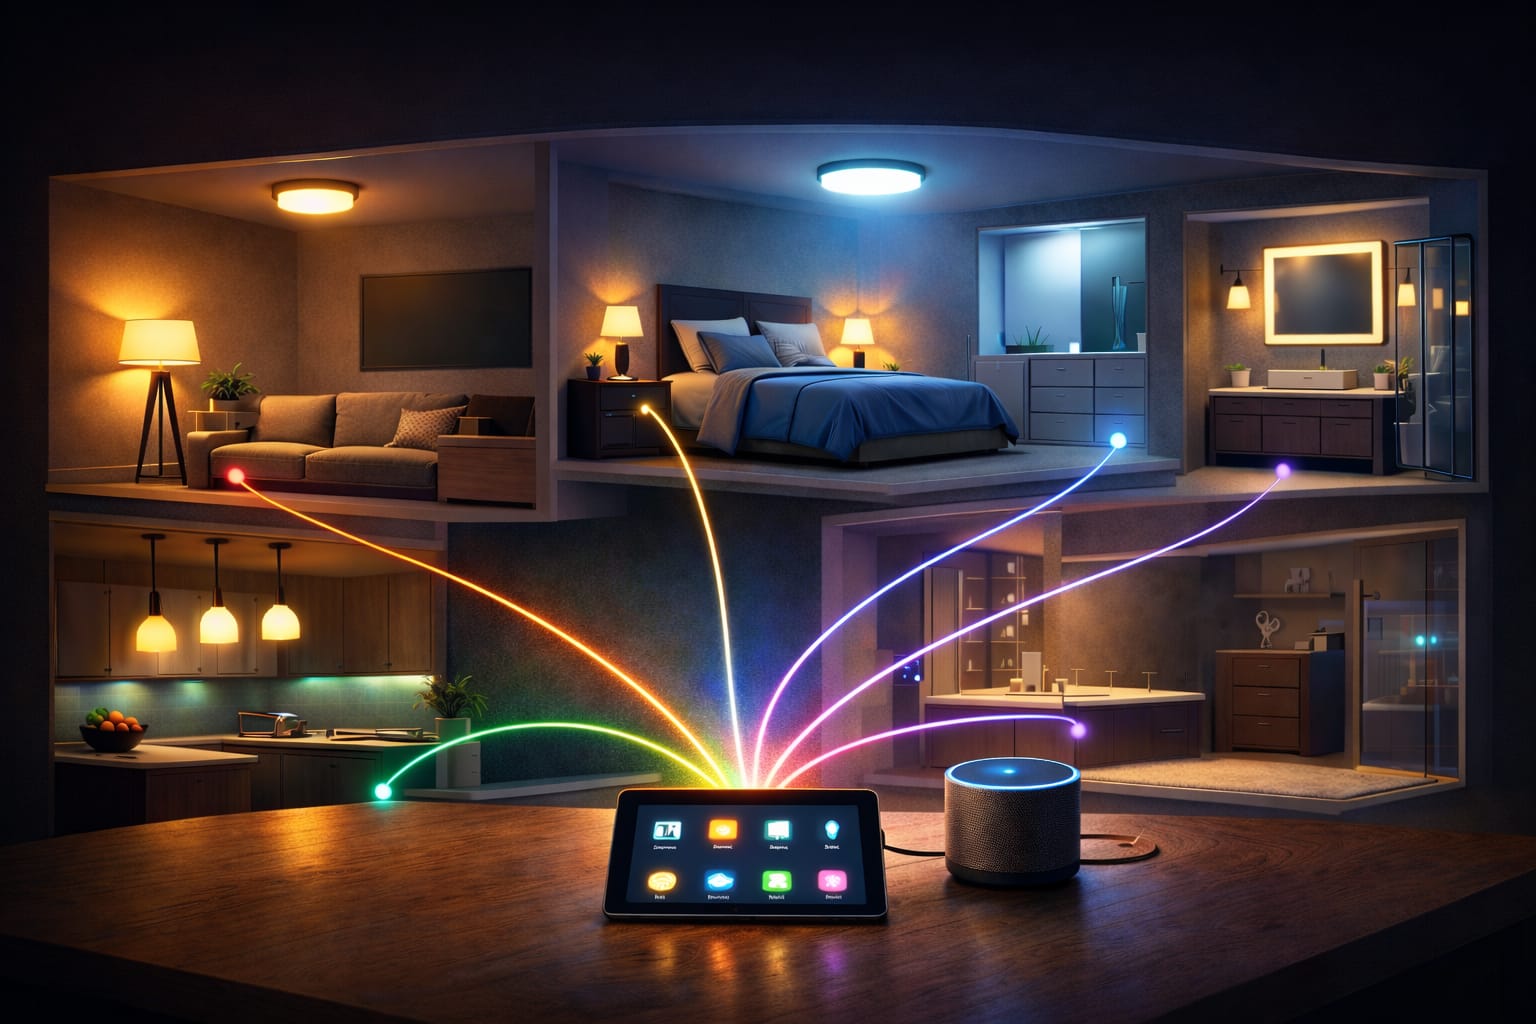
When you organize smart lights by room, you stop controlling individual bulbs and start controlling spaces the way you actually use them. Instead of adjusting “Bulb 1,” “Bulb 2,” and “Lamp 3” one by one, you can turn off the bedroom, dim the kitchen, or brighten the office with one tap, routine, or voice command.
This is especially useful in homes where several people use the same lighting system. Clear room groups make smart lighting easier for guests, children, and family members who do not want to remember technical device names. It also makes automated lighting routines easier to build because each room becomes a reliable control zone.
Room groups also give you a stronger base for scenes, schedules, motion sensors, bedtime routines, and energy-saving rules. Once each light belongs to the right room, your system can respond in a more natural way: the hallway can turn on at night, the kitchen can brighten in the morning, and the living room can dim for movie night.
Choose Compatible Bulbs and a Platform
Before creating smart light room groups, make sure your bulbs, switches, hubs, and voice assistant can work together. Most smart lighting products use Wi-Fi, Zigbee, Z-Wave, Bluetooth, or a hub-based ecosystem. Wi-Fi bulbs are usually simple for small setups, while hub-based systems can be more stable when you plan to control many rooms.
For a beginner setup, app-controlled smart bulbs for Alexa and Google Home are usually the easiest starting point because they let you test room control without rebuilding your whole electrical setup. If you already use a hub or a specific brand ecosystem, check whether new bulbs support the same app before buying more.
The platform you choose affects how easily you can create light groups, voice commands, scenes, and future automations. Alexa works well if you already use Echo devices, Google Home is strong for natural voice commands and simple room control, and Apple HomeKit is a good fit for Apple users who want tighter privacy and local control.
If you are still deciding between ecosystems, start with the devices you already use every day. You can also compare broader setup options in our smart lighting systems guide before expanding into multiple rooms.
Think beyond the first few bulbs. If you plan to add smart switches, motion sensors, plugs, thermostats, or more advanced automations later, choose a platform with enough compatibility to grow. Standards and security also matter as smart homes expand, and the National Institute of Standards and Technology highlights the importance of secure, interoperable connected systems.
How to Create Your First Smart Light Room Group
Start with one room instead of the whole home. Install each bulb in its physical location, power it on, and pair it with the correct app or hub. Most smart bulbs enter pairing mode automatically when first powered on, although some may need a reset sequence if they were previously connected somewhere else.
Once each bulb appears in the app, assign it to the room where it actually belongs. Test each bulb individually before combining them into a group. This prevents a common setup problem: thinking the whole room group is broken when only one bulb is offline, misnamed, or assigned to the wrong room.
A simple setup flow is: pair the bulb, name the fixture, assign the room, test the individual light, then test the room command. After that, you can add scenes, schedules, and routines with much less troubleshooting.
Add and name lights room by room as you install them. Doing the whole house at once usually makes it harder to track which bulb belongs where.
How to Group Smart Lights in Alexa
In the Alexa app, open the Devices tab, tap the plus icon, and create a group for the room you want to control. Select the smart bulbs that belong in that space, choose a clear room name, and save the group.
Alexa offers common room labels such as Bedroom, Kitchen, Living Room, and Office. These are usually better than creative names because they make voice commands easier. After creating the group, test commands such as “Alexa, turn off the bedroom lights” or “Alexa, dim the kitchen to 30 percent.”
If one bulb does not respond, check whether it is assigned to the correct room and whether it still appears online. Avoid changing scenes, routines, or automation settings until the basic room group works reliably.
How to Group Smart Lights in Google Home
Google Home organizes devices through a home and room structure. After adding your smart bulbs, create the rooms you need and assign each light to the correct space. Once the room is set, Google Assistant can usually control the group with natural phrases.
Useful commands include “Hey Google, turn off the living room lights,” “Make the office brighter,” or “Set the kitchen lights to warm white.” This is where clear room names matter: the simpler the room label, the easier the command is to remember and understand.
Google Home is also useful for routines that control several rooms at once. For example, a movie routine can dim the living room, turn off nearby lights, and adjust accent lighting without asking for each device separately.
How to Group Smart Lights in Apple HomeKit
Apple HomeKit uses rooms inside the Apple Home app to organize lights and other accessories. When you add a compatible bulb, you usually scan the setup code, name the device, and assign it to the correct room during installation.
One useful HomeKit feature is the ability to create larger zones that combine multiple rooms, such as Upstairs, Downstairs, or Main Floor. This gives you room-level control for daily use and wider zone control when you want to turn off a larger area at once.
After your rooms and zones are organized, you can control them with Siri on an iPhone, iPad, HomePod, Apple Watch, or Mac. As with Alexa and Google Home, the most reliable setup starts with clear room names and stable individual devices.
Use Room Names Your Voice Assistant Understands
Clear naming is one of the easiest ways to make smart light room groups feel reliable. Generic device labels such as “Light 1,” “Bulb A,” or “Lamp 3” become confusing once you have several rooms, lamps, strips, ceiling fixtures, and accent lights in the same app.
Use names that combine location and function, such as “Bedroom Ceiling,” “Kitchen Island,” “Desk Lamp,” or “Living Room Strip.” Then keep the room group simple: Bedroom, Kitchen, Office, Hallway, or Living Room. This makes voice assistant commands easier and reduces the chance of misheard requests.
If you use more than one ecosystem, keep the same names across Alexa, Google Home, and HomeKit. Mixing labels like “Lounge,” “Living Room,” and “Main Room” for the same space can make troubleshooting harder later. If you use both Alexa and Google Assistant, our Alexa vs. Google Assistant for smart lighting guide can help you decide which platform should handle your main voice control.
Use Scenes, Schedules, and Automation
Once you group smart lights by room, scenes and schedules become much more useful. Grouping gives your system structure, while scenes and automation turn that structure into practical everyday control.
For room groups that feel natural, think about what each lighting layer does before you automate it. A good setup usually combines ambient, task, and accent lighting instead of treating every bulb in the room the same way.
A scene saves a specific lighting setup for one or more rooms. For example, a reading scene can brighten task lighting while dimming overhead fixtures, and an evening scene can create a softer, warmer look across the main living areas. If you want a better foundation for layered scenes, our beginner’s guide to lighting design explains how ambient, task, and accent lighting work together.
If you want to plan those layers before building scenes, this guide to ambient, task, and accent lighting explains how each type of light should work inside a room.
Accent lighting is where smart room groups can feel especially useful. For living rooms, bedrooms, gaming spaces, and media areas, color-changing LED strips for movie night and accent scenes can be added to a room group or scene so they respond with the rest of the space instead of acting like a separate device.
Schedules add another layer by triggering those changes automatically. You can brighten bedroom lights before an alarm, turn hallway lights on at sunset, or dim shared spaces at night. Many platforms support sunrise and sunset automation, which helps lighting follow daylight patterns and supports the Department of Energy‘s broader guidance on smarter home lighting choices.
Room groups can also reduce wasted energy. Once your lights are organized by physical space, it becomes easier to automate shutoff rules, lower brightness levels, and avoid leaving unused rooms fully lit.
Why Grouped Smart Lights Stop Responding
If grouped smart lights stop responding, start with the basics before editing the group. Make sure every bulb has power, appears online in the app, and works individually. Then check whether the problem affects one room, one bulb, or the entire smart lighting system.
Physical wall switches are one of the most common causes of broken room groups. If someone turns off the switch, the smart bulb loses power and can no longer respond to the app or voice assistant. In homes where this happens often, a smart bulb dimmer that keeps Hue and Zigbee lights powered can be a more practical option than relying only on the original wall switch.
Signal quality can also cause problems. Weak Wi-Fi coverage, poor hub placement, or bulbs placed far from a mesh path can make grouped lights feel slow or unreliable. Hub-based systems can feel faster in larger installations because some commands process locally or through a dedicated mesh rather than depending only on Wi-Fi.
Firmware updates may temporarily disrupt connections, especially if a bulb needs to be re-added or reassigned to a room afterward. If a group suddenly fails after an update, test each bulb individually, confirm the room assignment, and then rebuild the group only if needed.
Do not troubleshoot room groups before confirming that each bulb is stable on its own. One unstable device can make the whole room group seem broken.
Best Setup by Home Type
The best way to group smart lights depends on how many rooms you want to control and how reliable the setup needs to be. A small apartment can often work well with Wi-Fi bulbs and one main app. A larger home usually benefits from a hub, mesh network, or more consistent ecosystem.
What Should You Choose?
- Small apartment: use Wi-Fi bulbs in one app and create simple room groups first.
- Family home: choose clear room names and avoid setups that depend on everyone remembering device names.
- Large home: consider a hub-based or mesh-friendly system for better range and response times.
- Voice-first setup: use standard room names that Alexa, Google Assistant, or Siri can understand easily.
- Scene-heavy setup: group rooms first, then build scenes for activities like Movie Night, Morning, Reading, or Bedtime.
Avoid mixing too many platforms before the basics are stable. Multi-platform control can work, but it is easier to manage after your main room groups already respond correctly in one primary app.
If you are still deciding between bulb-based control, wall control, or a mixed setup, the smart bulbs vs smart switches comparison can help you choose the cleaner option before you build out every room.
FAQ
Can You Group Smart Lights from Different Brands?
Yes, if the brands support the same platform or ecosystem. For example, several compatible brands can often be controlled together inside Alexa, Google Home, or Apple HomeKit. However, some advanced effects, color syncing features, or dimming controls may work better inside the original brand app.
Should Smart Bulbs or Smart Switches Control a Room Group?
Smart bulbs are easier for color, scenes, and renter-friendly setups. Smart switches are often better when you want wall control and do not need individual color control from each bulb. The best setup depends on whether you care more about color effects, physical control, or long-term reliability.
Why Does Only One Light Respond When I Use a Room Command?
Usually, one or more bulbs are assigned to the wrong room, offline, renamed incorrectly, or still linked to a different app group. Test each bulb individually, check the room assignment, and make sure the voice assistant is using the same room name as the app.
Can One Room Have More Than One Smart Light Group?
Yes. A room can have separate groups for ceiling lights, lamps, LED strips, or accent lights. This is useful when you want full-room control most of the time but still want separate control for reading, gaming, working, or relaxing.
Key Takeaways
Grouping smart lights by room makes your setup easier to control, automate, and understand. It turns a collection of individual bulbs into a practical room-by-room lighting system.
Start with compatible bulbs and one main platform, then pair and test each bulb before creating room groups. Clear names are essential if you want voice commands to work reliably.
Once your room groups are stable, add scenes, schedules, accent lighting, and automation. If something breaks, test individual bulbs first before rebuilding the whole group.
For more LED and smart lighting guides, visit the LED knowledge center.
Sharing This Guide
If you found it helpful, save it for later or share it with someone planning a smart lighting setup. It is especially useful for beginners, homeowners, renters, and DIY users setting up room-based smart lighting control.
Use the links below to share it!
Interested in learning more? Browse all related articles in our Smart Home Lighting category section.