LED Bulbs Not Dimming Properly: Easy Solutions
When you install new lighting and discover that LED bulbs not dimming properly in your fixtures, it creates frustration and confusion. Modern homes depend on adjustable lighting for ambiance and energy savings, yet many people encounter problems where their bulbs flicker, buzz, or refuse to dim smoothly. Understanding why this happens and how to resolve it saves time, money, and prevents damage to your lighting system.
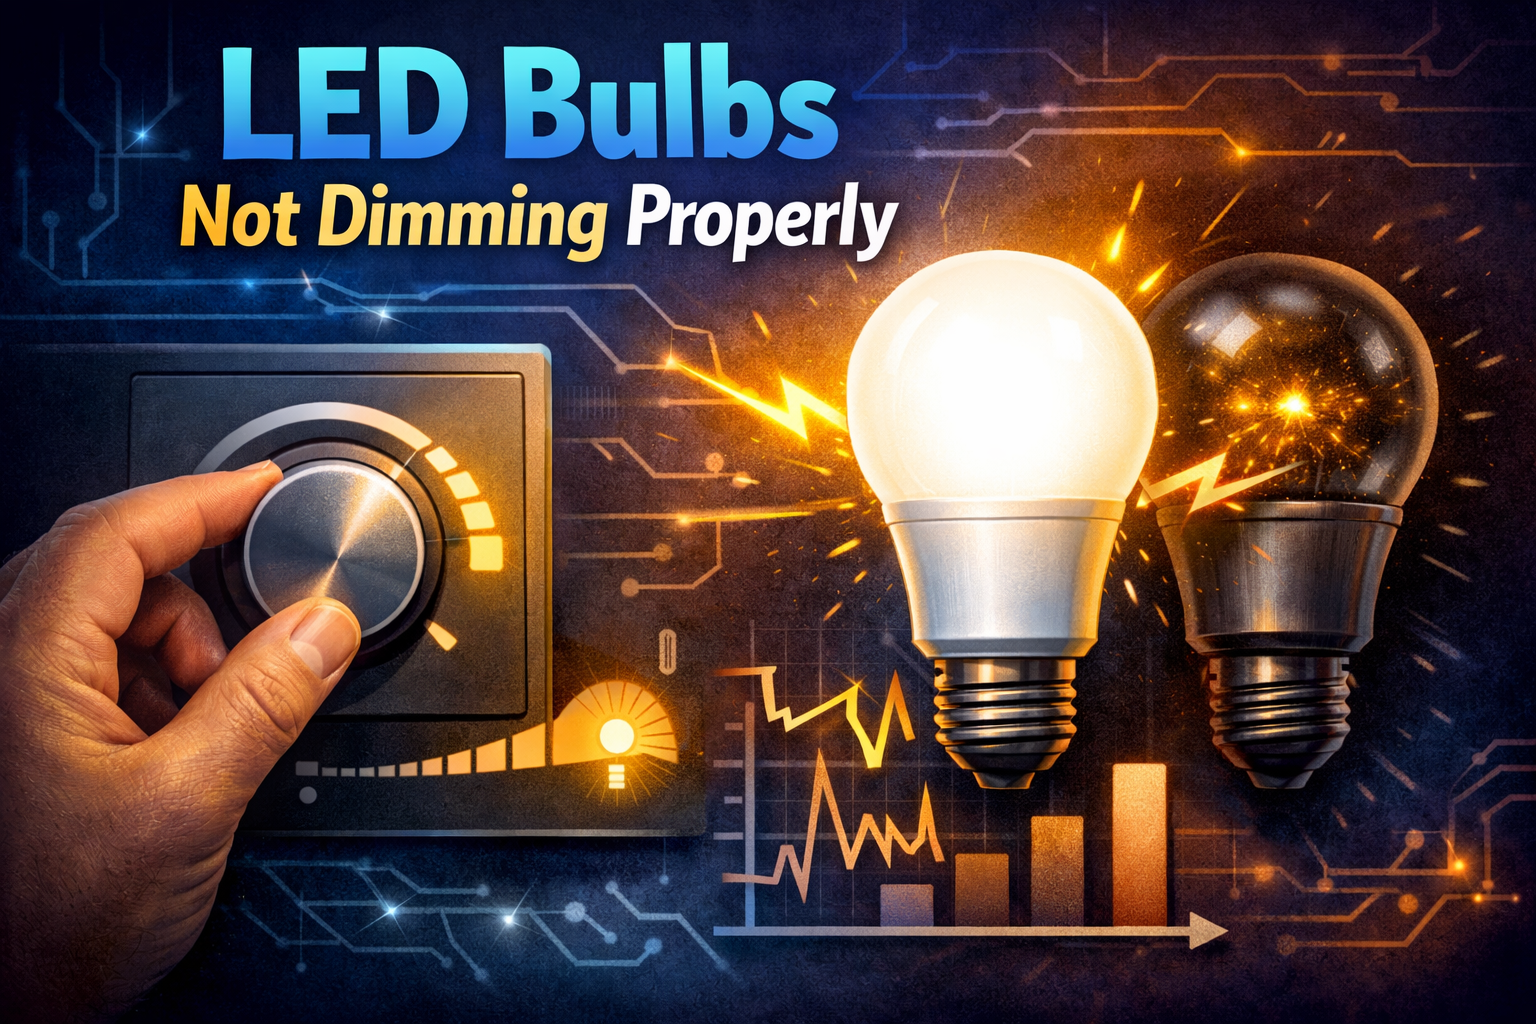
Table of Contents
- Understanding root causes of poor dimming
- Compatibility factors you must check
- Types of dimmers and their requirements
- Minimum load problems explained
- Driver technology differences
- Voltage fluctuations and wiring issues
- Bulb quality and manufacturing standards
- Testing procedures before replacement
- Upgrading components for better performance
- Common mistakes to avoid
- When professional help becomes necessary
- Sharing this guide
Understanding root causes of poor dimming
The primary reason for LED bulbs not dimming properly stems from fundamental differences between traditional incandescent technology and modern solid-state lighting. Incandescent bulbs operated as simple resistive loads, meaning any reduction in voltage resulted in proportional dimming. This straightforward relationship made old-style dimmer switches extremely reliable across virtually any bulb.
Modern lighting uses sophisticated electronic drivers that convert alternating current into the direct current required by semiconductor chips. These drivers actively regulate power delivery, which means they respond unpredictably when paired with incompatible controls. The electronic components inside each bulb interpret dimming signals differently based on their internal circuit design and the quality of components used during manufacturing.
Another critical factor involves the communication method between your wall control and the bulb itself. Traditional phase-cut dimming works by chopping portions of the electrical waveform, but this technique can confuse modern drivers. When dimmer switch compatibility fails, you observe symptoms like flickering at low levels, buzzing sounds, complete failure to dim, or lights that turn off unexpectedly before reaching their minimum setting. If you want a dependable option, a solid example is a wall dimmer switch designed specifically for LED loads, which is widely trusted for indoor setups.
Compatibility factors you must check
Verifying bulb specifications
Every bulb package includes labeling that indicates whether the product supports dimming functionality. Non-dimmable versions contain simpler driver circuits that cost less to manufacture but cannot interpret control signals from wall switches. Installing these in a dimmed circuit causes LED dimming issues immediately, though the bulb might appear to work at full brightness.
Even among products labeled as dimmable LED bulbs, performance varies dramatically between manufacturers and price points. Premium options invest in higher-quality driver components that handle a wider range of dimmer types and provide smoother transitions across the entire brightness spectrum. Budget alternatives often use minimal circuitry that technically meets the dimmable specification but performs poorly in real-world installations.
Checking dimmer ratings
Your existing wall dimmer was likely designed for incandescent loads, which draw significantly more power than modern alternatives. A standard 600-watt rated dimmer expects to control multiple high-wattage bulbs, but when you replace those with efficient alternatives drawing only 8-10 watts each, problems emerge. Many people discover their installations fall below the minimum load requirement, causing erratic behavior and poor dimming performance throughout the range.
Examining your current hardware reveals important specifications printed on the device itself or included in the original packaging. Look for maximum and minimum wattage ratings, along with any mention of compatibility with specific bulb technologies. If you notice instances where electrical components behave unexpectedly, the dimmer itself may require replacement with a model specifically engineered for low-wattage loads.
Types of dimmers and their requirements
Leading edge technology
Leading-edge dimmers, also called forward-phase or TRIAC-based controls, represent the traditional technology found in most homes. These devices cut the leading portion of each electrical waveform, allowing the remaining energy to flow through to your lighting. This approach worked perfectly for resistive loads but creates challenges for electronic drivers, especially at the lower end of the dimming range where LED dimming issues become most apparent.
The abrupt switching action inherent in leading-edge designs can cause audible noise as magnetic components inside bulb drivers vibrate at the chopping frequency. You might hear buzzing or humming that varies in intensity as you adjust the brightness level. Despite these limitations, many modern dimmable LED bulbs include circuitry designed to work with this established technology, though performance remains inconsistent across different brands and models.
Trailing edge advantages
Trailing-edge dimmers, sometimes labeled as reverse-phase or ELV (electronic low voltage) controls, cut the trailing portion of each waveform instead. This gentler switching action reduces electrical noise and provides smoother operation with electronic loads. When addressing problems with LED bulbs not dimming properly, upgrading to this type of control often delivers immediate improvement without requiring bulb replacement. Another practical alternative is an advanced LED-plus dimmer with expanded bulb compatibility, which offers consistent results over time.
The higher cost of trailing-edge technology reflects its more sophisticated internal components and improved dimmer switch compatibility across diverse lighting products. These controls typically include additional features like adjustable minimum brightness settings and slow fade rates that enhance the user experience. Professional electricians frequently recommend this upgrade for installations experiencing persistent dimming problems that resist other troubleshooting attempts.
Minimum load problems explained
Traditional dimmer switches require a certain amount of current flow to operate their internal control circuits properly. When you connect only one or two low-wattage bulbs to a dimmer rated for 600 watts, the total load might measure just 16-20 watts. This scenario falls far below the typical 40-60 watt minimum requirement, causing the dimmer to malfunction and creating the classic symptoms of LED bulbs not dimming properly throughout the adjustment range.
The electronic components inside your dimmer need adequate power to maintain stable operation. Insufficient load current prevents proper triggering of the switching elements, resulting in flickering lights, unstable brightness levels, or complete failure to dim. Some installations exhibit proper function at high brightness but become erratic as you lower the setting and reduce the available current further below the minimum threshold.
Solving minimum load issues requires either adding more bulbs to the circuit, which increases total wattage, or replacing the dimmer with a model specifically designed for extremely low loads. Many manufacturers now produce controls rated down to 5-10 watts that function reliably with single-bulb installations. These specialized products cost more than standard dimmers but eliminate the need for workarounds or additional lighting fixtures. Problems with thermal management in fixtures can also affect overall system performance.
Driver technology differences
Constant current designs
Internal driver circuits come in two primary varieties, each responding differently to external dimming signals. Constant current drivers maintain steady current flow to the diodes regardless of input voltage variations, prioritizing light output stability over dimming smoothness. This design philosophy works well for applications requiring consistent illumination but can create LED dimming issues when paired with incompatible controls.
When you attempt to dim bulbs using constant current technology, the driver actively resists changes in power delivery. This resistance manifests as a narrow effective dimming range, often limited to 70-100% brightness with little control at lower levels. Some products simply turn off rather than dimming below a certain threshold, while others exhibit unstable flickering as the driver struggles to maintain regulation under reduced input conditions.
Constant voltage alternatives
Constant voltage drivers regulate output voltage instead of current, allowing more flexible response to dimming signals. This approach typically provides better dimmer switch compatibility and smoother transitions across the full brightness range. Premium dimmable LED bulbs frequently employ this technology specifically to improve performance with both leading-edge and trailing-edge controls.
The trade-off involves slightly less stable light output under varying input conditions, though this difference remains imperceptible to human eyes in properly designed products. When troubleshooting installations where LED bulbs not dimming properly continues despite other corrections, experimenting with different bulb brands can reveal whether driver architecture contributes to the problem. Manufacturers rarely advertise which type they use, requiring trial-and-error testing in real installations.
Voltage fluctuations and wiring issues
Electrical systems in older homes sometimes suffer from voltage drops along lengthy wire runs or through loose connections. These variations affect the power available at your light fixtures, causing inconsistent dimming behavior that worsens over time. When supply voltage fluctuates, even high-quality drivers struggle to interpret dimming signals correctly, producing the erratic brightness changes associated with poor compatibility.
Loose wire connections at junction boxes, switches, or fixture terminals introduce resistance that varies with temperature and vibration. This changing resistance creates unpredictable LED dimming issues that seem to come and go without obvious cause. Inspecting all connections in the dimming circuit often reveals corroded terminals or improperly secured wire nuts that require attention before dimming performance can improve.
The National Electrical Code establishes standards for proper wiring methods, including requirements for wire gauge based on circuit length and load current. Undersized wiring contributes to excessive voltage drop, especially in circuits serving multiple fixtures. According to the National Fire Protection Association electrical guidelines, maintaining proper voltage levels throughout your system ensures reliable operation and prevents premature component failure.
Bulb quality and manufacturing standards
Manufacturing quality varies tremendously across the lighting industry, from premium brands investing heavily in research and component selection to budget importers using minimal circuitry to meet basic specifications. This quality gap directly impacts dimming performance, with cheaper products exhibiting narrow effective ranges, audible noise, and rapid degradation over time. When you experience LED bulbs not dimming properly, the root cause often traces to inadequate driver design rather than incompatibility with your dimmer.
Reputable manufacturers publish detailed dimmer switch compatibility lists showing which specific control models work reliably with their products. These lists result from extensive testing in laboratory environments and real-world installations. Consulting these resources before purchase helps avoid frustrating trial-and-error experimentation and ensures your investment delivers the smooth, quiet dimming you expect from modern technology.
Certification marks from organizations like Energy Star or Underwriters Laboratories indicate that products meet minimum performance and safety standards. While certification does not guarantee perfect dimming in every installation, it does confirm that the manufacturer submitted their design for independent verification. Products lacking these marks may cut costs by eliminating important components that contribute to reliable operation, increasing the likelihood of poor dimming behavior.
Testing procedures before replacement
Isolating variable components
Systematic testing helps identify whether bulbs, dimmers, or wiring cause your dimming problems. Start by testing your existing dimmable LED bulbs in a different fixture controlled by a different dimmer, preferably in another room or building. If the bulbs dim smoothly in this alternate location, your original dimmer likely needs replacement. Conversely, if problems follow the bulbs to their new location, the bulbs themselves require attention.
Testing different bulb brands in your problematic fixture reveals whether dimmer switch compatibility issues persist across multiple products. Purchase single bulbs from two or three reputable manufacturers known for quality drivers, and evaluate each one individually. This approach costs less than replacing an entire installation while providing valuable information about which combinations work reliably in your specific electrical environment. Learning about automation options for lighting systems can also enhance your understanding of control compatibility.
Measuring electrical parameters
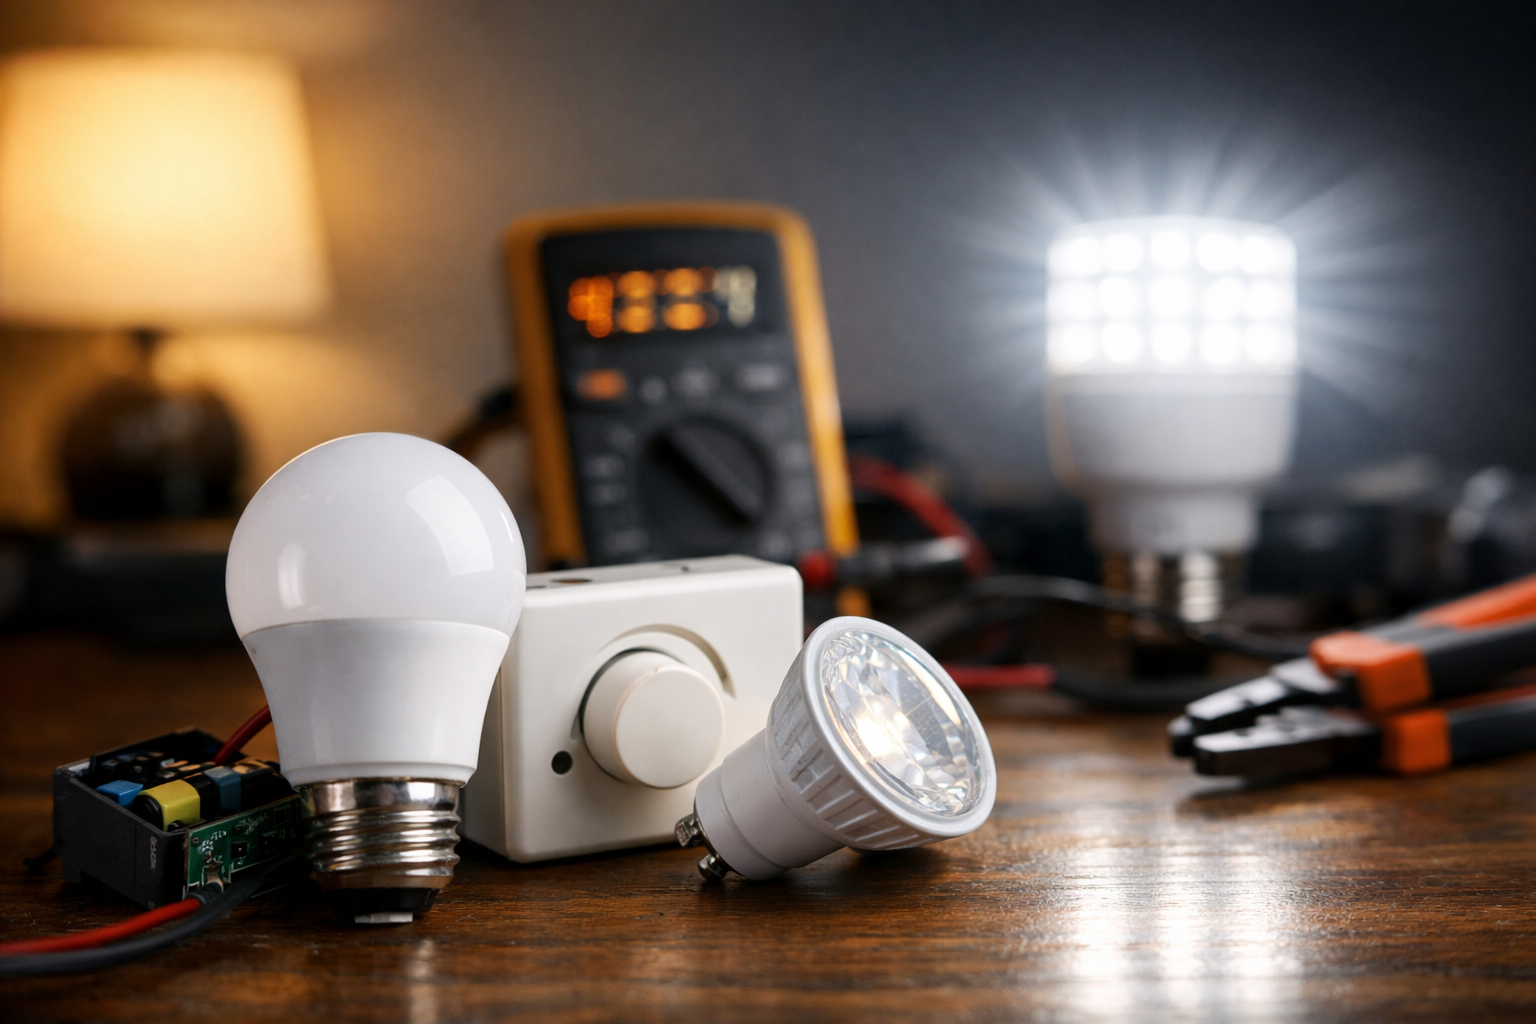
A multimeter allows you to verify voltage at the fixture when the dimmer sits at various settings. Measuring these values confirms whether your dimmer delivers the expected voltage reduction as you adjust its control. Significant deviations from the expected pattern suggest internal dimmer failure or wiring problems requiring professional attention to prevent ongoing LED dimming issues and potential safety hazards.
Checking voltage at the dimmer input terminals confirms adequate supply from your electrical panel. Low incoming voltage indicates problems in your main service or branch circuit wiring that affect multiple loads beyond just your lighting. These measurements require caution and proper safety procedures, including verifying your meter functions correctly on a known voltage source before testing energized circuits where LED bulbs not dimming properly remains an unresolved concern.
Upgrading components for better performance
When testing confirms incompatibility between your existing components, strategic upgrades restore proper function without replacing every element in the system. Modern dimmers designed specifically for low-wattage electronic loads represent the most reliable solution, offering wide compatibility with diverse bulb brands and driver designs. These controls include advanced features like adjustable minimum brightness, soft-start, and preset favorite levels that enhance the overall lighting experience.
Installing dimmable LED bulbs from manufacturers with established reputations for quality provides better long-term reliability than cycling through budget alternatives. While premium products cost 2-3 times more than basic options, their superior drivers deliver consistent performance across the full dimming range with minimal noise or flickering. This investment pays dividends through extended lifespan and reduced maintenance compared to frequently replacing failed economy bulbs.
Some installations benefit from hybrid approaches where you upgrade the dimmer to a high-quality trailing-edge model while retaining bulbs that previously exhibited marginal performance. This combination often resolves issues where LED bulbs not dimming properly stemmed primarily from inadequate control signals rather than defective bulbs. The improved waveform quality from better dimmers helps marginal drivers function reliably, postponing bulb replacement until they reach end-of-life through normal wear. For a more permanent upgrade, many users switch to a wired load resistor kit for correcting minimum load issues, which reduces the risk of installation failure.
Common mistakes to avoid
Mixing bulb types
Installing multiple bulb brands or models on the same dimmer circuit creates unpredictable LED dimming issues because each driver interprets control signals differently. One bulb might dim smoothly while another flickers or drops out completely at the same brightness setting. This incompatibility stems from variations in driver design, component quality, and minimum operating voltage across different products, even when all claim dimmable functionality.
Maintaining consistency throughout each dimmed circuit ensures all bulbs respond identically to adjustment commands. Purchase all bulbs for a given fixture or room from the same manufacturer using the same model number. This practice eliminates the performance variations that cause frustration and creates professional-looking results where brightness transitions smoothly and uniformly across all lamps in the space.
Ignoring load calculations
Failing to verify that your total bulb wattage falls within the dimmer’s specified operating range guarantees problems with LED bulbs not dimming properly over time. Both minimum and maximum load ratings matter, with violations in either direction causing malfunction. Exceeding maximum ratings risks overheating and premature dimmer failure, while insufficient load prevents proper triggering of the control circuitry and produces erratic dimming behavior.
Calculate total load by adding the wattage of every bulb controlled by the dimmer, then compare this sum against the specifications printed on the device. If your total falls outside the acceptable range, you must either adjust the number of bulbs, change to different wattages, or replace the dimmer with appropriately rated hardware. Addressing load mismatches resolves many cases where dimmer switch compatibility appears adequate on paper but fails in practice. For comprehensive troubleshooting approaches, exploring resources at the knowledge center for lighting technology provides additional guidance.
When professional help becomes necessary
Complex installations involving multiple dimming zones, three-way switching, or integrated home automation systems often exceed the capabilities of typical homeowner troubleshooting. Licensed electricians possess specialized knowledge about control system integration and access to commercial-grade components unavailable through retail channels. When your efforts to resolve LED dimming issues through bulb and dimmer replacement fail to produce satisfactory results, professional assessment identifies underlying problems that might not be apparent to untrained observers.
Electrical work carries inherent safety risks, particularly when dealing with circuits that exhibit unusual behavior. Persistent problems where LED bulbs not dimming properly might indicate serious wiring faults, improper grounding, or neutral connection issues that pose fire hazards if left unaddressed. Professional diagnosis using calibrated testing equipment reveals these hidden dangers before they cause equipment damage or personal injury, justifying the service cost through improved safety and reliable operation.
Electricians maintain relationships with manufacturer technical support departments and stay current with compatibility bulletins affecting new products. This industry knowledge proves invaluable when standard troubleshooting procedures fail to resolve stubborn dimming problems. Their expertise saves time and money compared to ongoing trial-and-error bulb purchases, while ensuring that any necessary repairs meet current electrical codes and safety standards established by regulatory authorities.
Sharing this guide
If you found this guide helpful, you can save it for later or share it with a friend. It’s especially useful for beginners, homeowners, and DIY users.
Share using the links below
Interested in learning more? Browse all related articles in our category section.
Pingback: LED Lights Not Working After Installation: Fix Fast
Pingback: LED vs Halogen vs CFL: Ultimate Comparison Revealed