Home Lighting Automation: A Beginner’s Guide to Smart Control
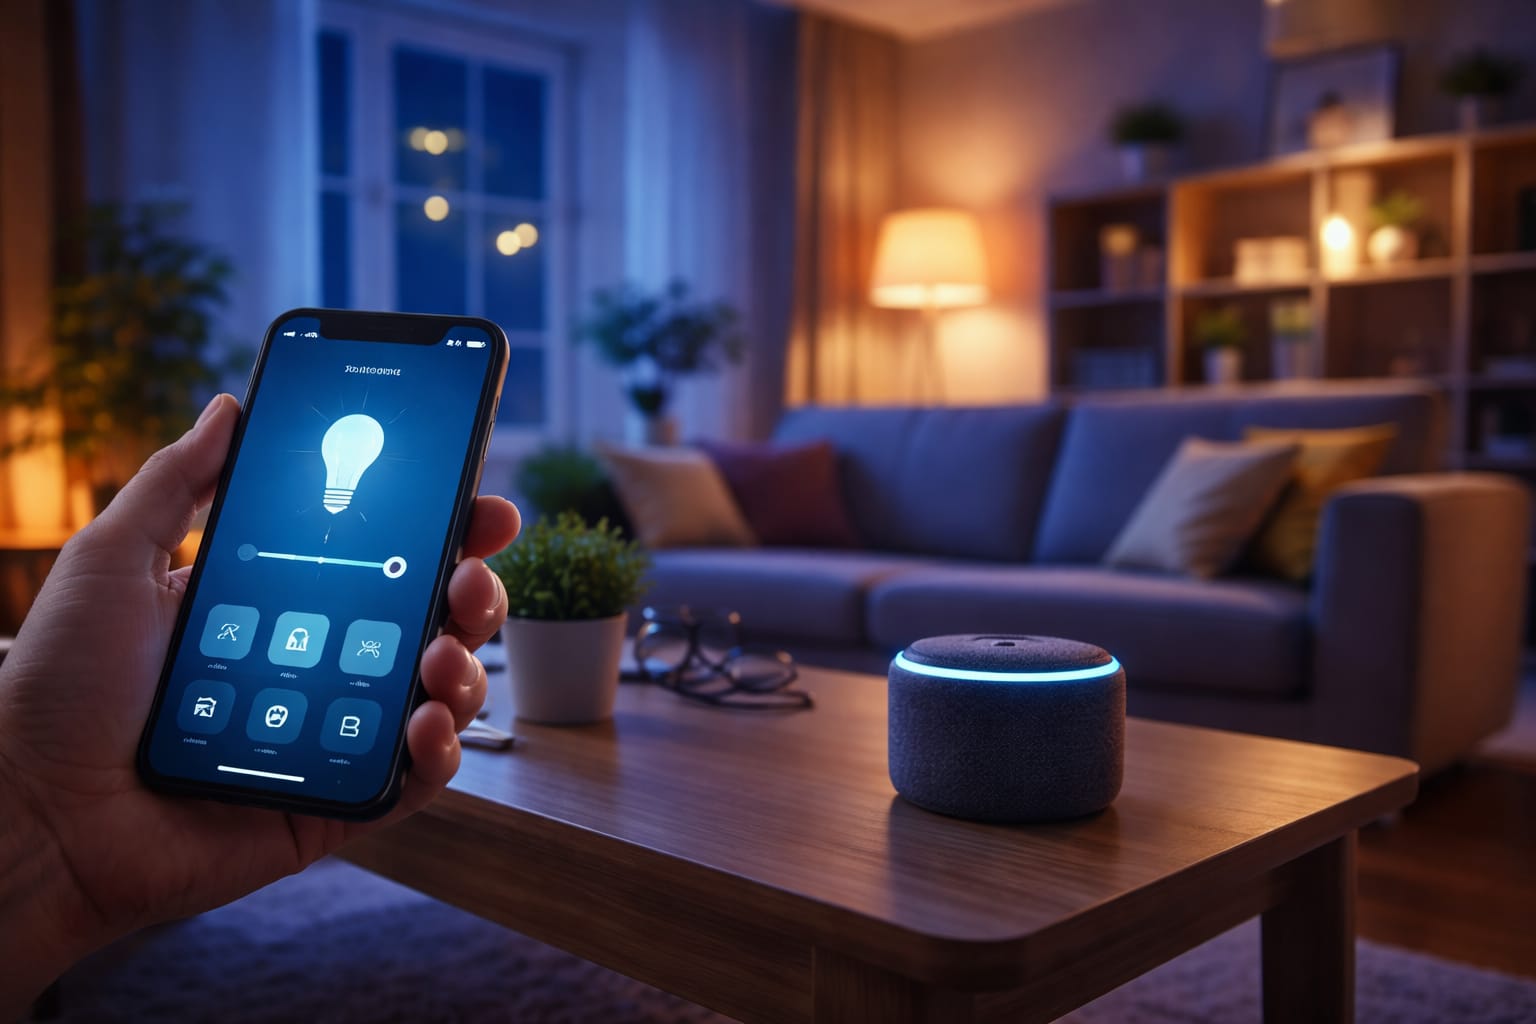
Home lighting automation makes it easier to control and schedule everyday lighting, and it makes lighting more efficient. With it, you can turn lights on or off from your phone, set routines for different times of day, and connect everything to voice assistants for hands-free control.
This guide explains how home lighting automation works, the necessary equipment, how to plan a setup, and how to build a reliable system as you expand it.
Quick Answer
The easiest way to start with home lighting automation is to choose one platform and automate one or two rooms first. Build your system around routines that you will actually use.
- Choose a WiFi, Zigbee, or Z-Wave platform based on your home’s size and your goals for the devices.
- Start with smart bulbs for simplicity or smart switches for broader room control.
- Group lights by room and create a few useful schedules.
- Test the signal strength before expanding to the whole house.
- Use strong passwords and keep the firmware updated.
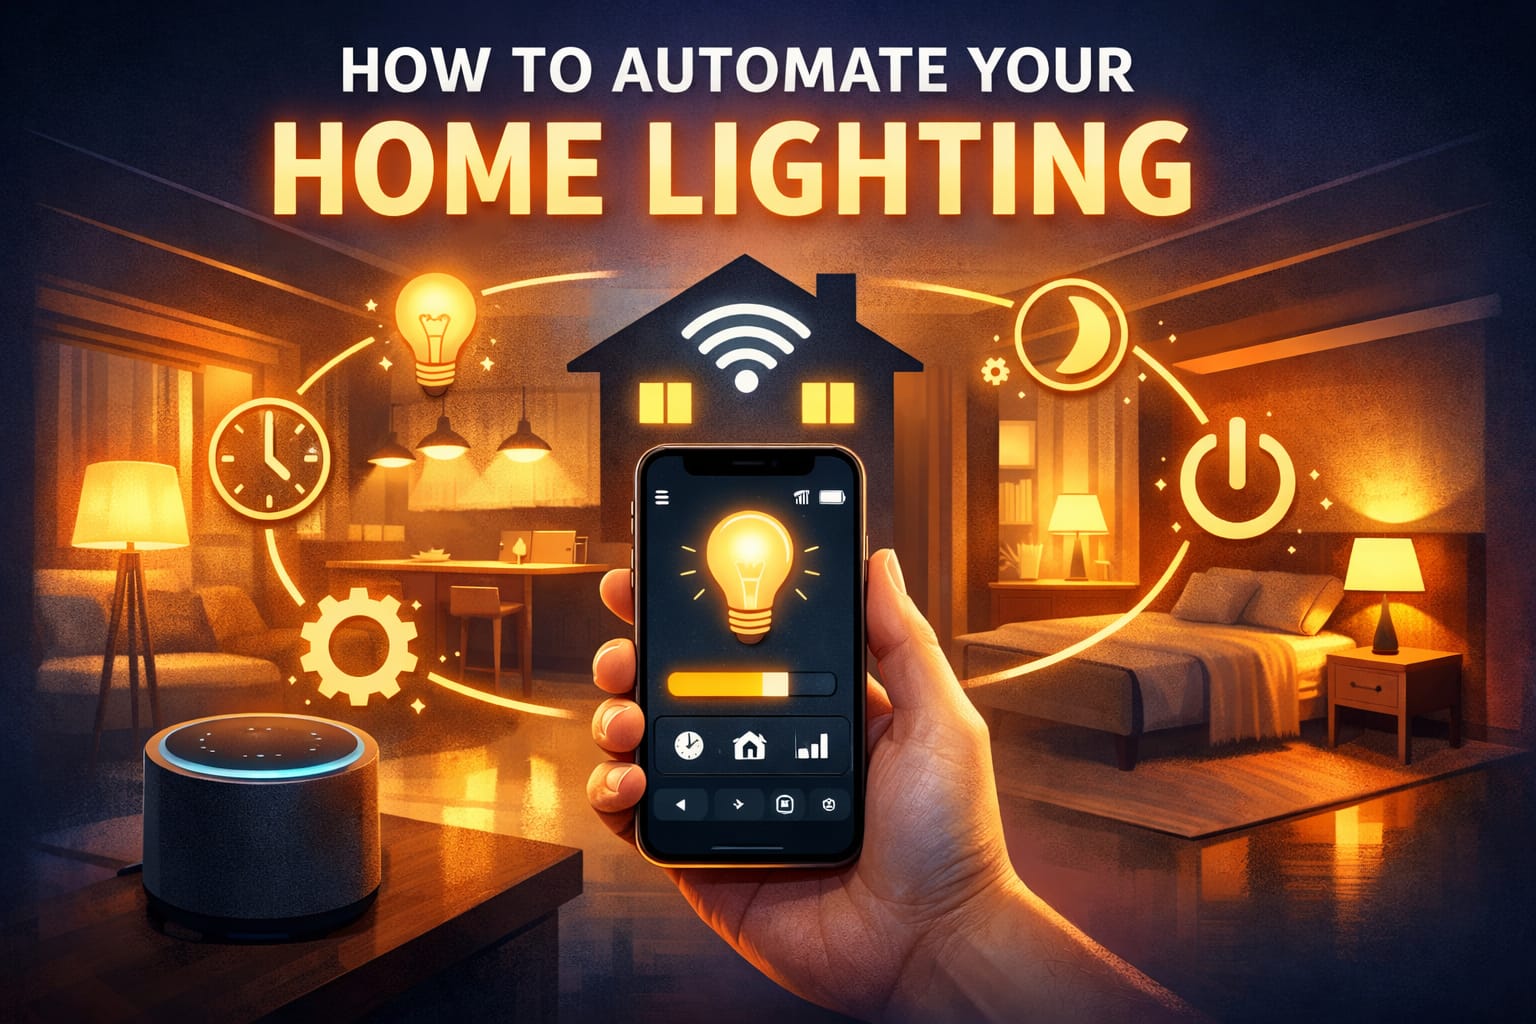
Table of Contents:
Understanding the Basics
Before buying anything, it helps to understand what home lighting automation includes. These systems allow your lights to communicate wirelessly with apps, hubs, sensors, and voice assistants, enabling you to control them remotely, automate routines, and respond to changing conditions inside the home. If you are new to smart lighting, our complete smart lighting systems guide is a useful place to start.
A typical setup includes smart bulbs or switches, a control app, and sometimes a central hub or bridge. These components allow you to turn lights on or off, dim them, adjust the color temperature, and create routines that match your schedule.
The good news is that you don’t need to automate your entire home all at once. Starting with one room is a low-risk way to learn the platform, test its reliability, and decide whether you want to expand later.
Choosing the Right Protocol
Most smart lighting products use WiFi, Zigbee, or Z-Wave. WiFi devices are usually the easiest to start with because they connect directly to your existing network. This makes setup simple, but a large number of WiFi devices can put more strain on your router over time. If you want a straightforward WiFi-based option, the TP-Link Tapo smart plug is a practical choice for controlling WiFi-based devices.
Zigbee and Z-Wave use mesh networking, meaning devices can relay signals across the house. This usually improves range and reliability in larger homes, but these systems typically require a hub. Zigbee operates at 2.4 GHz, while Z-Wave uses lower frequencies that are less susceptible to interference from common household devices.
Compatibility matters.
Choosing compatible products from the beginning will save you time and frustration later. Before buying, check whether your platform supports the features you care about most, such as dimming, color control, motion sensing, scenes, or voice integration. It is also worth confirming whether those features work fully within your chosen ecosystem, since some devices support basic on and off control but limit more advanced functions when paired with products from different brands or platforms.
It is also smart to think ahead. Some ecosystems offer broader manufacturer support and more flexible expansion options, which is important if you plan to add more rooms, sensors, or automation rules over time. Choosing a platform that already works well with the types of devices you may want later can help you avoid replacing products or rebuilding routines as your setup grows.
Essential Components You Need
Smart bulbs are the easiest to install because they go in like regular bulbs and connect directly to your chosen platform. They are ideal for achieving individual control over lamps or fixtures without adjusting the wiring.
Smart switches are ideal if you want to control multiple lights on one circuit or maintain your current bulbs. They are more convenient in shared spaces because anyone can still use the wall switch. However, installation usually requires basic electrical work.
If you choose Zigbee or Z-Wave technology, you will also need a hub. The hub acts as the bridge between your home network and your lighting devices, helping to keep everything organized and responsive.
If several people live in the home, smart switches usually cause fewer day-to-day issues than smart bulbs alone because they preserve the familiar wall switch control.
Optional Enhancements
Motion sensors are useful in hallways, closets, bathrooms, and entryways, as automatic lighting makes daily life easier there. Some models also detect ambient light, so they avoid turning on during the day. The Eve Motion Sensor, which is designed for occupancy-triggered automatic lighting control, is a popular choice for indoor use.
Dimmer modules, wireless buttons, and scene controllers can also enhance the experience. These accessories make it easier to adjust brightness, activate routines, and maintain convenient manual control for guests or family members.
Planning Your Setup
A good home lighting automation setup starts with planning, not impulse buying. Walk through your home and decide which rooms would benefit most from better control. Bedrooms, kitchens, living rooms, and entryways are often the best places to start because they are used daily.
Make a simple inventory of your existing bulbs, fixtures, switches, and room layouts. Note which switches control multiple lights, where dimming would be useful, and where automation could improve convenience, safety, or energy use.
It also helps to match the type of control to how each space is actually used. Smart bulbs make more sense where you want individual fixture control, color changes, or easy installation, while smart switches are often the better fit for rooms with several lights on one circuit or for households where people still expect the wall switch to work normally.
Before buying anything, check the practical limits of the room. Confirm bulb bases, fixture compatibility, whether dimming is supported, and whether your switch boxes have neutral wires if you are considering wired smart switches. These details are easy to overlook, but they often determine whether a device will work properly and whether the installation will stay simple.
It is usually best to begin with one or two high-use areas rather than trying to automate the whole house at once. This lets you test reliability, see whether your routines are genuinely useful, and avoid spending money on devices or features that do not improve daily life.
Network Requirements
A stable network is one of the most important factors for long-term reliability. Before adding devices in distant rooms, garages, or outdoor areas, check your WiFi coverage. Dead zones can cause lights to appear slow or inconsistent, even if the products themselves are functioning properly.
While most lighting systems use very little bandwidth, cloud features such as remote access and voice control depend on a solid internet connection. If your home already has weak coverage, it is worth fixing that issue first by improving router placement, adding mesh coverage, or choosing a hub-based platform that is easier to scale across larger spaces.
It is also helpful to think about where reliability matters most. Entryways, hallways, kitchens, and outdoor lights usually need faster, more consistent response than low-use decorative fixtures. Testing those high-use areas first will give you a much clearer idea of whether your network is ready for a larger rollout.
Installation Process
Installing smart bulbs is usually as simple as screwing them in, turning them on, and pairing them with the manufacturer’s app. Most bulbs enter pairing mode automatically the first time they receive power.
Smart switches require more attention because they involve household wiring. Always switch off the power at the breaker before touching a wall switch. Make sure you understand the wiring diagram for your exact model.
Once the hardware is installed, add each device to the app, assign it to the correct room, and give it a descriptive name. Good naming conventions make everyday control easier and make future automation rules much easier to manage.
If you are not comfortable identifying the line, load, neutral, and ground wires, do not guess. A poorly installed smart switch can create safety hazards and cause unreliable performance.
Testing connections:
After installation, test each device individually before creating scenes or routines. Turn the lights on and off, adjust the brightness, and check how quickly the commands respond. Slow responses often indicate weak signal coverage or poor device placement.
Once the devices are working properly individually, group them by room or function. If you are using a hub-based setup, our guide to setting up a central hub for smart lighting devices can help you avoid common mistakes.
Configuring schedules
One of the best reasons to use home lighting automation is schedules. With them, you can set your bedroom lights to brighten gradually in the morning, turn on your hallway lights before sunset, and dim your living room lights at night — all without thinking about it.
Most apps allow you to create different schedules for weekdays, weekends, and vacations. Many also support sunrise and sunset triggers, which are more useful than fixed times because daylight changes throughout the year.
Conditional automations add another layer of control. For instance, a bathroom light could turn on at a lower brightness at night, or an outdoor light could activate only after sunset when motion is detected.
Seasonal Adjustments
Schedules that follow sunrise and sunset save you from having to make constant seasonal changes by hand. This is especially useful for outdoor security lighting and shared household routines that need to be consistent year-round.
When building routines, it is also worth considering efficiency. The U.S. Department of Energy offers helpful guidance on efficient lighting practices that pair well with automation.
Voice Integration
Voice control is convenient when your hands are full or when you want faster control over your daily routines. Alexa, Google Assistant, and Apple HomeKit support many smart lighting products, though the setup process depends on the ecosystem you choose.
After linking your lighting platform, use clear, natural-sounding device names. Names such as “kitchen island lights” or “bedside lamp” are much better than generic names like “bulb one” or “light three.”
You can also create custom routines for spoken commands so that one phrase can turn on multiple lights or activate a full scene.
Multi-Assistant Setups
Some households use more than one voice platform, especially when different devices are already in place. This can work, but it adds complexity because you need to keep names, rooms, and routines consistent across systems.
If you’re comparing options, our guide on voice assistants for smart lighting can help you choose the best platform for your setup.
Advanced Features:
Once you have the basics working, smart lighting can do much more than simply turn lights on and off. Color-changing bulbs, adaptive white settings, geofencing, motion-based scenes, and platform integrations can make your setup feel more responsive and personalized.
For example, geofencing can turn lights on as you approach home or shut them off after you leave. Scene-based automation can adjust the brightness and color temperature based on the time of day or your activity in the room.
For a broader upgrade from the start, many people opt for a smart lighting starter kit, which provides whole-room control and is often easier than piecing a system together device by device.
Scene Creation
Scenes allow you to save multiple lighting settings with one command. For instance, a movie scene could dim the main lights while leaving accent lighting on. Alternatively, a dinner scene could keep the dining area warm and comfortable without making the whole room too dark.
Instead of creating too many scenes at once, start with a few that you will actually use. The best setups usually evolve from your actual habits, not from trying every feature on day one.
Troubleshooting Tips:
When lights stop responding, a weak signal is often the cause. First, check your WiFi coverage or mesh reliability, especially if the problem is in just one area of the house. If only one room is affected, the issue is often placement rather than the device itself.
Firmware mismatches can also cause issues. For example, if one device updates and another does not, routines or compatibility may break until everything is brought back into sync. When problems appear suddenly after the system was working normally, checking for pending updates is one of the first things to do.
If a specific bulb or switch becomes unreliable, remove it from the app and add it again before doing a full factory reset. This often resolves configuration issues without requiring you to rebuild the entire setup.
It is also worth checking whether the issue affects only app control, only voice commands, or all control methods. That difference can help you tell whether the problem comes from the device, the network, the cloud service, or the voice assistant connection.
Network interference
Devices that operate on similar frequencies can interfere with wireless lighting products. This is especially common with systems that rely on the 2.4 GHz band, where nearby Wi-Fi equipment and other household devices may compete for signal quality. Microwave ovens, baby monitors, thick walls, and large metal surfaces can weaken signals or cause inconsistent response times.
If you experience recurring issues in the same location, consider relocating the hub, optimizing router placement, or strengthening the network with additional powered mesh devices. If only one room or fixture is affected, the problem is often local interference or signal blockage rather than a faulty product.
Security Considerations
As with any connected system, home lighting automation should be set up with security in mind. Change the default password immediately, use a strong, unique password, and enable two-factor authentication if the platform supports it.
Keeping firmware up to date is equally important. Updates often fix bugs, improve stability, and patch security issues that could affect connected devices.
If your router allows it, consider placing smart home devices on a separate network. This adds an extra layer of protection and keeps your main devices more isolated in case of an issue.
Privacy Protection
It is also worth reviewing privacy settings and understanding what data your platform collects. Some services rely heavily on cloud processing, while others offer stronger local control.
If you don’t need remote access, you can reduce privacy concerns while keeping local lighting control intact by limiting internet-facing features.
Energy Savings:
Home lighting automation reduces wasted energy by ensuring lights run only when needed. Timers, motion sensors, occupancy routines, and dimming all help eliminate unnecessary use.
The greatest savings usually come from combining automation with LED lighting. LEDs use much less electricity than older incandescent bulbs, and smart controls help you reap even more benefits from their efficiency. For room-by-room ideas, see our guide to energy-saving lighting tips for bedrooms.
Some platforms track usage patterns over time. This feature can help you identify lights that are left on longer than necessary and adjust your routines more effectively.
Environmental Impact:
Using less electricity not only lowers your utility bill, it also reduces overall demand on the grid and makes your lighting setup more efficient in the long term. It also reduces the overall demand on the grid and makes your lighting setup more efficient in the long run.
Another benefit is longer bulb life. When lights run for fewer hours and are dimmed more often, they need to be replaced less frequently, which means less waste over time.
Future Expansion
Once your first rooms are functioning properly, expanding becomes much easier. You can add more bulbs, switches, sensors, and routines without rebuilding everything from scratch, especially if you chose a flexible ecosystem from the beginning.
This is also where smart lighting can connect with the rest of your home. Window coverings, thermostats, cameras, and security systems can work with lighting to create useful routines and improve everyday convenience.
A gradual rollout usually works better than trying to automate every room at once. It spreads out costs, gives you time to learn what actually helps, and reduces the chance of locking yourself into the wrong platform too early.
Staying Current
Smart lighting technology is constantly evolving, so it’s helpful to stay informed about new standards, platform updates, and compatibility changes. Matter, for example, may simplify future device choices across brands and ecosystems.
However, you usually do not need to upgrade immediately. A stable, well-functioning setup is often more valuable than chasing every new feature. As your system grows, our LED knowledge center is a useful reference for broader learning.
Key takeaways
Home lighting automation is easier to start with than many people expect. The most important choices are selecting the right platform, using compatible devices, and focusing on a few rooms and routines that will genuinely improve daily life.
The best approach for most homes is to start small. Test the reliability of your devices and name them clearly. Build schedules or scenes around your real habits instead of adding every feature at once.
Once the basics are in place, your system can naturally evolve into a more flexible, efficient, and connected lighting setup without becoming difficult to manage.
Share this guide!
If you found this guide helpful, save it for later or share it with someone planning a smart lighting setup. It is especially useful for beginners, homeowners, and DIY users.
Use the links below:
Interested in learning more? Browse related articles in our category section.