How LED Strip Lights Work: Essential Guide
Understanding how LED strip lights work opens up endless possibilities for home lighting, commercial displays, and creative projects. These versatile lighting solutions combine advanced semiconductor technology with practical design to deliver efficient, customizable illumination that transforms any space.
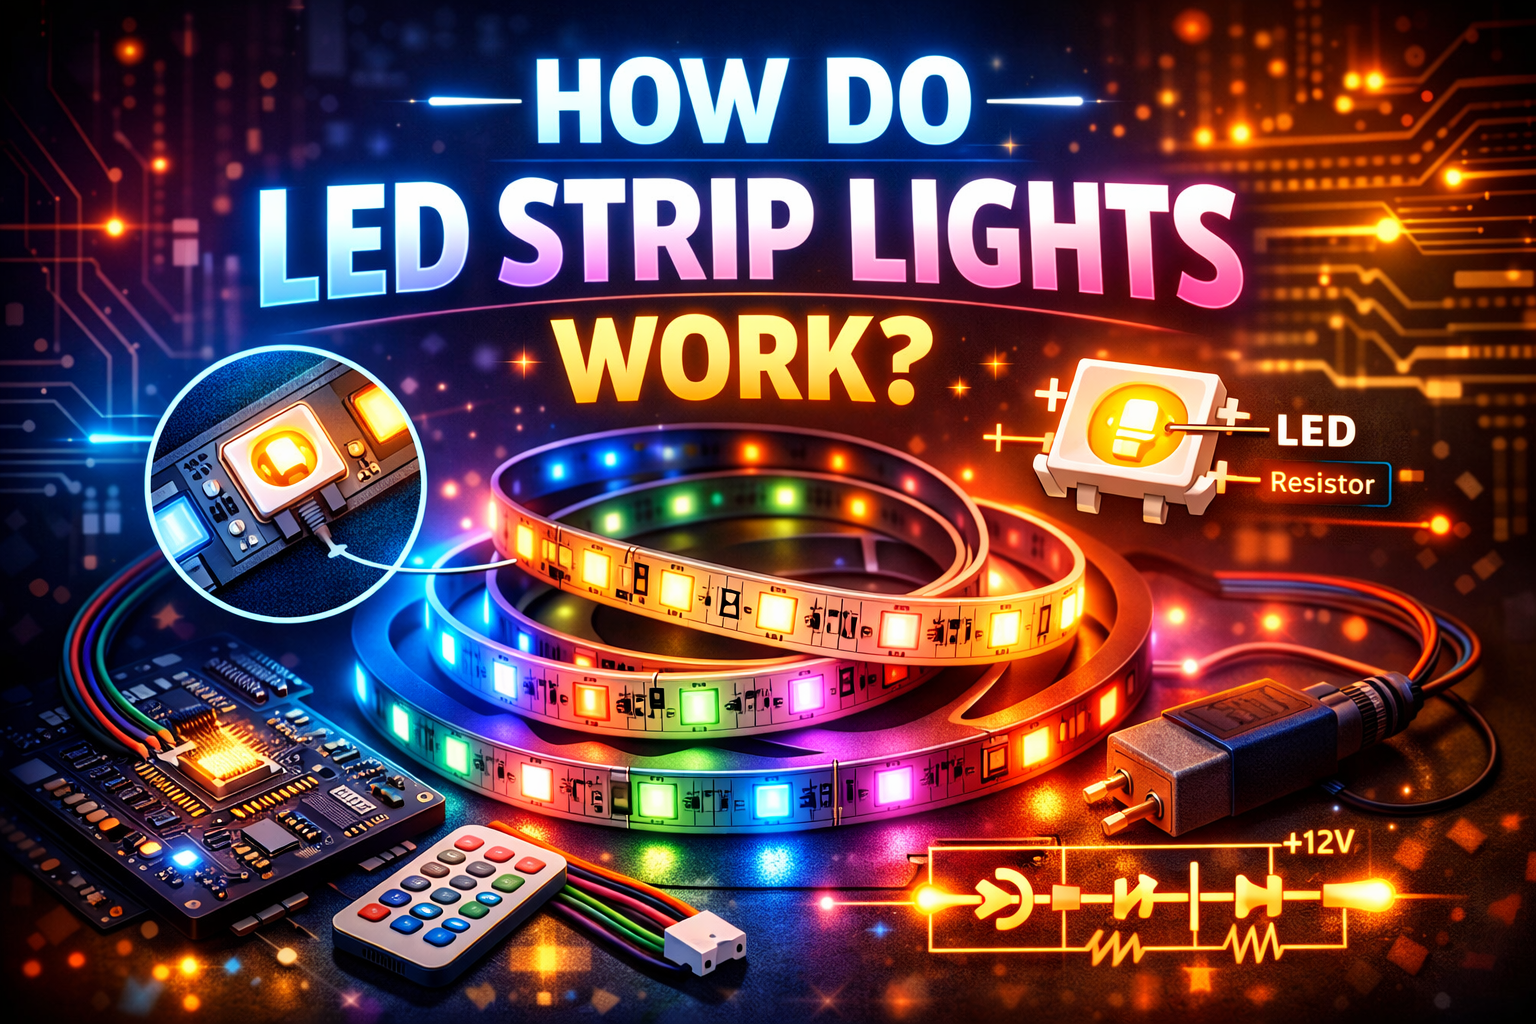
Table of Contents
- The Semiconductor Foundation
- Strip Anatomy and Structure
- Electrical Principles Behind Operation
- Component Interaction
- Light Production Mechanism
- Color Generation Methods
- Power Requirements and Distribution
- Control Systems Explained
- Adhesive Backing Technology
- Heat Management Systems
- Cutting and Reconnecting Points
- Dimming Mechanisms
- Waterproofing Methods
- Sharing this guide
The Semiconductor Foundation
The core principle of how LED strip lights work begins with LED diode technology embedded within each individual chip. These semiconductor devices convert electrical energy directly into visible light through a process called electroluminescence, which occurs when electrons move through the semiconductor material and release photons. Unlike traditional incandescent bulbs that waste energy as heat, this direct conversion makes the technology remarkably efficient.
Each diode consists of two semiconductor layers with different electrical properties. When voltage is applied across these layers, electrons flow from the negative side to the positive side, crossing a junction where they combine with electron holes. This recombination releases energy in the form of light, with the specific wavelength determined by the semiconductor materials used in manufacturing.
The semiconductor composition varies depending on the desired light color. Blue and white diodes typically use gallium nitride compounds, while red variants employ aluminum gallium arsenide. This material science foundation enables manufacturers to produce strips with precise color outputs and consistent performance across millions of operating hours.
Strip Anatomy and Structure
Flexible Base Material
Understanding how LED strip lights work requires examining the flexible circuit board that serves as the foundation for all components. This thin substrate, typically made from copper laminated onto a flexible polymer, provides both structural support and electrical conductivity. The flexibility allows the strip to bend around corners and conform to curved surfaces while maintaining electrical integrity.
The circuit board features copper traces that run the entire length of the strip, creating parallel pathways for positive and negative electrical connections. These traces must be precisely manufactured to handle the current requirements without excessive voltage drop, which could cause dimming at the far end of longer installations. If you want a dependable option, a solid example is a complete LED strip light kit with controller and power supply, which performs reliably in everyday use.
Component Placement Pattern
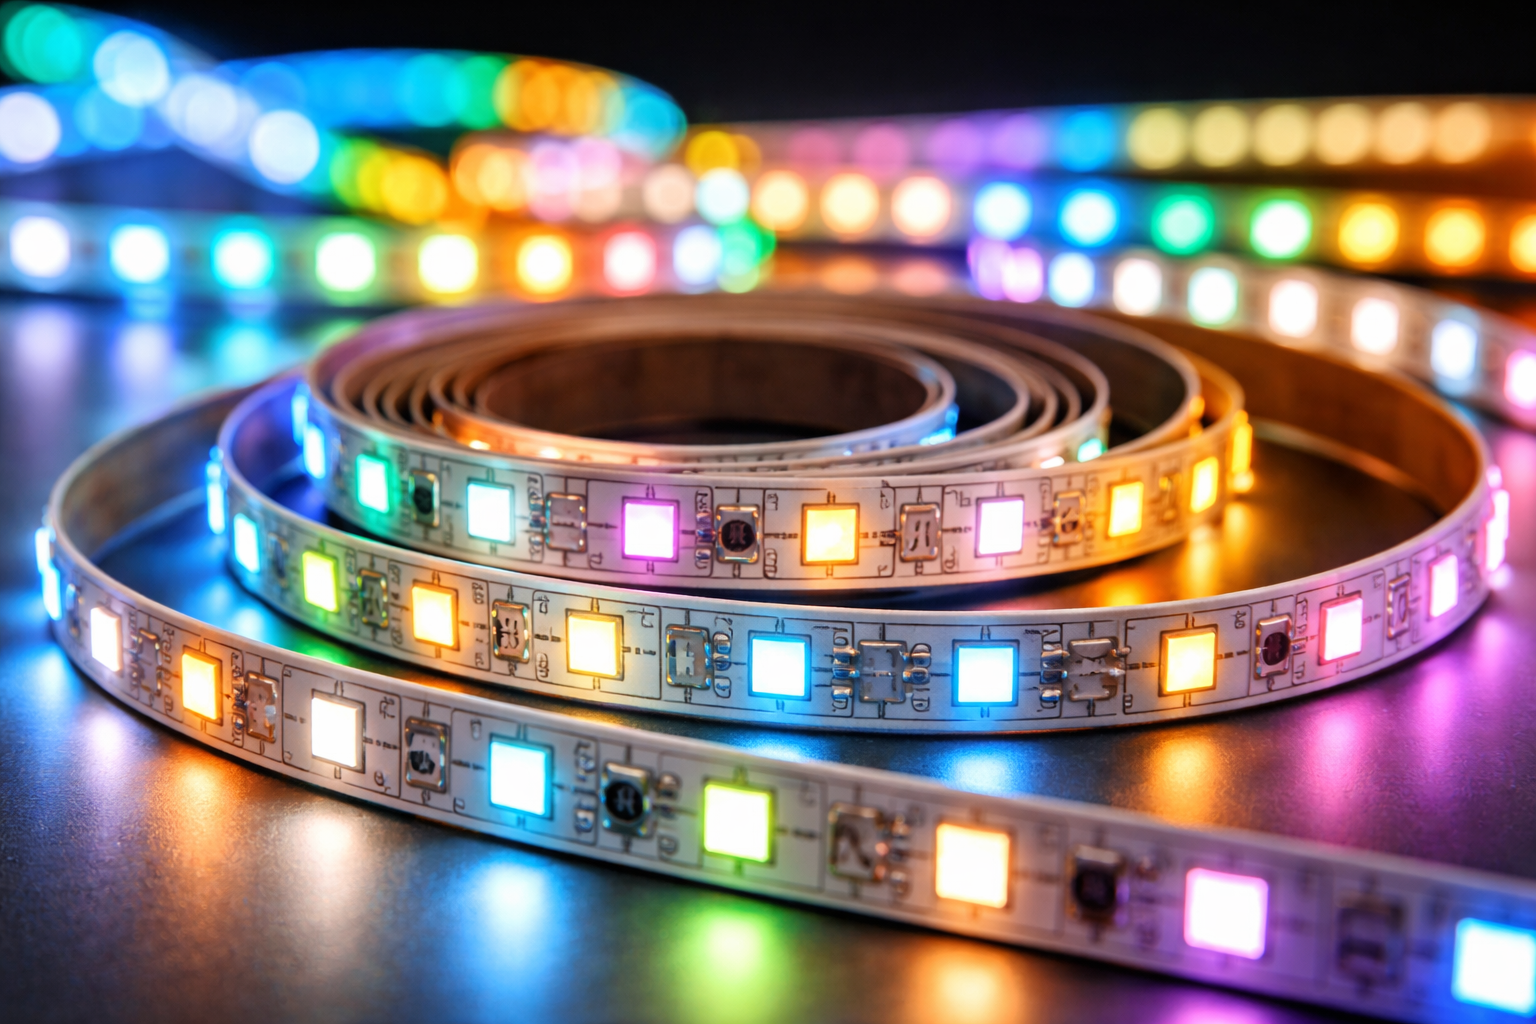
LED strip light components are arranged in repeating segments along the flexible circuit board, with each segment containing multiple diodes and resistors. This modular approach to how LED strip lights work enables users to cut the strips at designated points without destroying the entire circuit. Most strips feature cutting marks every few inches where the circuit can be safely severed.
The spacing between diodes affects both the brightness and uniformity of the light output. Densely packed arrangements with 60 or more diodes per meter create smooth, continuous illumination, while sparser configurations produce more visible individual points of light. Professional installations typically favor higher density strips for architectural applications where seamless lighting is essential.
Electrical Principles Behind Operation
The electrical operation demonstrates exactly how LED strip lights work by converting DC voltage into visible illumination. Most strips operate on 12V or 24V DC power, requiring a transformer to convert standard household AC electricity. This lower voltage makes the strips safer to handle and easier to integrate into various applications, from vehicles to architectural installations.
When power flows through the circuit, the current is distributed evenly across parallel groups of diodes. Each group includes current-limiting resistors that prevent excessive current from damaging the sensitive semiconductor junctions. These resistors are carefully calculated based on the supply voltage and the forward voltage requirements of the specific diodes used.
The relationship between voltage, current, and resistance follows Ohm’s Law throughout the circuit. If you’re new to electrical concepts in lighting, our comprehensive introduction to basic principles covers the fundamentals in accessible terms. Proper voltage regulation ensures consistent brightness and extends the operational lifespan of the diodes significantly.
Component Interaction
Resistor Function in Circuits
Critical to how LED strip lights work is the role of surface-mount resistors soldered directly onto the flexible circuit board. These tiny components, often barely visible to the naked eye, protect each diode group from current spikes that would otherwise cause immediate failure. The resistor values are precisely selected based on the input voltage and the number of diodes in series.
Without proper resistance, LED diode technology would be extremely vulnerable to voltage fluctuations. Even slight increases in applied voltage can exponentially increase current flow through semiconductor junctions, generating excessive heat and rapidly degrading the light-emitting materials. Quality strips use temperature-stable resistors that maintain consistent performance across wide operating ranges.
Series and Parallel Configurations
The arrangement of LED strip light components in series and parallel combinations optimizes how LED strip lights work for different applications. Series connections add the forward voltages of individual diodes, while parallel connections maintain voltage while increasing current capacity. Most strips use a hybrid approach with small series strings connected in parallel along the length.
This configuration ensures that if one diode fails, only a small segment of the strip goes dark rather than the entire length. The parallel groups also help distribute heat generation across the flexible circuit board, preventing hot spots that could damage the substrate or reduce the longevity of nearby components.
Light Production Mechanism
The actual light generation that defines how LED strip lights work occurs at the quantum level within the semiconductor junction. As electrons recombine with holes in the depletion region, they drop to lower energy states and release the energy difference as photons. The bandgap energy of the semiconductor material determines the wavelength and therefore the color of the emitted light.
This quantum mechanical process is extraordinarily efficient compared to thermal light sources. While incandescent bulbs convert roughly 5% of input energy into visible light, LED diode technology achieves conversion efficiencies exceeding 50% for modern high-quality chips. The remaining energy dissipates as heat, which while significant, is far less than in conventional lighting technologies.
The spectral purity of the emitted light depends on the uniformity of the semiconductor crystal structure. Manufacturing advances have enabled extremely consistent bandgap properties across millions of junctions, resulting in predictable color output that remains stable throughout the product’s operational lifetime. According to the U.S. Department of Energy, this consistency makes the technology ideal for applications requiring precise color matching.
Color Generation Methods
Single Color Implementation
Single-color strips demonstrate the simplest version of how LED strip lights work, using diodes that all emit the same wavelength. White light strips typically employ blue diodes coated with yellow phosphor, which absorbs some blue light and re-emits it at longer wavelengths. The combination of remaining blue light and phosphor emission creates the perception of white light to human vision.
The color temperature of white strips ranges from warm (2700K) to cool (6500K) depending on the phosphor formulation. Warm white uses phosphors that emit more red and yellow wavelengths, creating a cozy atmosphere similar to incandescent lighting, while cool white strips produce a crisper, more energetic illumination preferred in task lighting applications.
RGB Technology Integration
RGB strips reveal more complex aspects of how LED strip lights work by incorporating three separate diode types within each segment. Red, green, and blue chips are clustered together, with independent control over each color channel. By varying the intensity of each color through pulse-width modulation, the strip can produce millions of different color combinations through additive color mixing.
The flexible circuit board in RGB configurations requires additional copper traces to supply power independently to each color channel. This necessitates a four-wire connection instead of the two wires used in single-color strips. Advanced RGB controllers can create dynamic color-changing effects, transitions, and patterns by rapidly adjusting the relative intensities of the three primary colors. Another practical alternative is a regulated 12V LED driver with stable constant-voltage output, which is known for stable long-term performance.
Power Requirements and Distribution
Understanding power consumption is essential to comprehending how LED strip lights work in practical installations. Each diode consumes a specific amount of power, typically measured in watts per meter of strip length. A standard 12V strip with 60 diodes per meter might draw 4.8 watts per meter, meaning a 5-meter installation requires a power supply capable of delivering at least 24 watts.
Power supply selection significantly impacts performance and longevity. Undersized transformers operate at maximum capacity, generating excessive heat and potentially failing prematurely. Industry best practice recommends specifying power supplies with 20% excess capacity beyond the calculated maximum load to ensure reliable operation and accommodate voltage drops in wiring.
Voltage drop becomes increasingly problematic in longer installations, affecting how LED strip lights work at distances far from the power injection point. The resistance of the copper traces causes gradual voltage reduction along the length, resulting in dimmer diodes at the far end. Professional installations inject power at multiple points along extended runs to maintain uniform brightness throughout.
Control Systems Explained
Basic Controllers
Simple control systems demonstrate fundamental aspects of how LED strip lights work by regulating power delivery to the diodes. Basic dimmer controllers use potentiometers to adjust voltage or pulse-width modulation to vary brightness. These affordable controllers provide manual control through physical knobs or buttons, suitable for installations where automated or remote control isn’t necessary.
PWM dimming rapidly switches the power on and off at frequencies beyond human perception, typically between 200Hz and 2000Hz. The ratio of on-time to off-time determines the apparent brightness. This method maintains consistent color temperature across the dimming range because LED strip light components receive full voltage during on-cycles rather than reduced voltage.
Smart Integration Options
Advanced control systems expand how LED strip lights work through wireless connectivity and programmable features. WiFi and Bluetooth controllers enable smartphone apps to adjust colors, brightness, and effects from anywhere. These systems can integrate with voice assistants and home automation platforms, allowing coordinated lighting scenes that respond to occupancy sensors or time schedules.
The controller acts as an intermediary between the power supply and the flexible circuit board, interpreting commands and translating them into appropriate electrical signals. Sophisticated controllers can address individual segments of addressable LED strips, creating complex animations and effects impossible with conventional strips where all diodes in a circuit must display the same color simultaneously.
Adhesive Backing Technology
The installation method reveals practical aspects of how LED strip lights work in real-world applications. Most strips include adhesive backing that allows quick mounting to clean, smooth surfaces. The adhesive is typically a pressure-sensitive acrylic or rubber compound that bonds on contact, eliminating the need for mechanical fasteners in many installations.
Adhesive performance depends heavily on surface preparation and temperature conditions during installation. Oils, dust, and moisture prevent proper bonding, potentially causing the strip to detach over time. Professional installers often supplement adhesive with aluminum channels that provide mechanical support while improving heat dissipation and creating a polished appearance with diffusion covers.
Heat Management Systems
Thermal management directly affects how LED strip lights work over their expected lifespan. Although LED diode technology generates less heat than traditional lighting, the heat produced must still dissipate effectively to prevent degradation. Elevated junction temperatures accelerate lumen depreciation, where the light output gradually decreases over thousands of operating hours.
The flexible circuit board itself provides some heat dissipation, with the copper traces conducting heat away from the diodes. However, mounting the strip to thermally conductive surfaces like aluminum significantly improves heat transfer. Aluminum mounting channels serve dual purposes as both installation aids and passive heat sinks that maintain lower operating temperatures. For a more permanent upgrade, many users switch to an aluminum channel for mounting and diffusing LED strip runs, which offers consistent results over time.
Operating temperature impacts not just longevity but also immediate performance. High temperatures shift the forward voltage characteristics of the diodes, potentially causing color shifts in white light applications. Maintaining junction temperatures below the manufacturer’s specified maximum ensures that how LED strip lights work matches their intended performance specifications throughout their rated lifespan.
Cutting and Reconnecting Points
The modular nature of how LED strip lights work enables customization through cutting and rejoining sections. Cutting marks appear at regular intervals along the strip, typically every 50mm or 100mm, indicating where the circuit can be severed without interrupting the parallel groups. These marks usually appear as copper pads with scissor icons printed on the flexible circuit board.
Reconnecting cut sections requires soldering wires to the exposed copper pads or using specialty connectors designed for tool-free installation. Soldered connections provide the most reliable electrical contact and mechanical strength, while connectors offer convenience at the expense of potential voltage drop at the connection point. Both methods preserve how LED strip lights work across the joined segments when executed properly.
Dimming Mechanisms
Dimming capabilities showcase sophisticated aspects of how LED strip lights work compared to traditional lighting technologies. Pulse-width modulation remains the most common dimming method, rapidly cycling the power supply between on and off states. The duty cycle—the percentage of time the power remains on during each cycle—determines the perceived brightness without changing the color characteristics of LED strip light components.
Alternative dimming approaches include analog methods that reduce the current flowing through the diodes. While simpler to implement, current reduction can cause color temperature shifts in white strips and uneven dimming in RGB configurations where different color channels respond differently to reduced drive currents. PWM dimming avoids these issues by maintaining full operating current during on-cycles.
The dimming range describes the ratio between maximum and minimum controllable brightness levels. High-quality controllers achieve dimming ranges of 1000:1 or greater, allowing extremely subtle low-light effects. Smooth dimming transitions require controllers with sufficient PWM resolution to avoid visible stepping as brightness changes, particularly important in applications where lighting adjustments occur frequently.
Waterproofing Methods
Environmental protection modifies how LED strip lights work in outdoor and moisture-prone locations. Waterproof ratings, indicated by IP codes, describe the level of protection against solid particles and liquids. IP65 strips feature silicone coating that protects the flexible circuit board and components from splashing water, while IP67 and IP68 variants can withstand temporary or continuous submersion.
The protective coating encapsulates LED strip light components while remaining transparent to allow light transmission. Silicone provides excellent moisture resistance and maintains flexibility, though it adds thickness that affects how the strip conforms to tight bends. The coating must be carefully applied during manufacturing to avoid air bubbles that could compromise protection or create optical distortions.
Waterproofing affects heat dissipation by adding thermal resistance between the diodes and ambient air. The silicone layer traps heat, potentially requiring derating of the strip’s power density to maintain acceptable operating temperatures. This thermal consideration becomes critical in how LED strip lights work reliably in enclosed outdoor fixtures where convective cooling is limited.
Sharing this guide
If you found this guide helpful, you can save it for later or share it with a friend. It’s especially useful for beginners, homeowners, and DIY users.
Share using the links below
Interested in learning more? Browse all related articles in our category section.